Over time the tape seals used to connect the ducts and seal the gates is going to fail. Dust, forced air, vibration, and time. They will need to be replaced.
Materials and Tools
- A box cutter
- Silver HVAC Tape (not common duct tape)
- A shop vac in good working order
- Spray clean or soap
- Paper Towels
- A screw driver
Basic Steps for replacing gate seals
- Use the shop vac to generally clean up the area you are working in. It will likely be covered in dust due to a failed seal.
- Uncouple any attachments. You may need to use the screwdriver to make hose clamps loose enough to move
- Remove the old silver HVAC Tape and the adhesive using the box cutter to peal up corners and the soap and towels to get up sticky adhesive. Beware of dripping water or cleaner into nearby electronics. Please note often phyical connections are tape sealed as well. Once you remove tape you may find build up of fine powder dust that will need to be cleaned out before the physical connection is redone.
- Inspect the gate for any loose hardware or dust build-up between screws and plates. Clean and tighten as needed.
- Reattach any physical connections.
- Replace the type seals with a new clean HVAC Tape. It is better to work in Shorter pieces than trying to manage long strips. The longer stipes will curl, and crimp and often result in a bad seal. Us sharp utility scissor or the box cutter to cut clean tape edges.
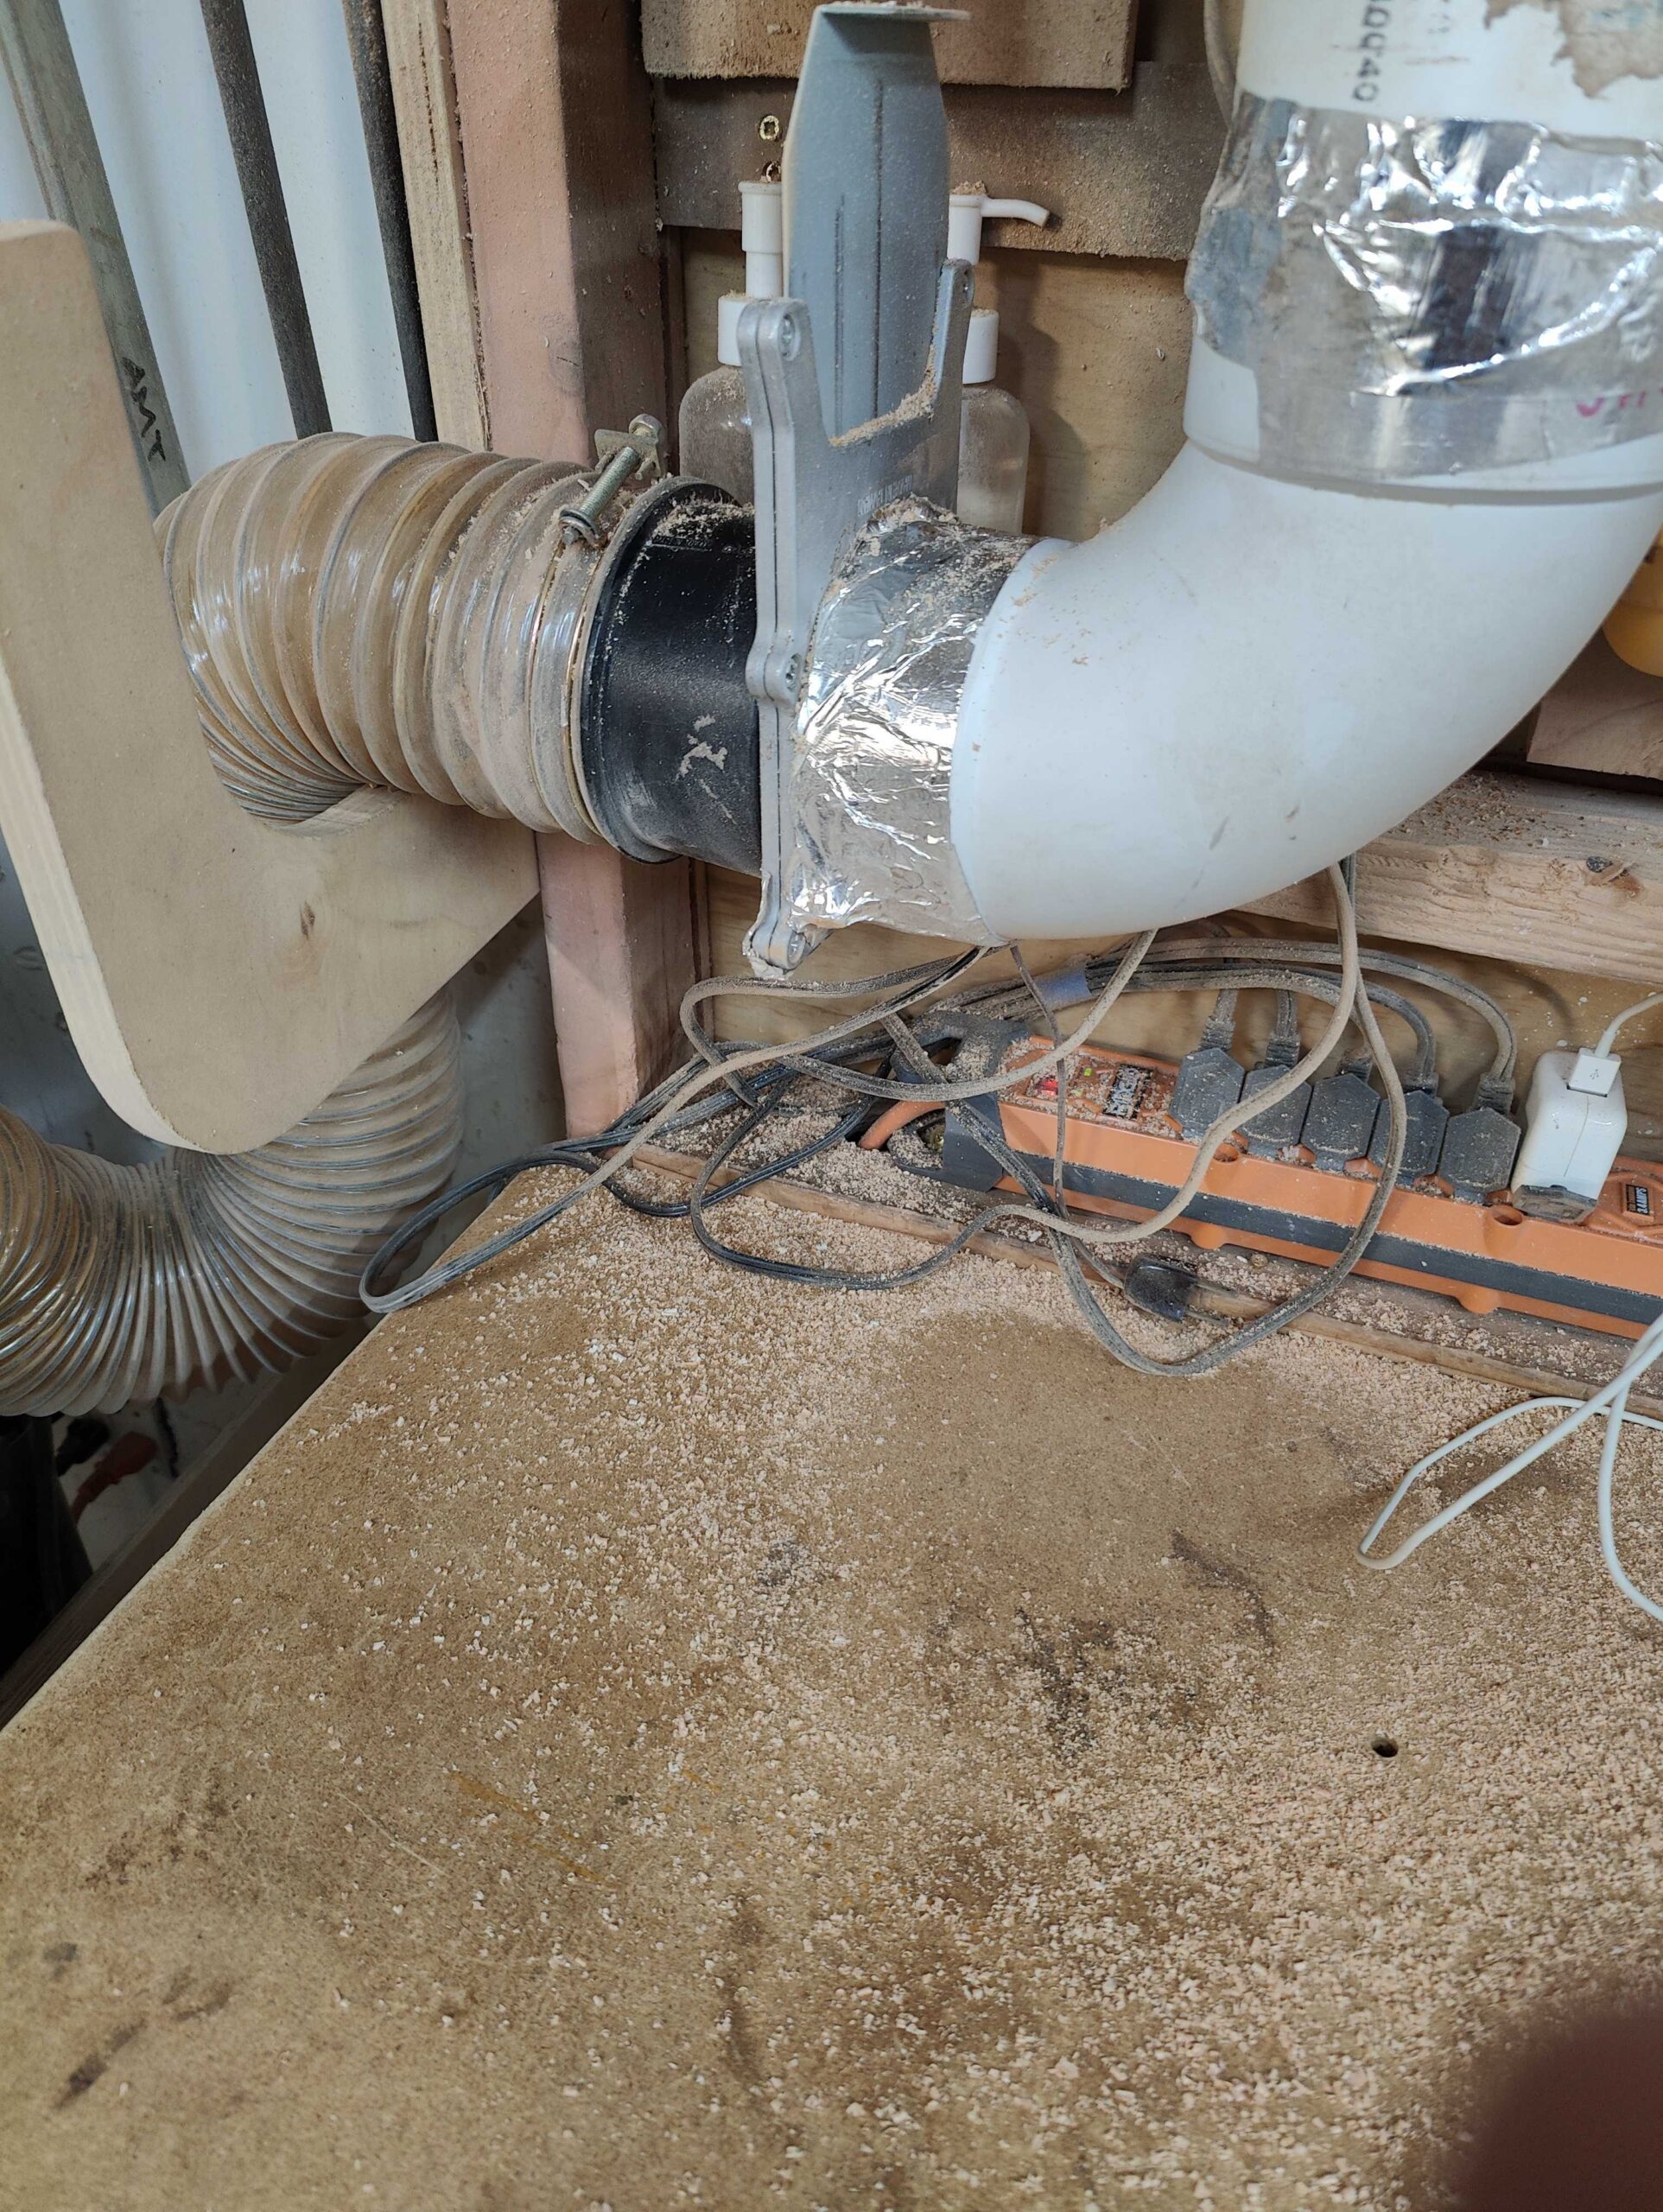
Examples of failing seals
An indicator that it is time to replace the seals on a gate is dust spraying everywhere.