Please note that these rules are provisional, and program support is still iterating.
Please note the policies described below refer to large-scale resin/epoxy pour. Things like doing fills on tabletops. This is not the policy for smaller projects that can be cured on the drying curing racks used in Art and during Art workshops.
- Product specifications must indicate safe indoor use
- Low VOC
- Known Viable Products (this list will grow as users contribute)
Before you start
- All resin pours must be performed under the vent in Clean Fab. The area is in front of the white board. This is our only truly vented space at Ace.
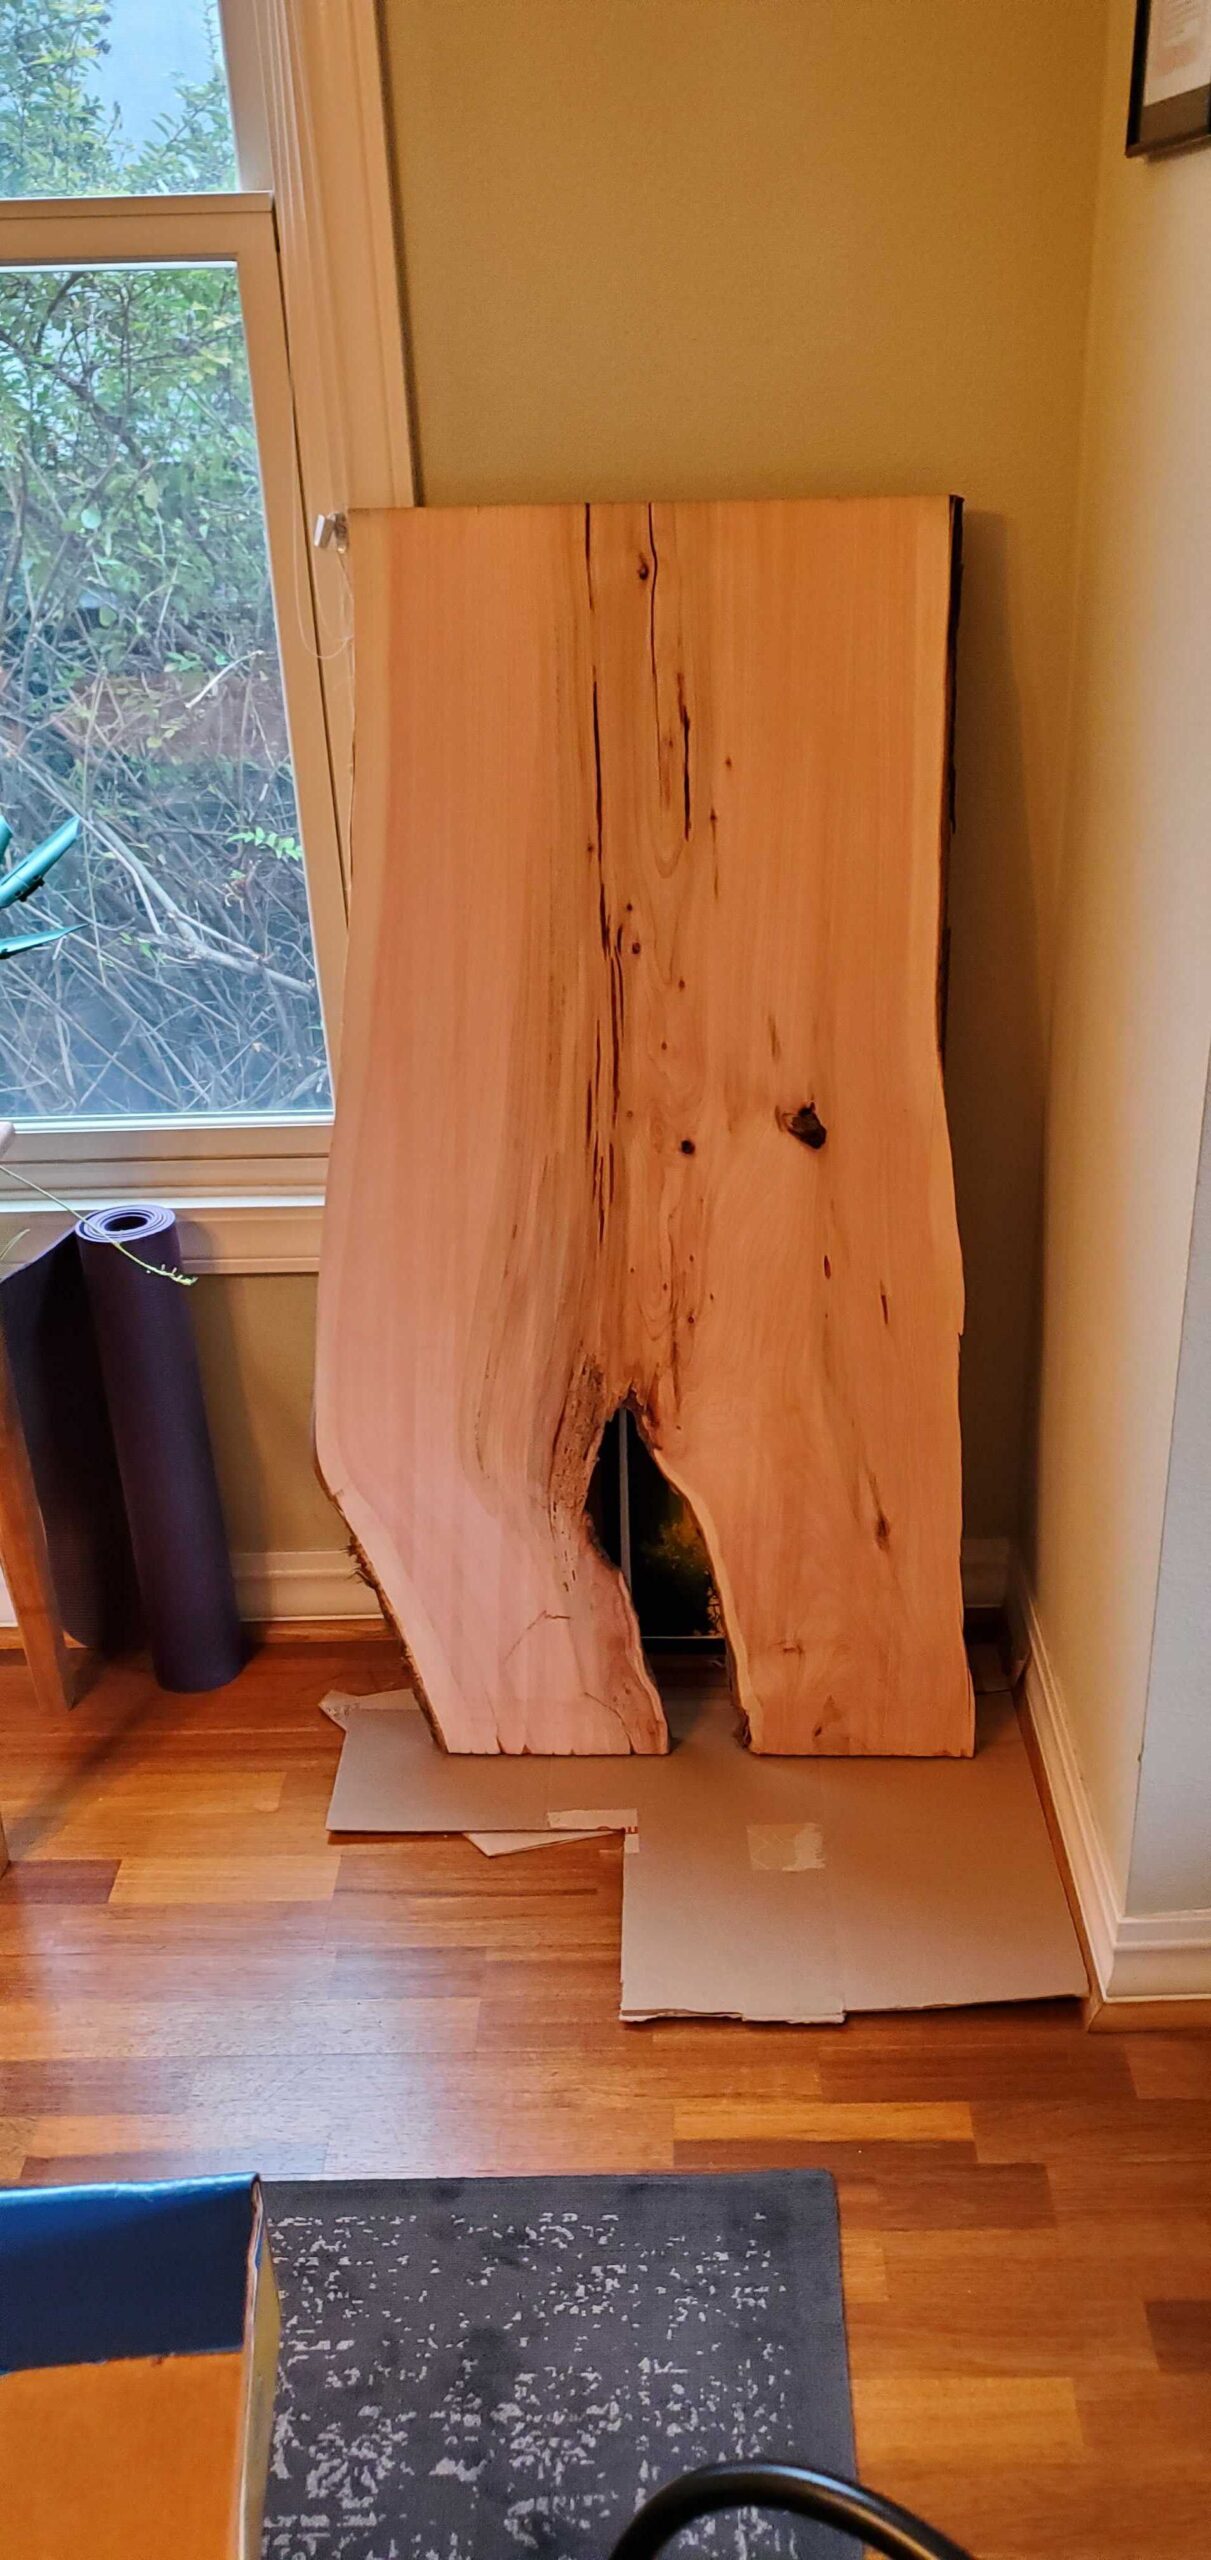
- The maximum size of a resin project is 3’ x 8’.
- Call dibs on the resin pour area at least 3 days before starting your project. Dibs should be cross-posted in workshop, and general. Let other members know how long your project is expected to take.
- The maximum time you may use the resin pour area for a single project is 7 days. Longer pours require pre-approval.
- Resin pours may be curing during event nights like electronics night and/or any other events using clean fab but you cannot be working on an active pour during planned events. Your project may be in the resin pour area during these events, but you cannot be actively working on it.
Setup, Pour, and Curing
Setup:
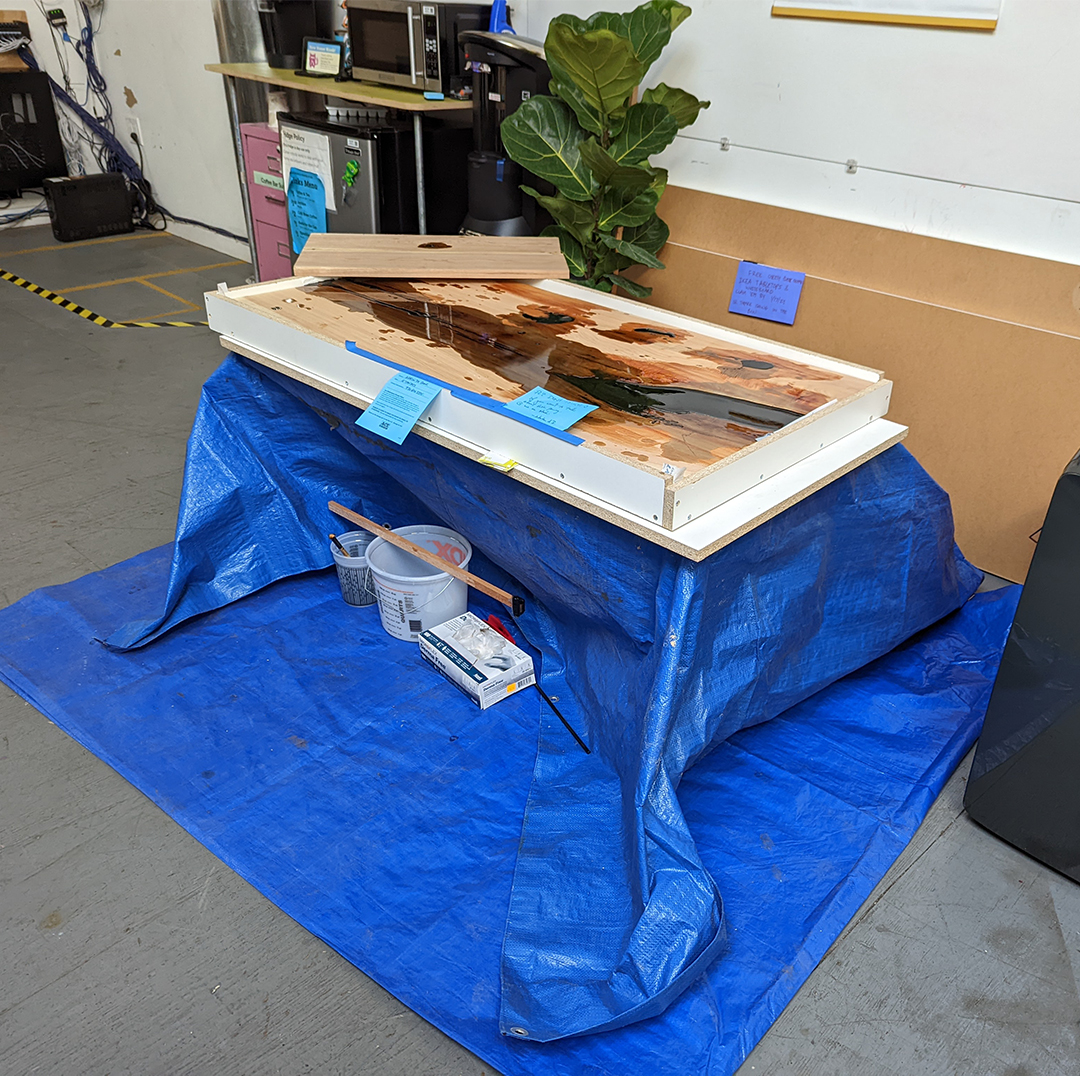
- Cover the floor of the resin pour area with a blue plastic tarp (do not use canvas tarps) and create a small perimeter (e.g., using 2x4s) to capture any resin that spills. Resin likes to flow so think of this setup as creating a shallow pool.
- Set up the tables to do your pour on if relevant. There are folding tables you can use if you cover them with blue tarp.
Pouring:
- Make sure in your dibs you let folks know when you are doing your pour.
- Make sure to clean up after your pour. Do not leave containers full of excess epoxy/resin in the area for folks to tip over. Please note that two-part epoxy generates a lot of heat at the beginning of the curing process. Enough to melt plastic containers.
- Capped containers can go in the dumpster.
- Make sure all stir sticks, sticky rags etc. are disposed of as well.
Curing:
- Turn on the vent! Leave a note asking folks to leave the vent on for the next 24 hours. (date, day, time)
- Leave a blue tag with your contact information as well as the expected end date of your pour.
- Check your project daily for exhaust, spillage, etc.
- (Ideally) document your project for Ace media/newsletters and better wiki posts!
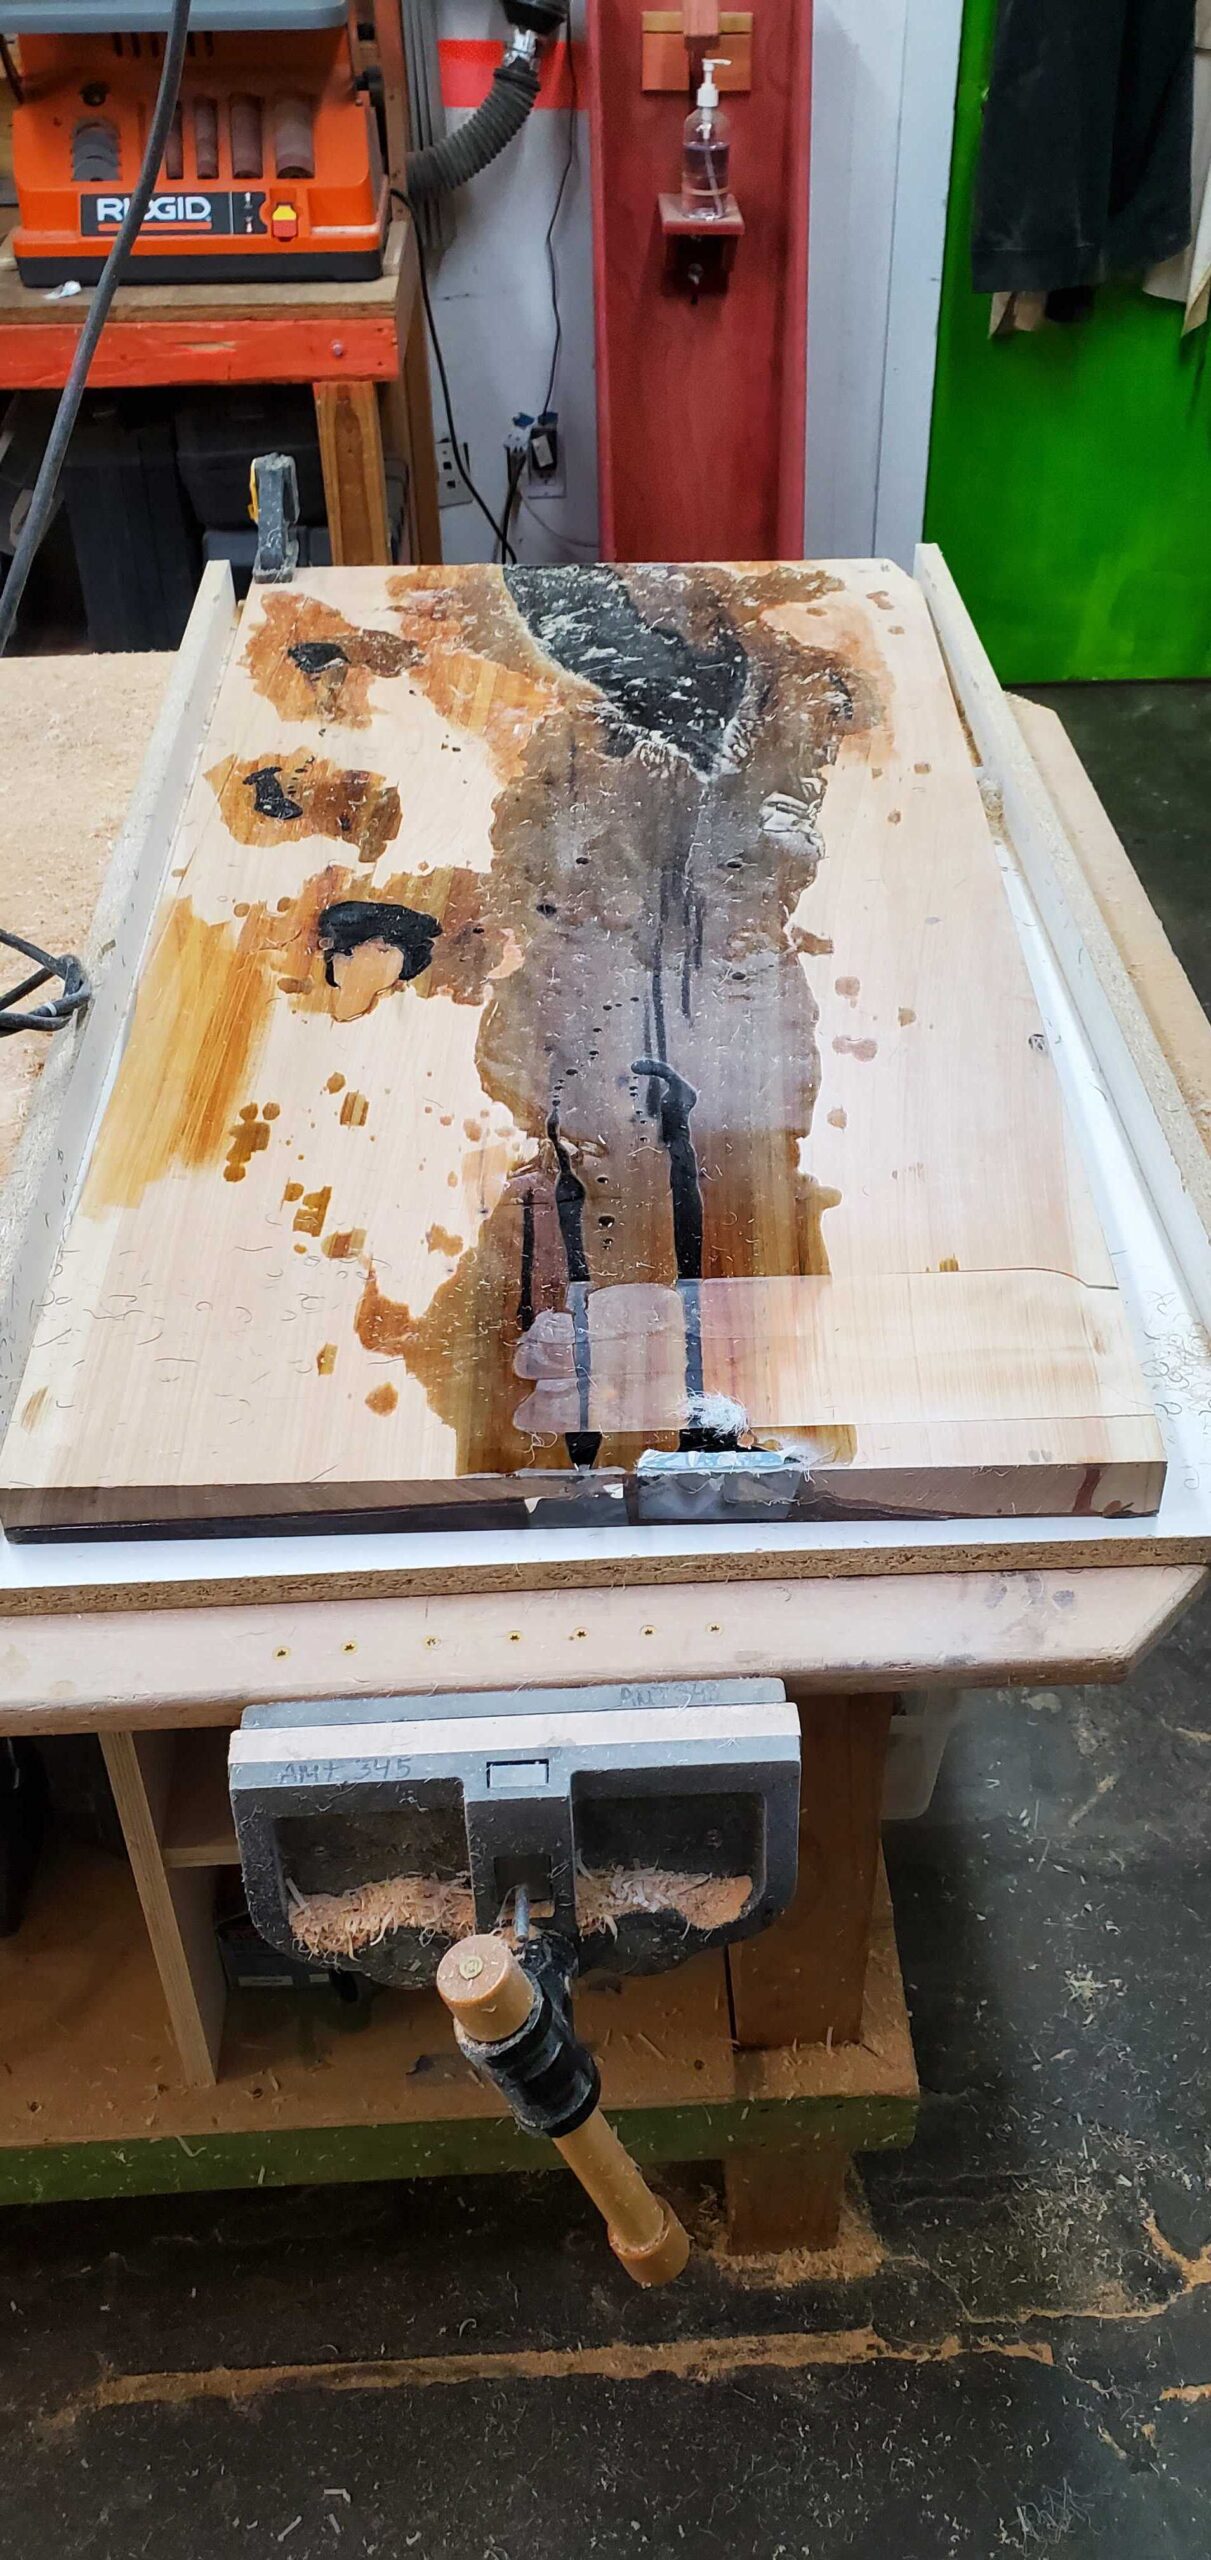
Example Setup
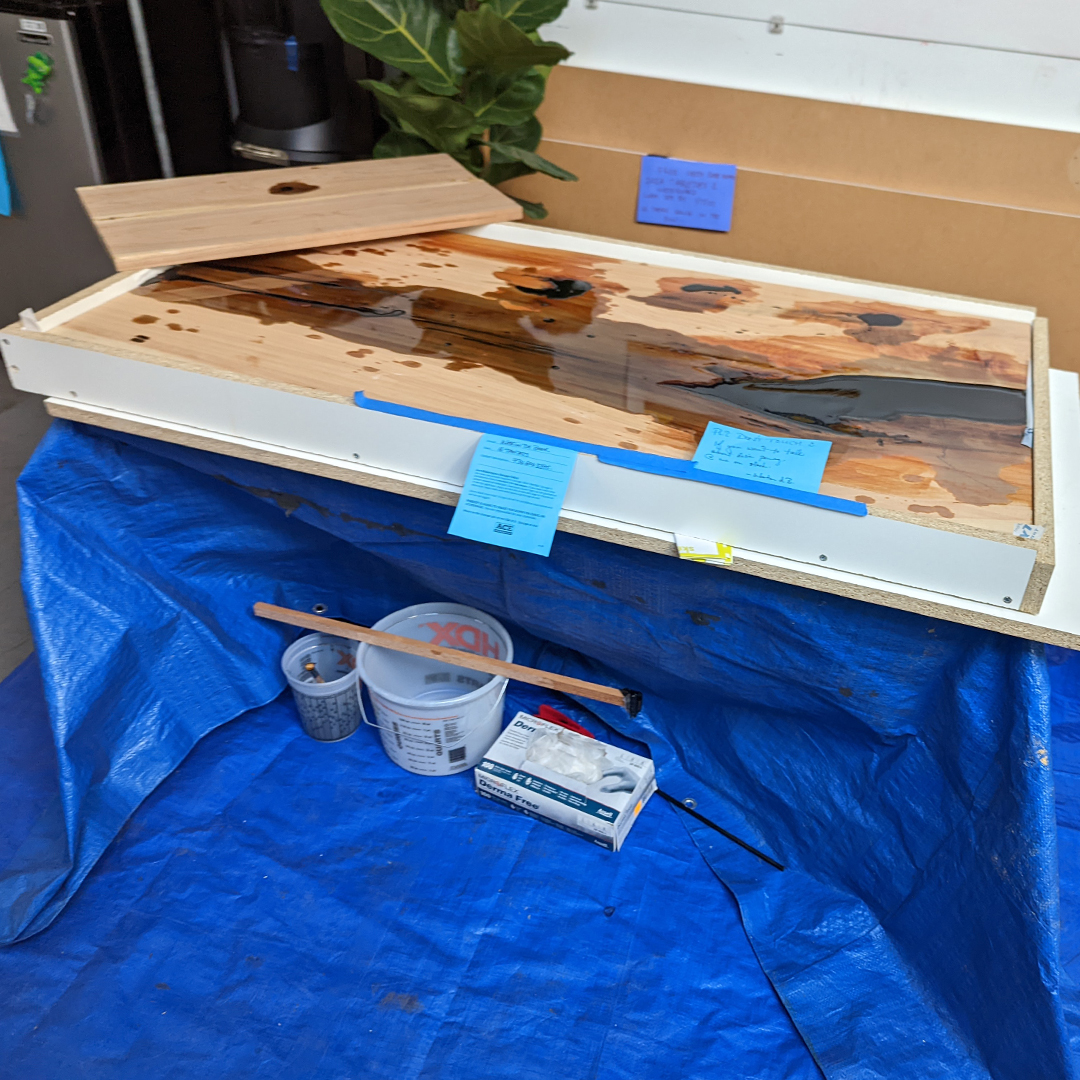
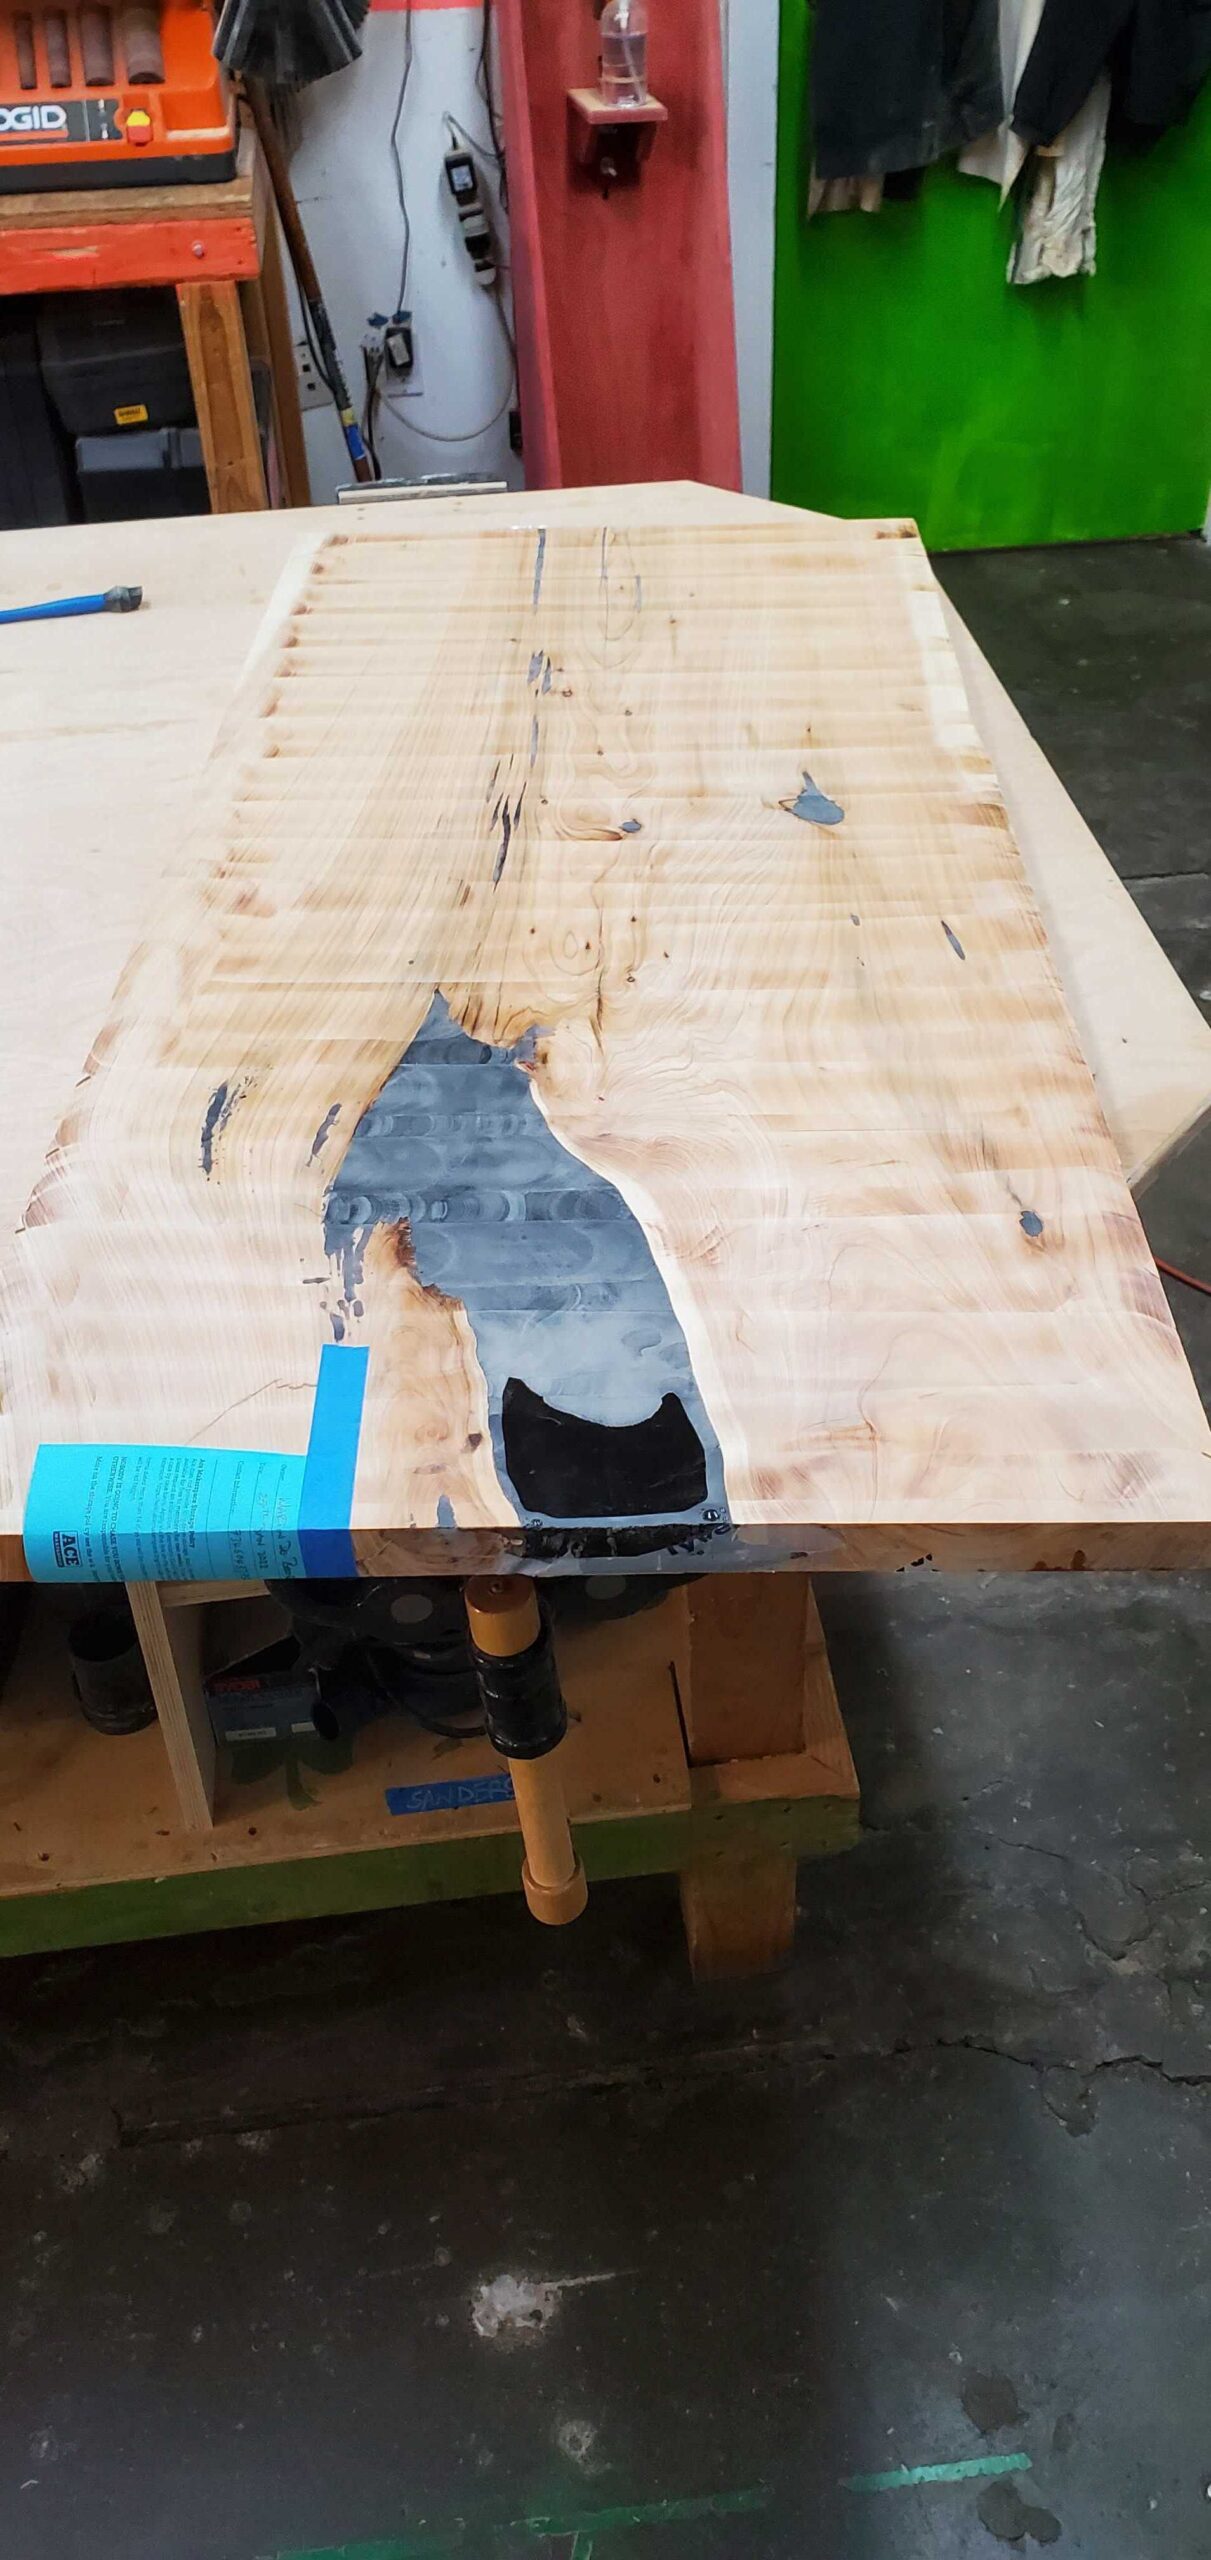
Example Project
Project Credit: Martin DeBeer