This is a draft. Photos to be provided soon.
Summary of the steps
The basic assembly goes like this:
- Cut the fabric for the body and the liner
- Sew the panels together
- Cut and sew the corners
- Place the straps and sew in place
- Sew the liner to the outside
- Turn and top stitch the top and straps
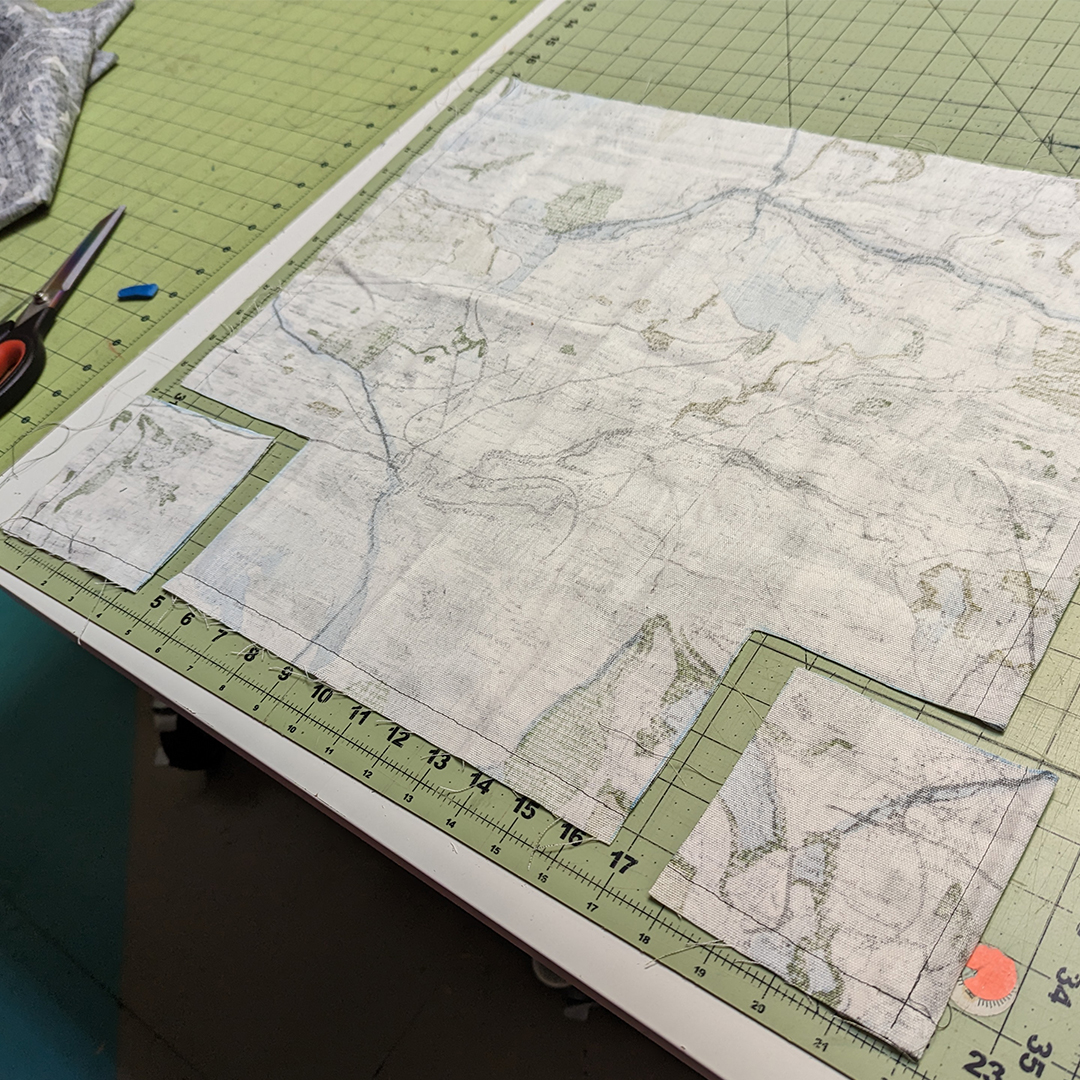
Step 1 – Cutting the fabric
There are two ways to cut the fabric. You can use a ruler and cut the pieces to 18 inches tall and 21 inches wide. There should be two pieces for the inside and two for the outside. Or you can use the acrylic templates.
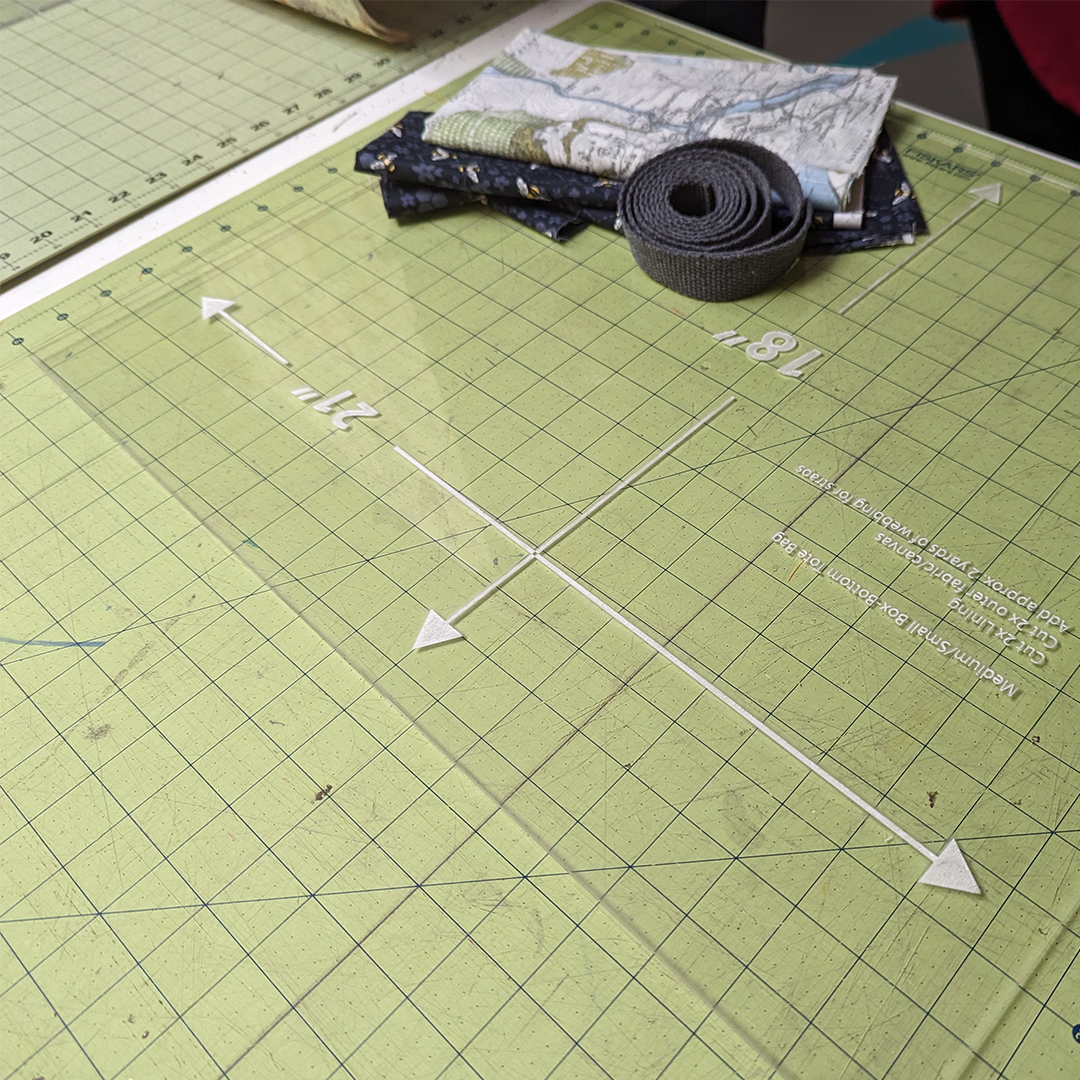
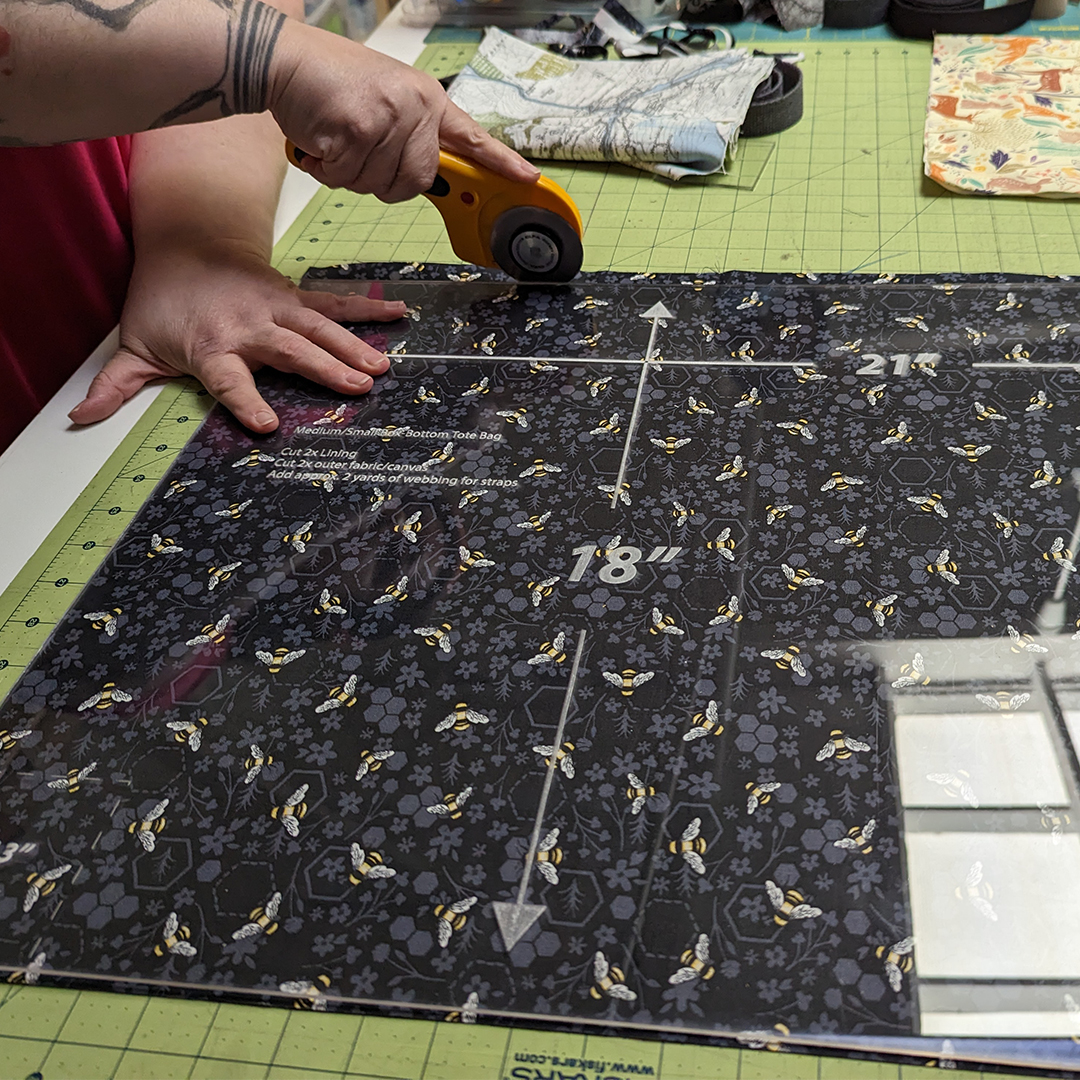
Next, Cut out the bottom corners using a 3″ square. There are acrylic templates for this as well. Cut the corners out on all 4 pieces. It is okay to cut two layers of the fabric at once.
Step 2 – Sew the panels together
Match the good sides of the outer fabric together Sew the outside and bottom, but DO NOT sew into the corners. Do back stitch at the beginning and ended of sewing each side. Use a .5” seam allowance.
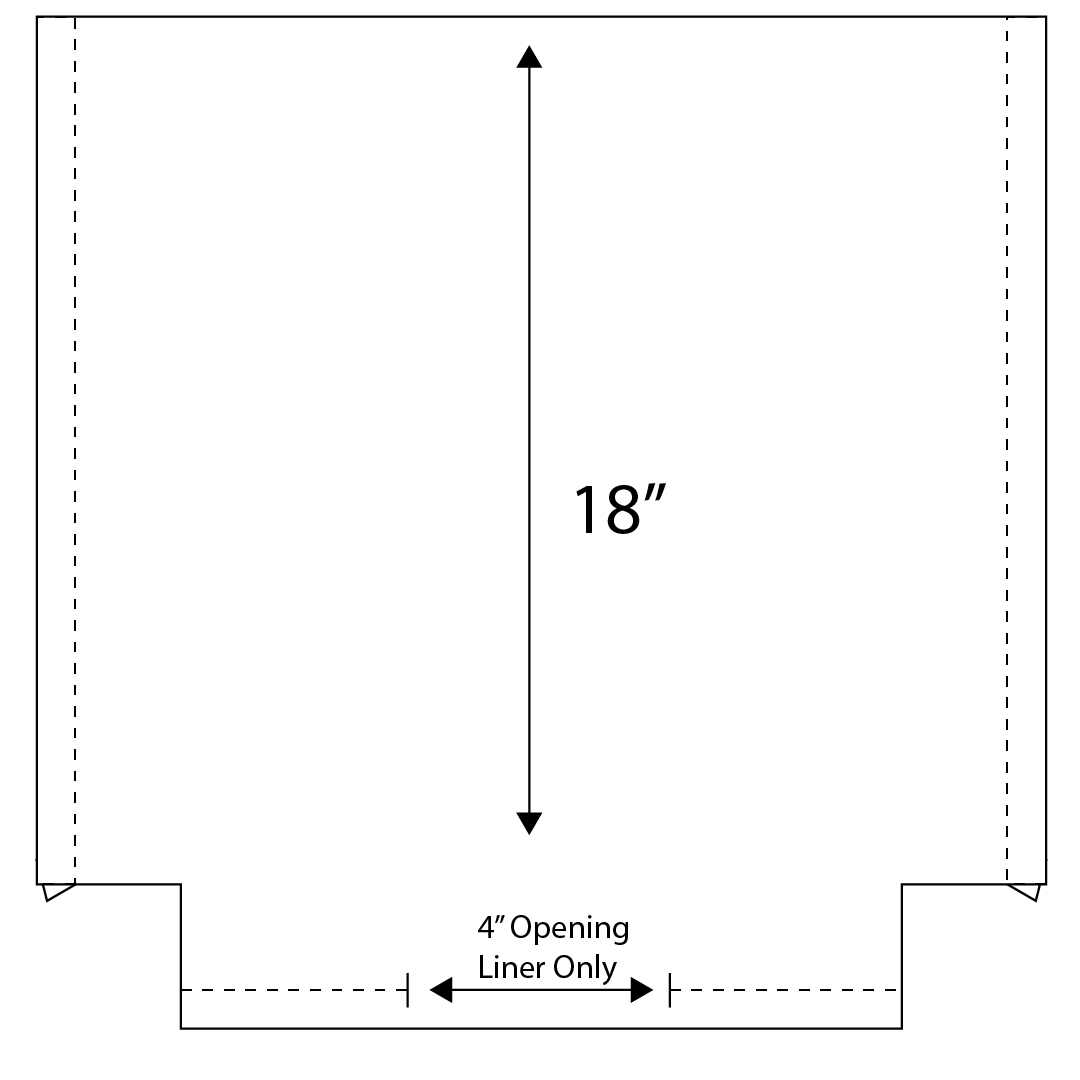
Repeat the steps above to sew the liner, But leave a 4” open area across the center of the bottom.
Adding Pockets. Stop at this point and sew any pockets on the liner or outer layers at this point. It is much easier to do while the pieces are flat.
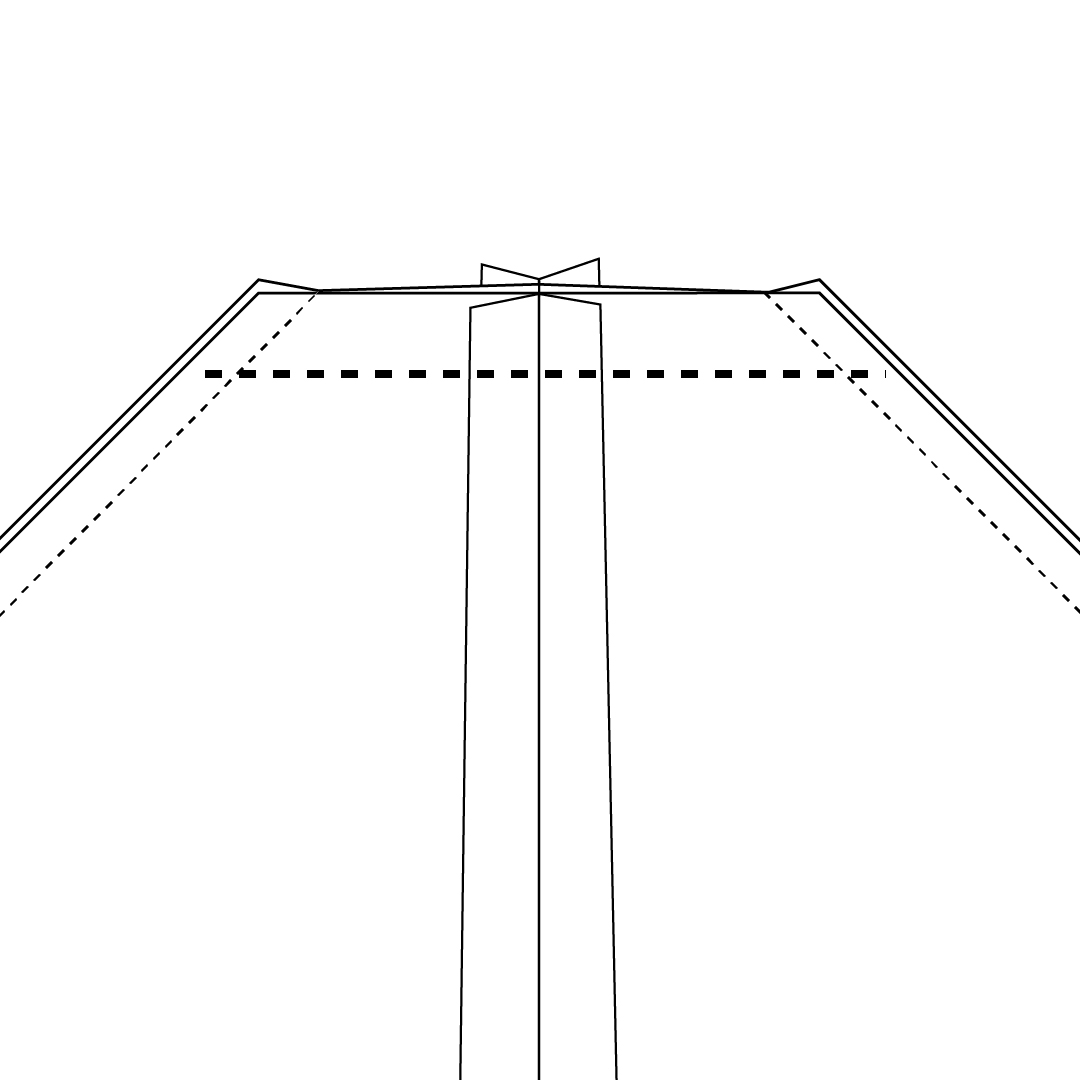
Step 3 – Sew the corners
Press out the seams flat to make them easier to match up.
Match up the seams, and sew across the open edge with a .5” seam allowance.
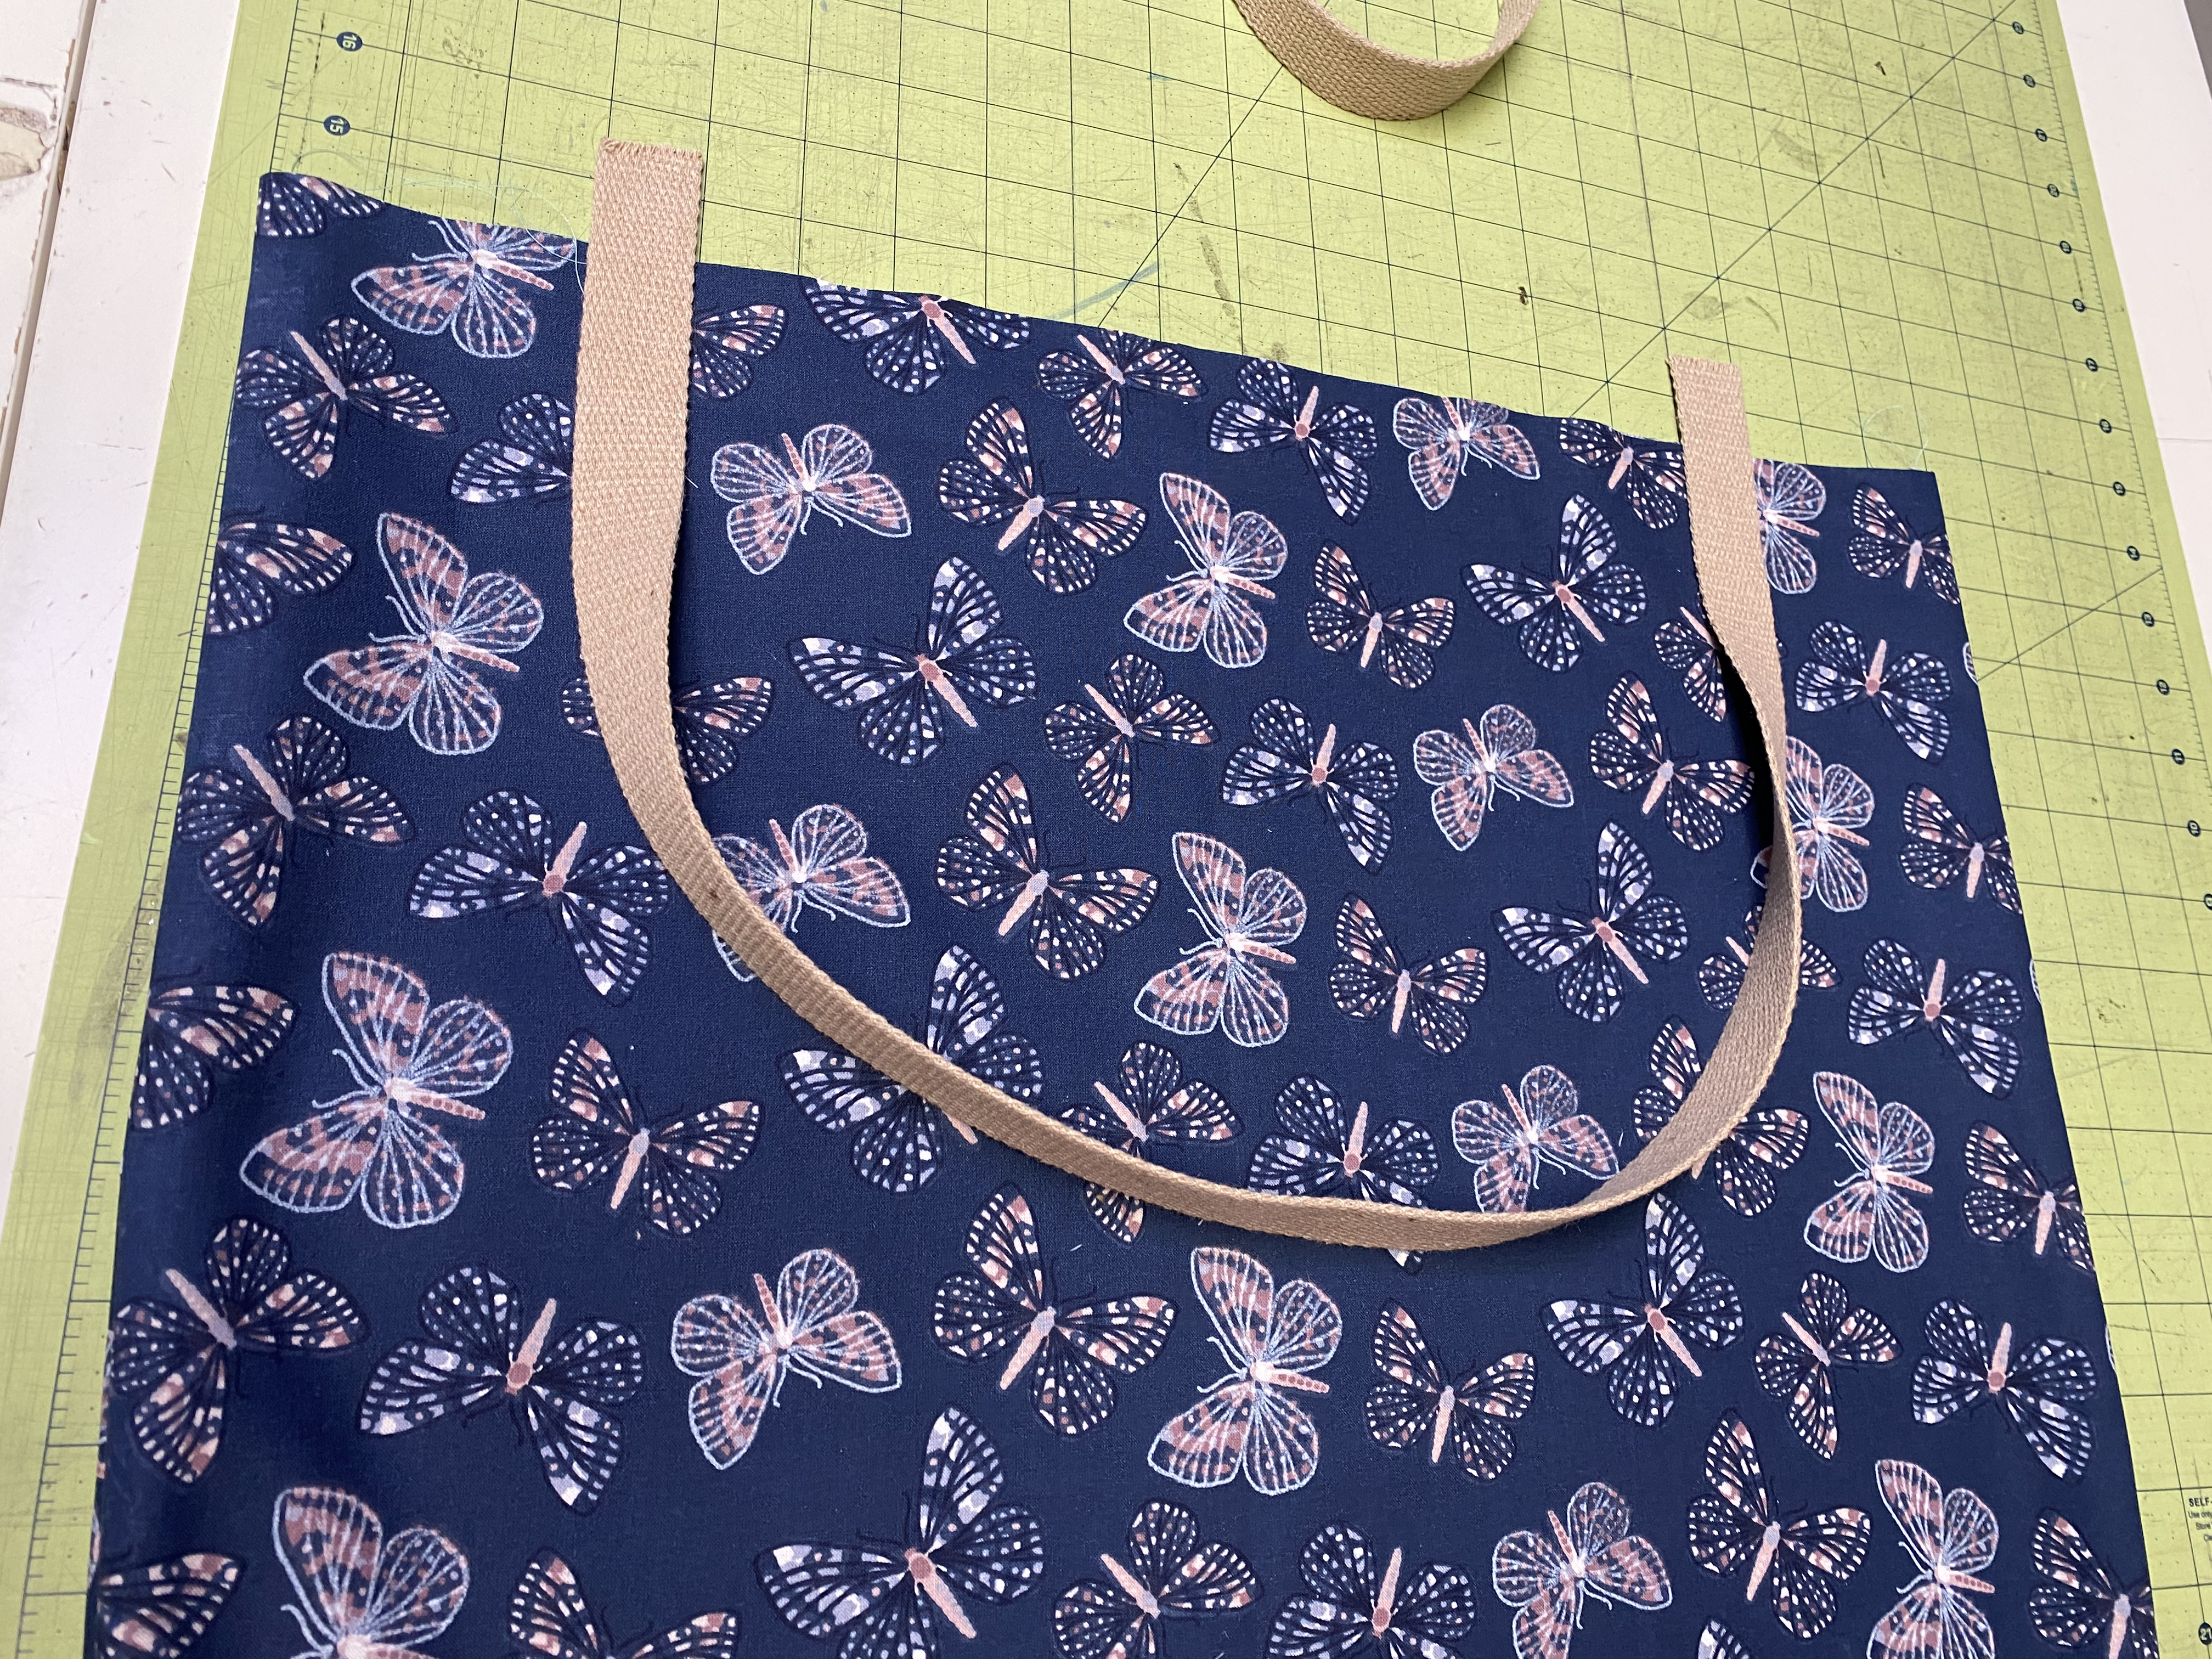
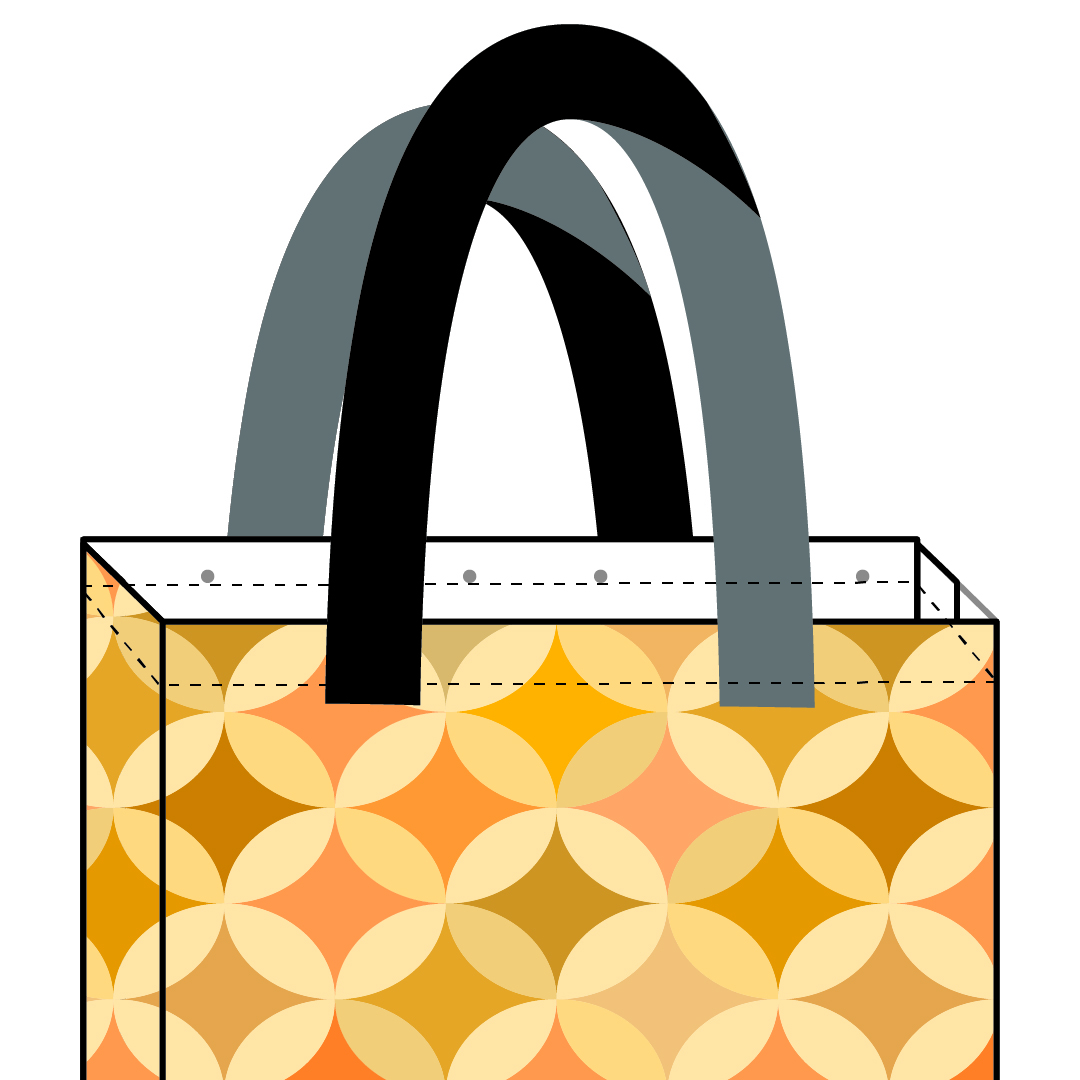
Step 4 – Place the Straps
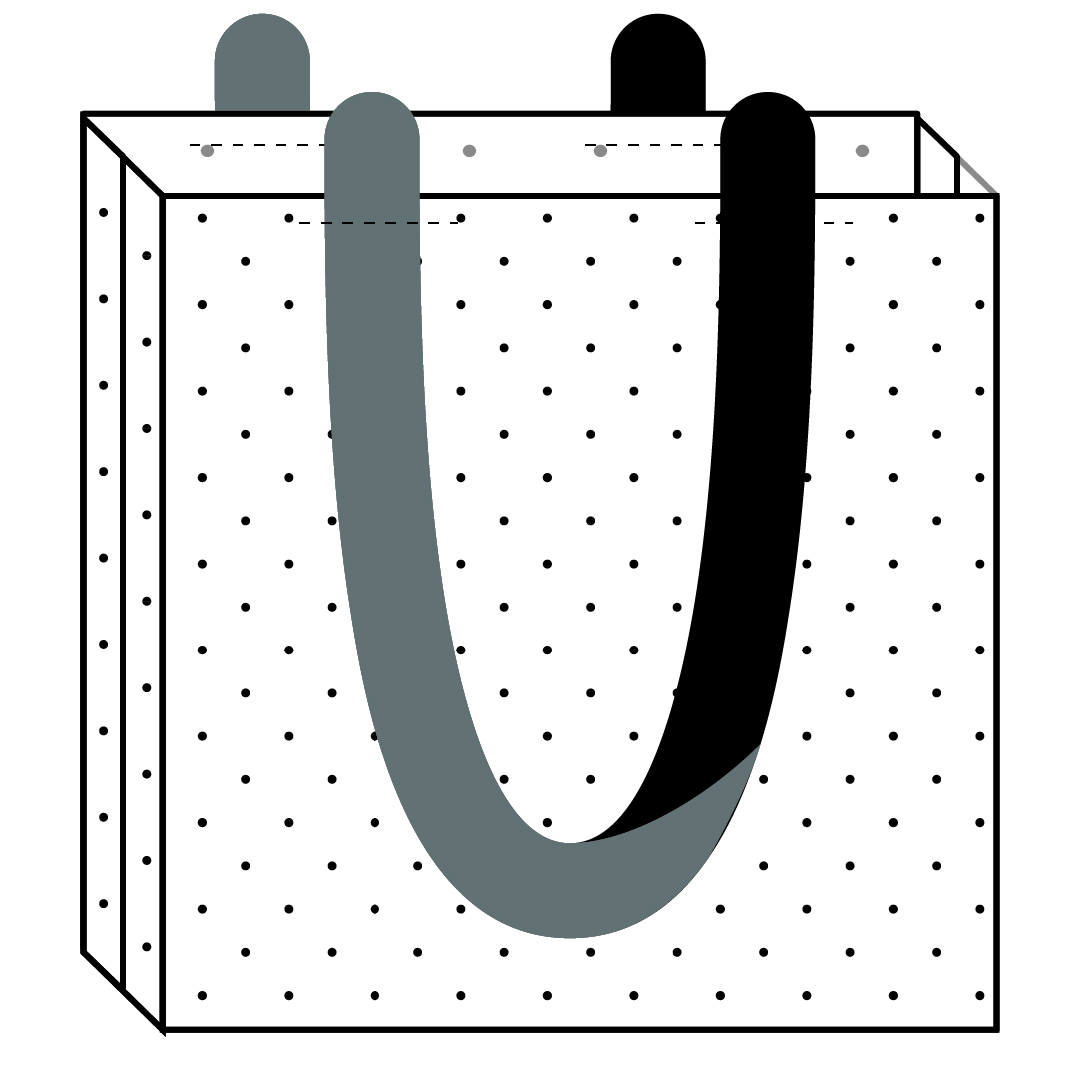
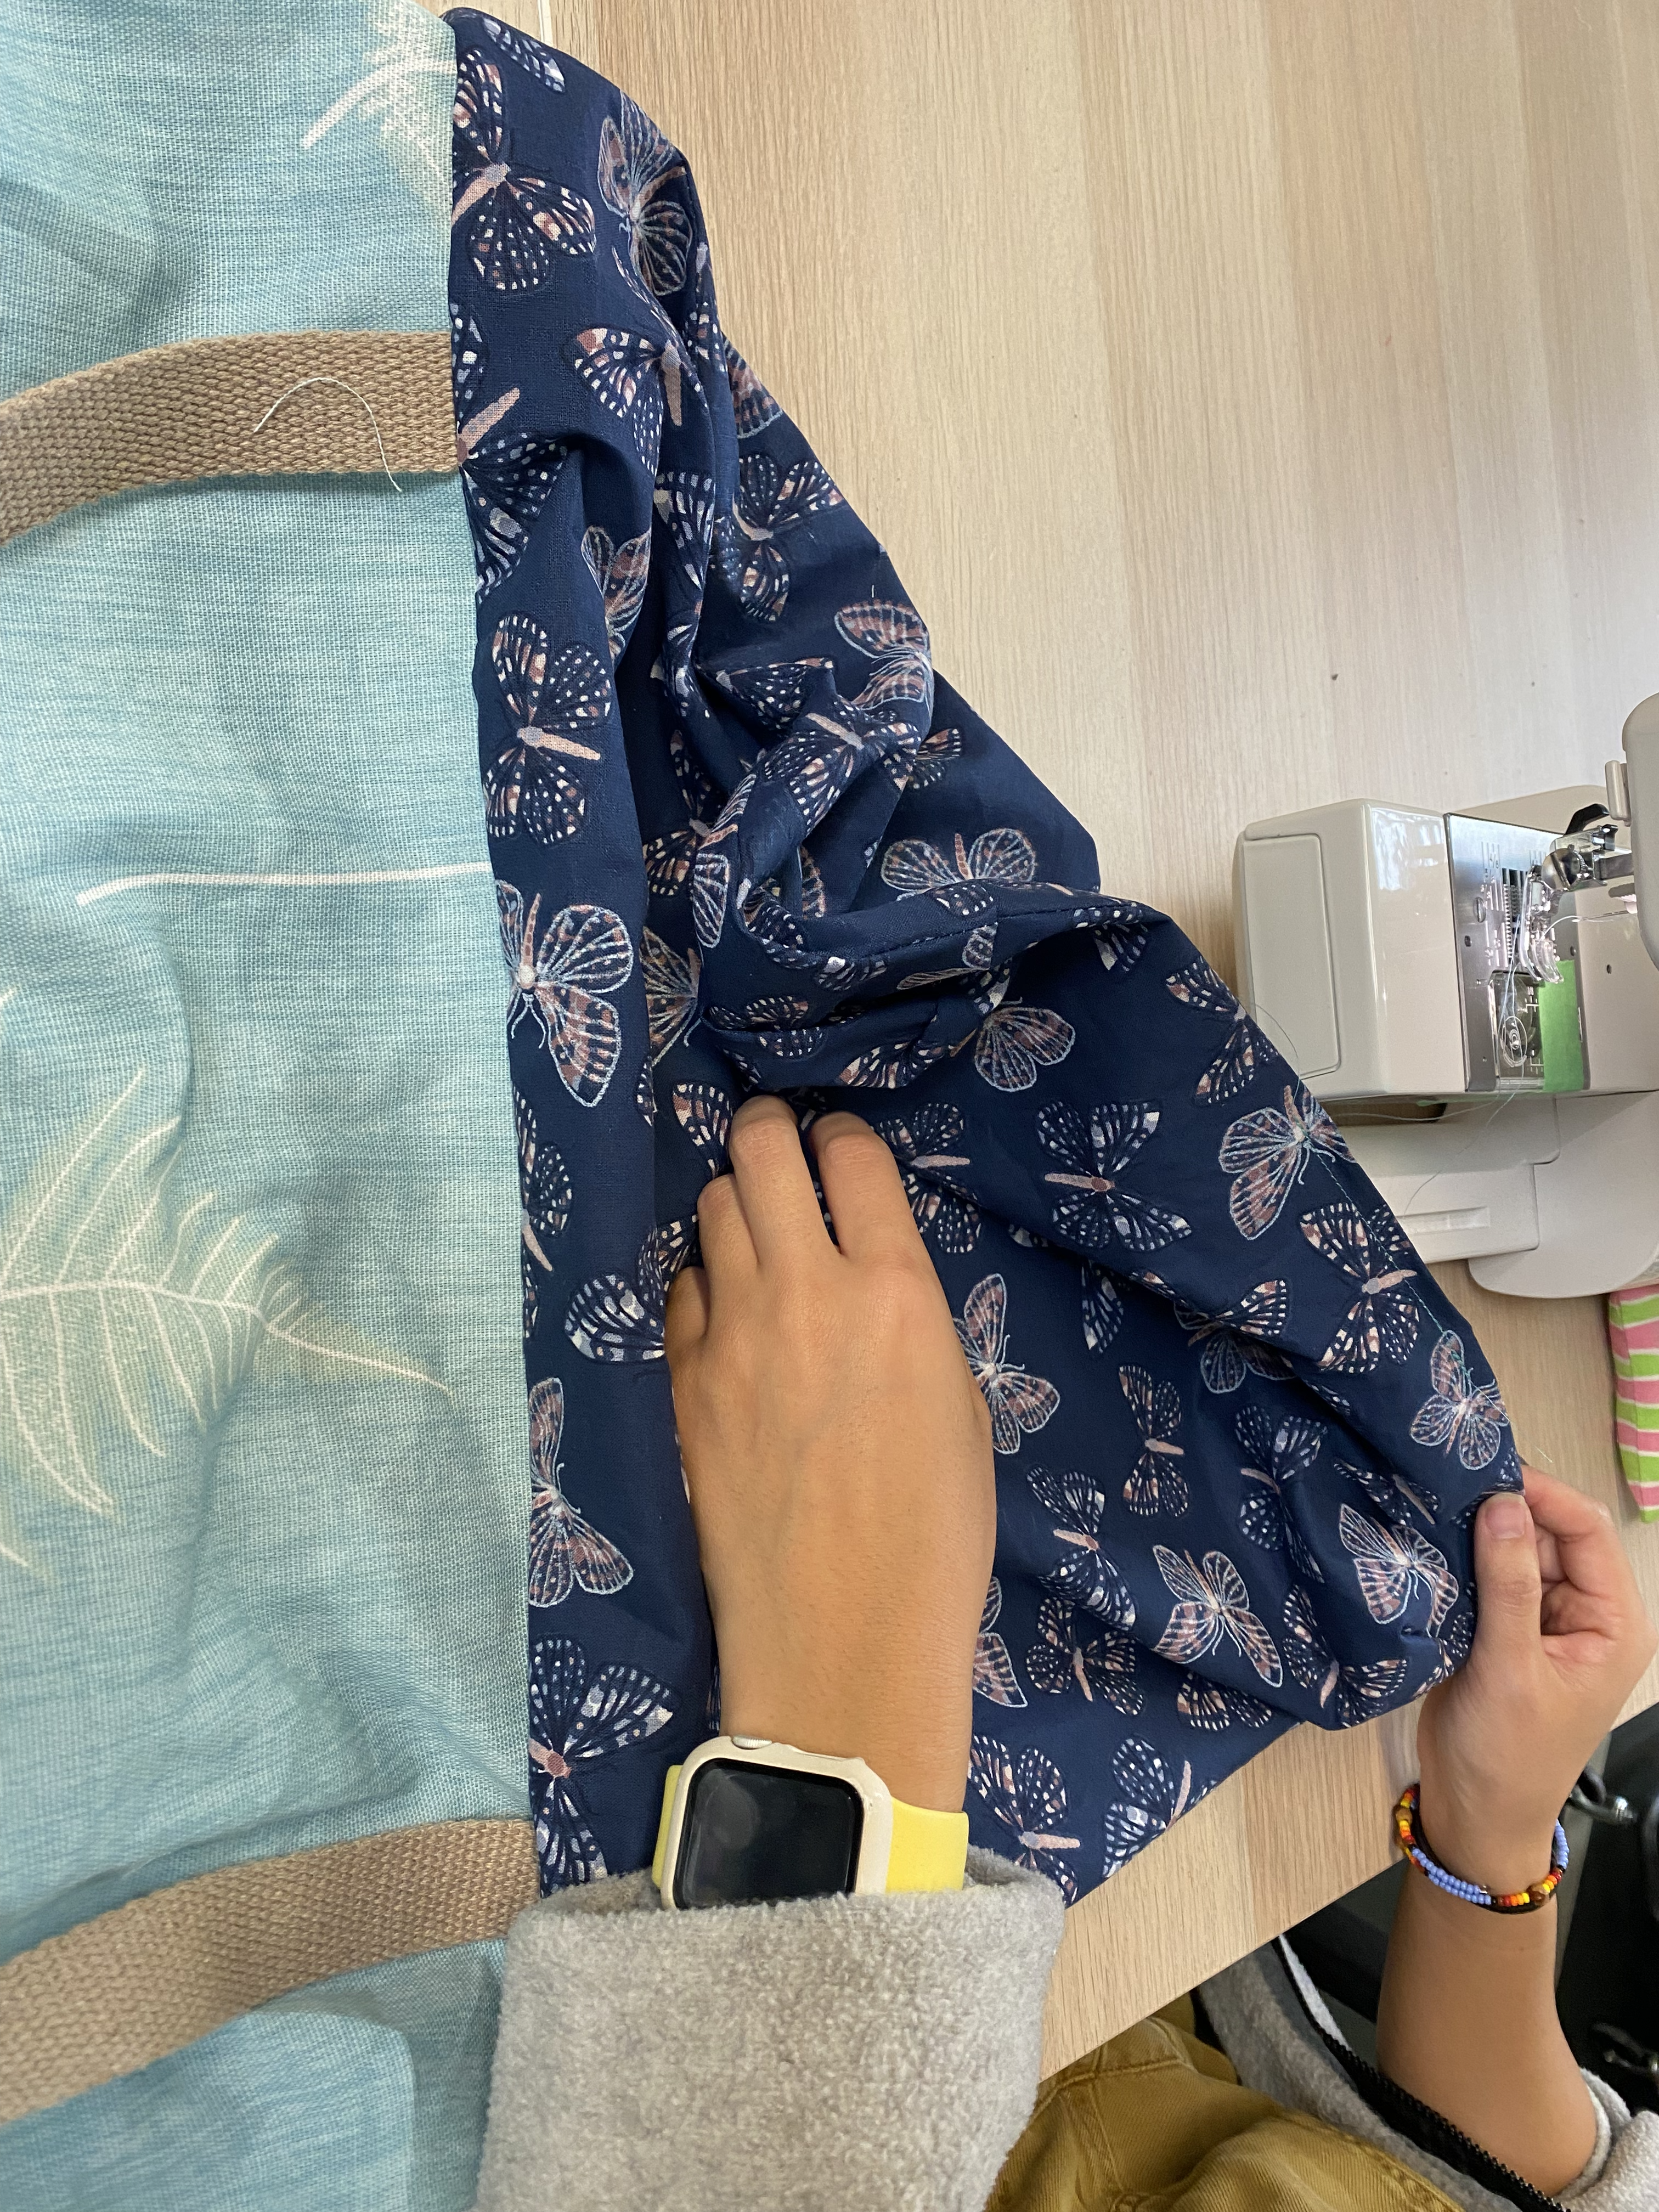
Place the ends of the straps on the good side of the liner and sew them down. Make sure there is at least 1.5” overlapping the edge. This will be inside the bag after you flip it, giving you enough strap to secure with additional sewing.
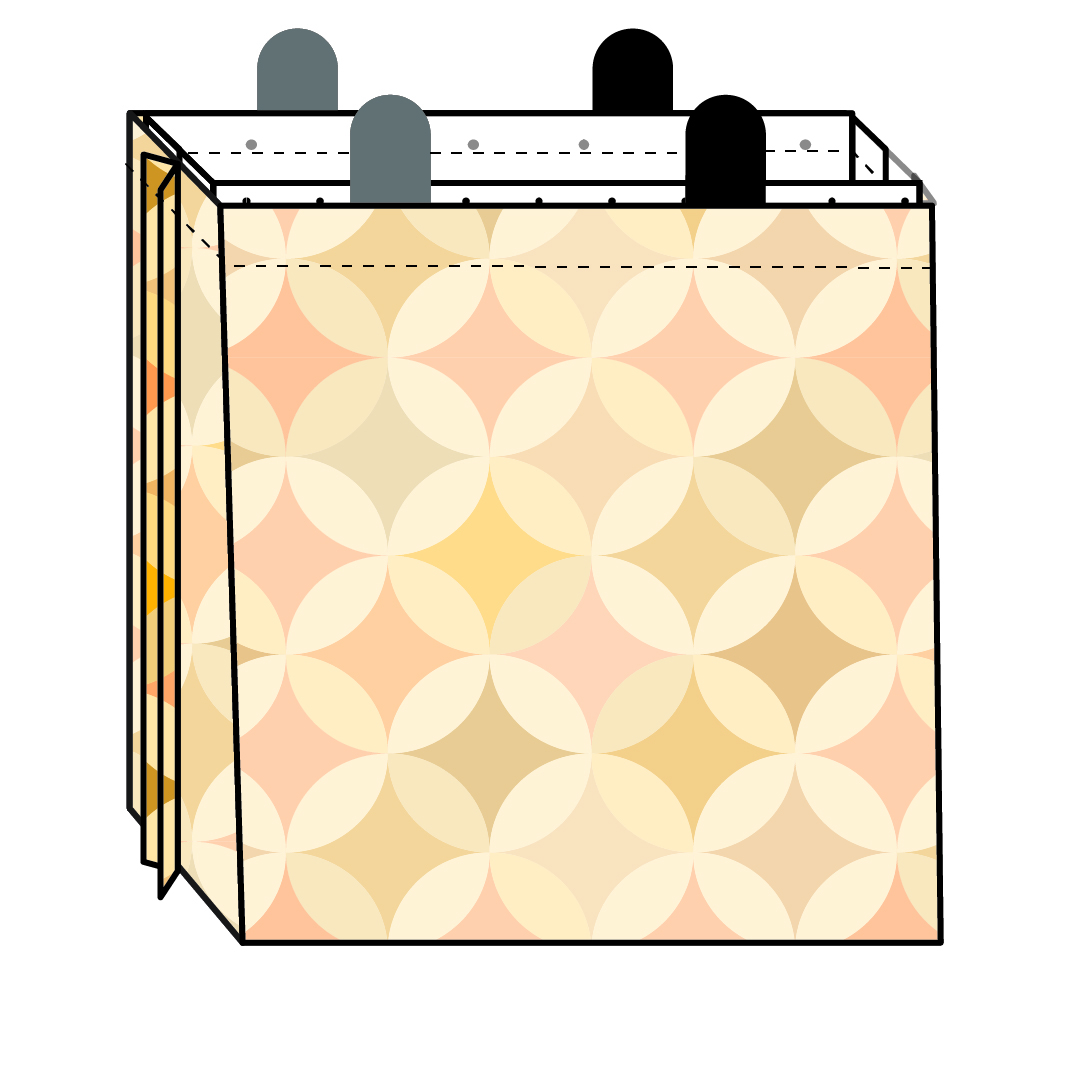
Step 5 – Sew the liner to the outer side
Place the liner inside the outer layer good sides together.
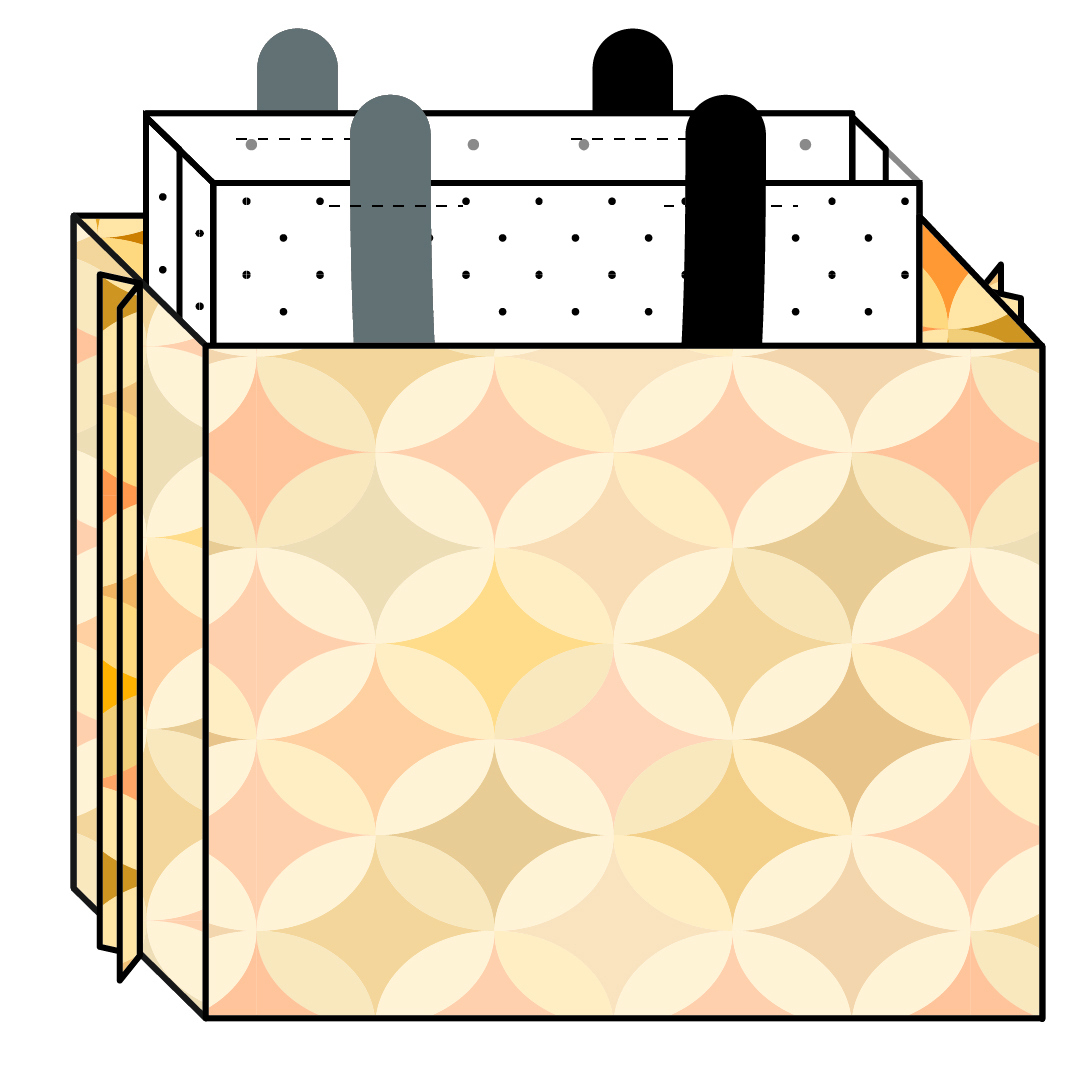
Sew around the open edge of the top.
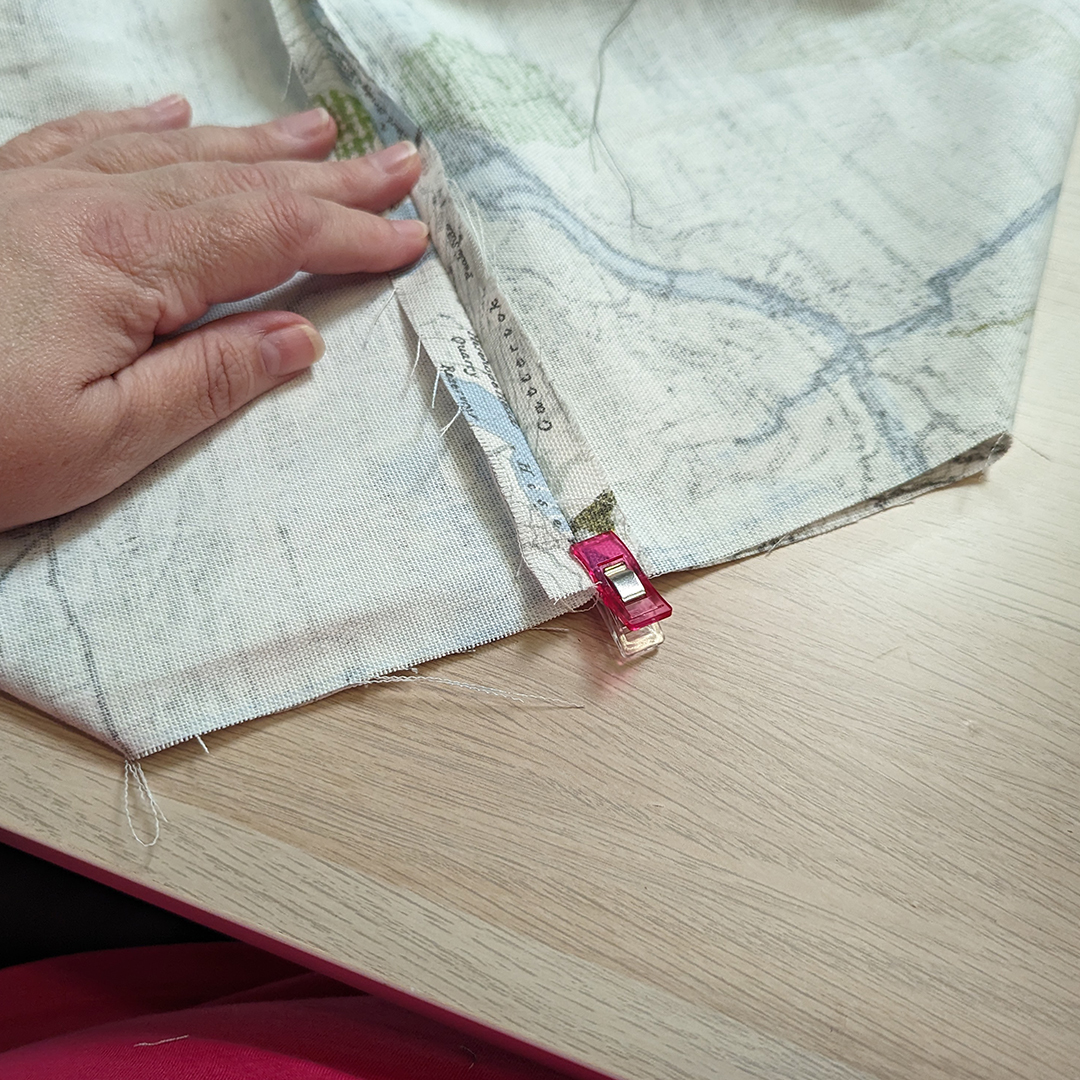
Reach through the open bit of the liner and turn the tote right side out.
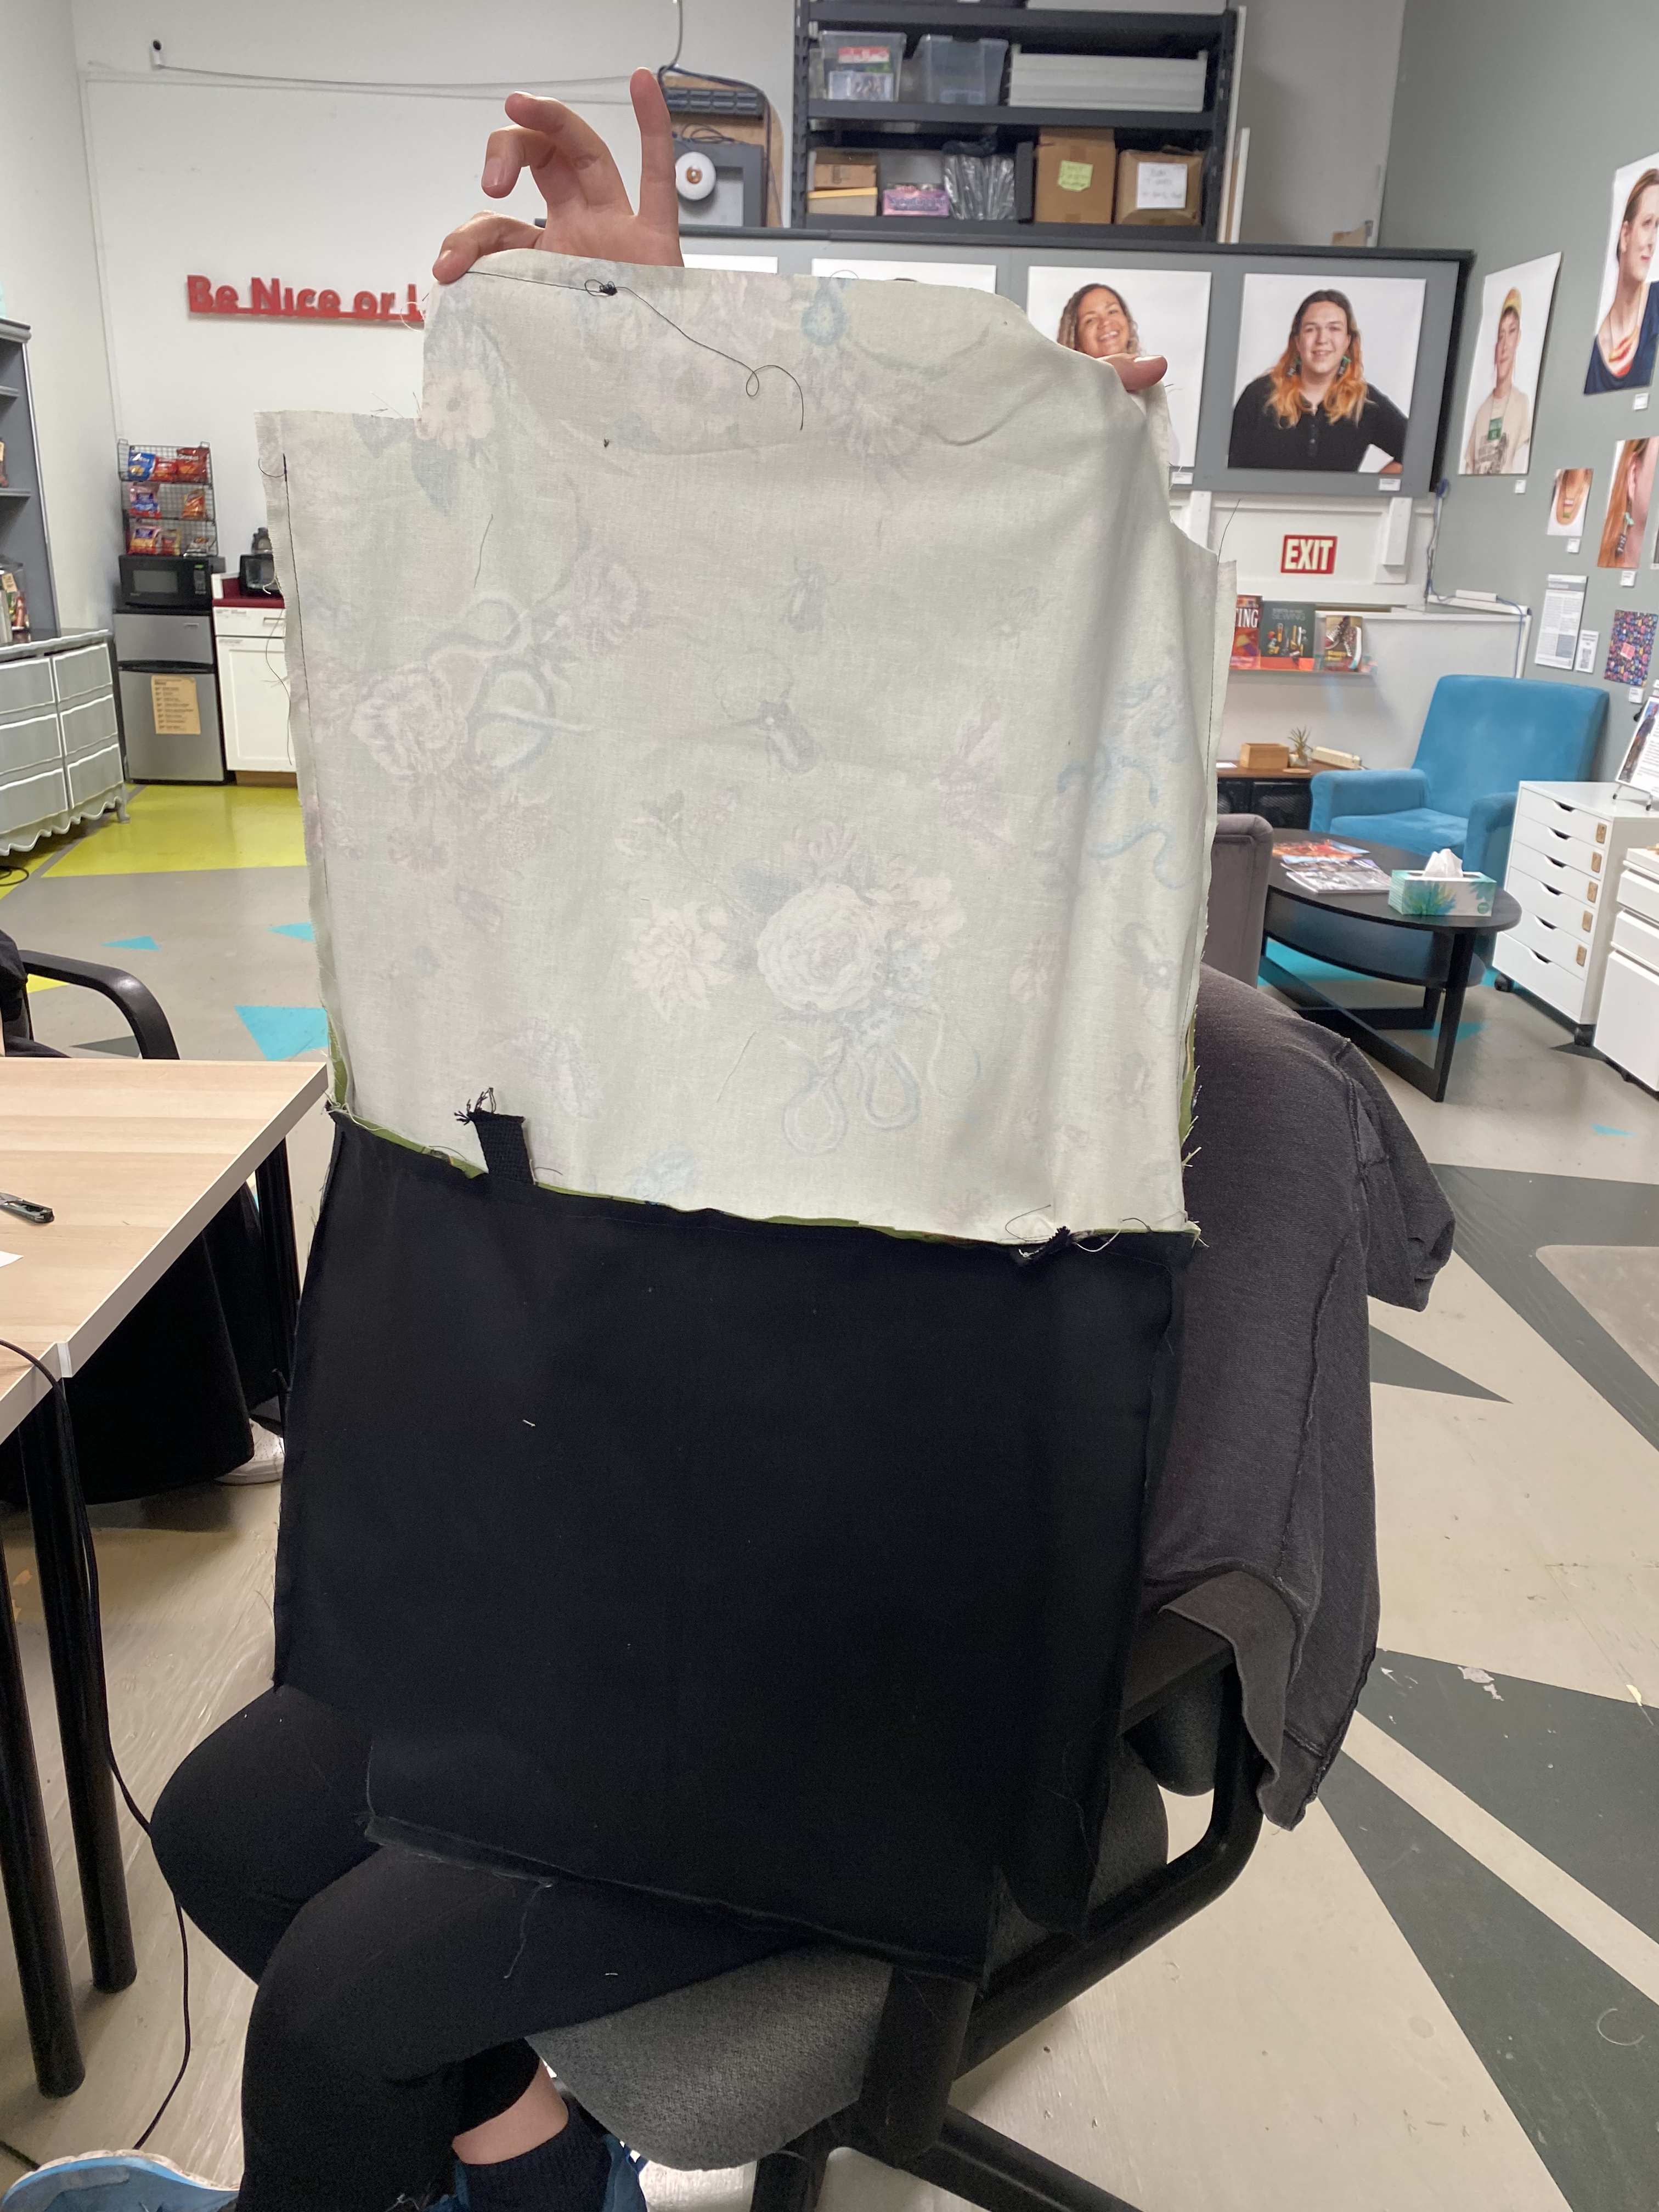
Pull the liner out and sew the opening closed
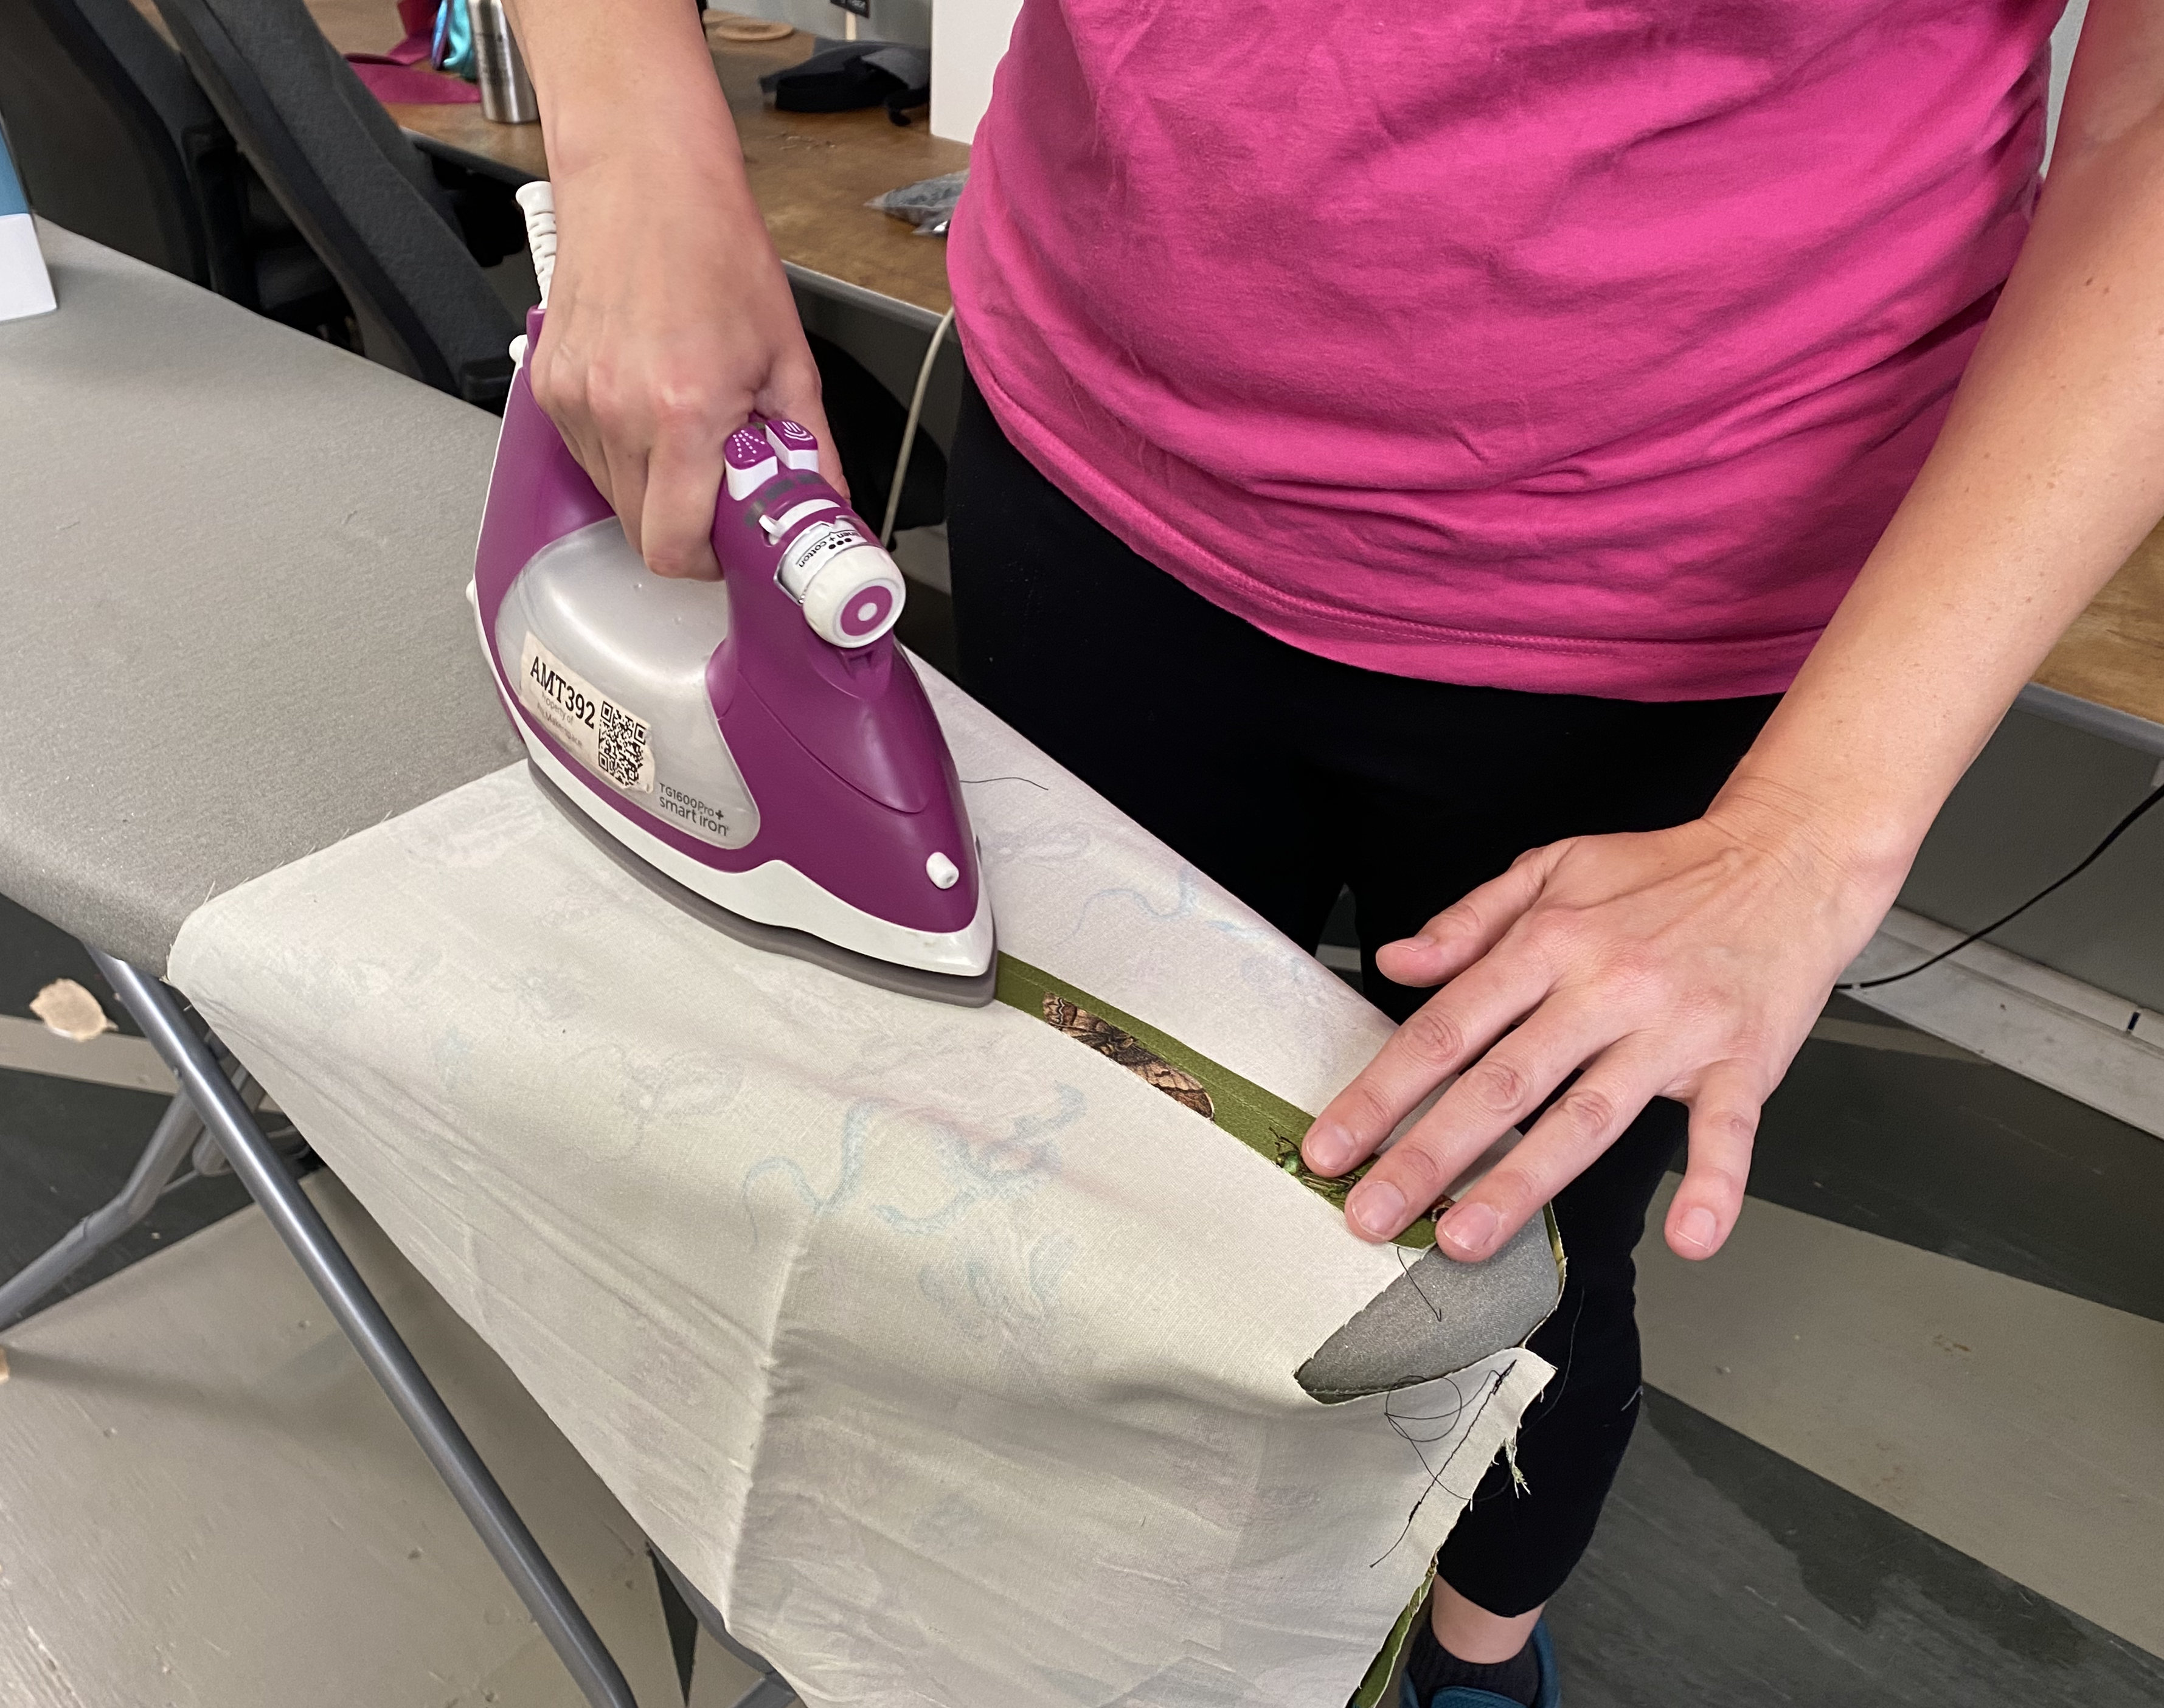
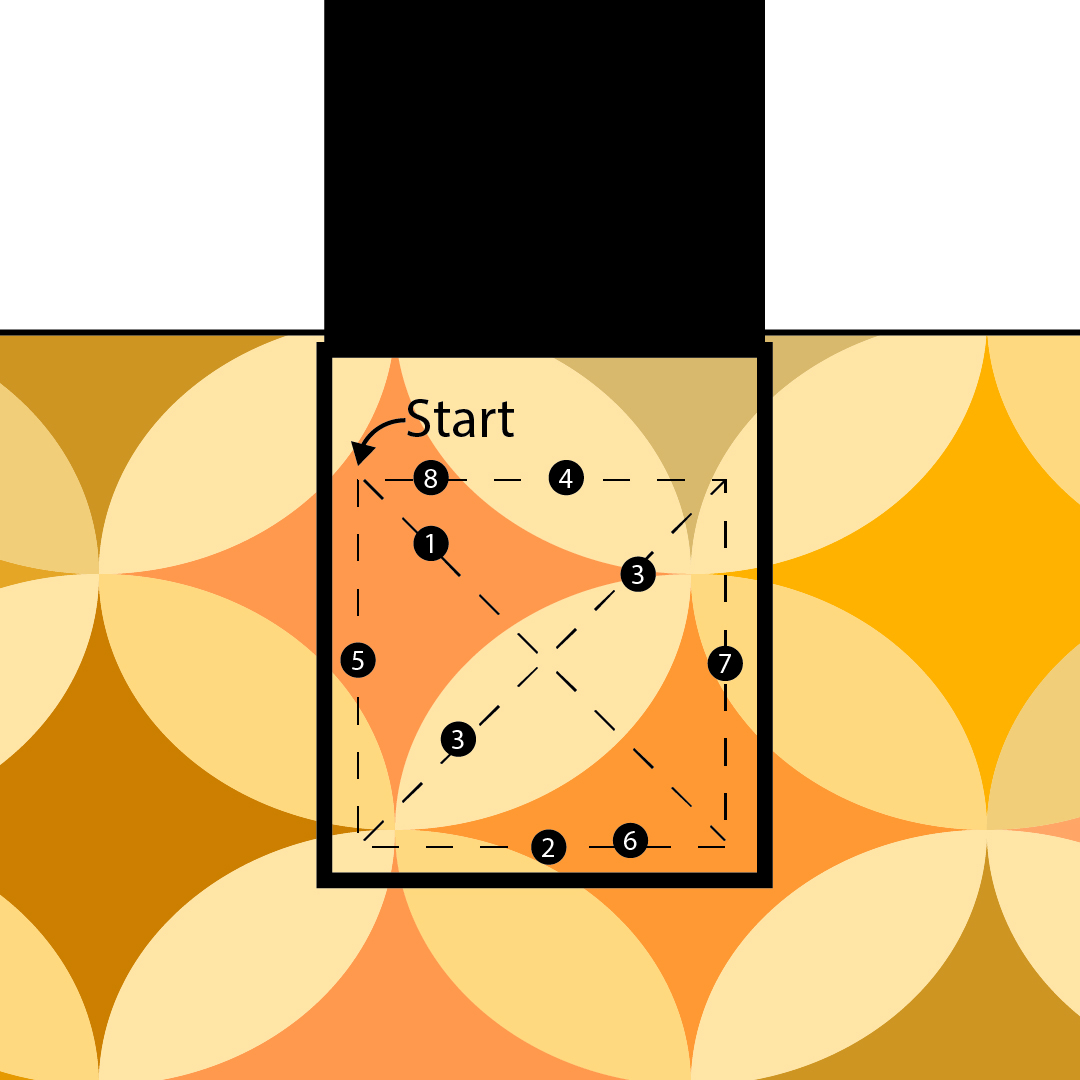
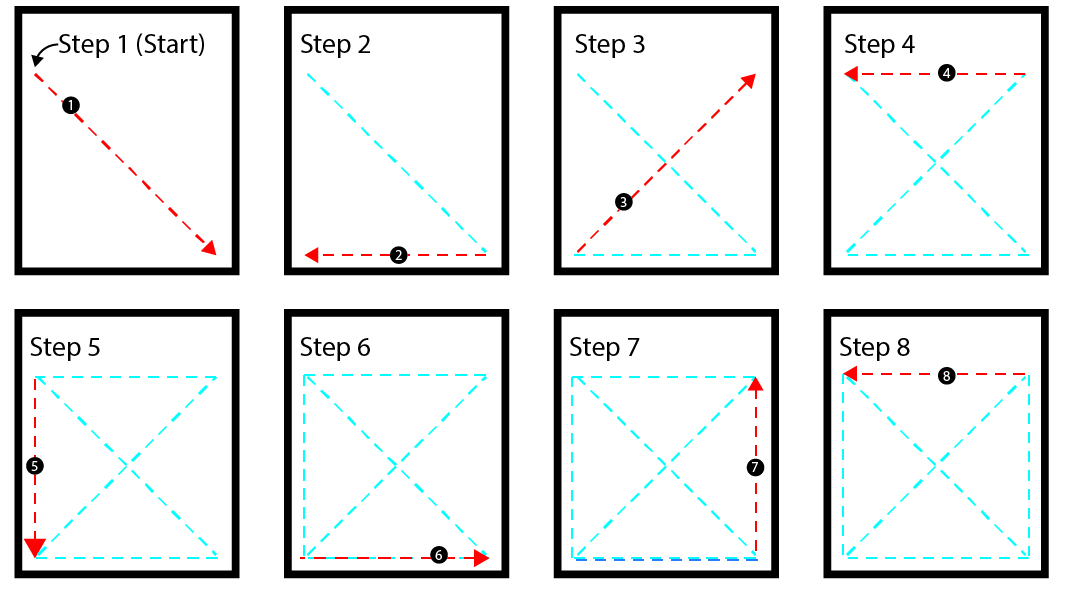
Step 6 – Top stitch and secure the straps
Top stitch the upper edge of the opening of the tote with a .25 or .125 inch seam allowance.
Stitch down the straps with a “Box X” stitch pattern.
Can you please add the photos accompanying the steps? I just see “[photo of _______]” in text rather than any photos of the actions/items. Thank you.
Done! Sorry it took so long. There are still a few more pictures to take but the lion’s share have been added.