Purpose
Yarn is often sold in hanks because this is the most suitable format for most hand dying techniques and for showing off the colors achieved in that dying process. However, yarn must be wound into a ball or skein before use to avoid tangling. The swift and ball winder can be used to create a pull skein of yarn from a hank in a fraction of the time it would take to wind the yarn into a ball by hand.
Set-up the swift (AMT 408)
- Secure the swift to table top with the bottom clamp. Be sure there is enough clearance around the swift for the umbrella to fully open and spin freely.
- Untwist your hank of yarn. It should come in a nicely twisted figure 8 hank, and when it is untwisted, it will look like a big loop of yarn. Leave the ties in place for now as they will keep your loose hank from tangling.
- Drape the open hank over the closed swift and pull it lightly to hold it at the center of the ribs.
- Open the swift like an umbrella, pushing the runner up the center shaft until your loose yarn hank is held firmly around the swift.
- Holding the runner in place, slide the center clamp up and tighten it under the runner, securing the swift in the open position.
- Make sure your yarn is not twisted anywhere around the swift, and cut the ties around the hank.
- Find the end of the yarn and pull gently. The swift should spin freely. Proceed to set up ball winder.
A video demonstration of how to use our swift can be found below.
Set-up the winder (AMT 409 or AMT 410)
- Clamp the winder to the edge of table across from your swift.

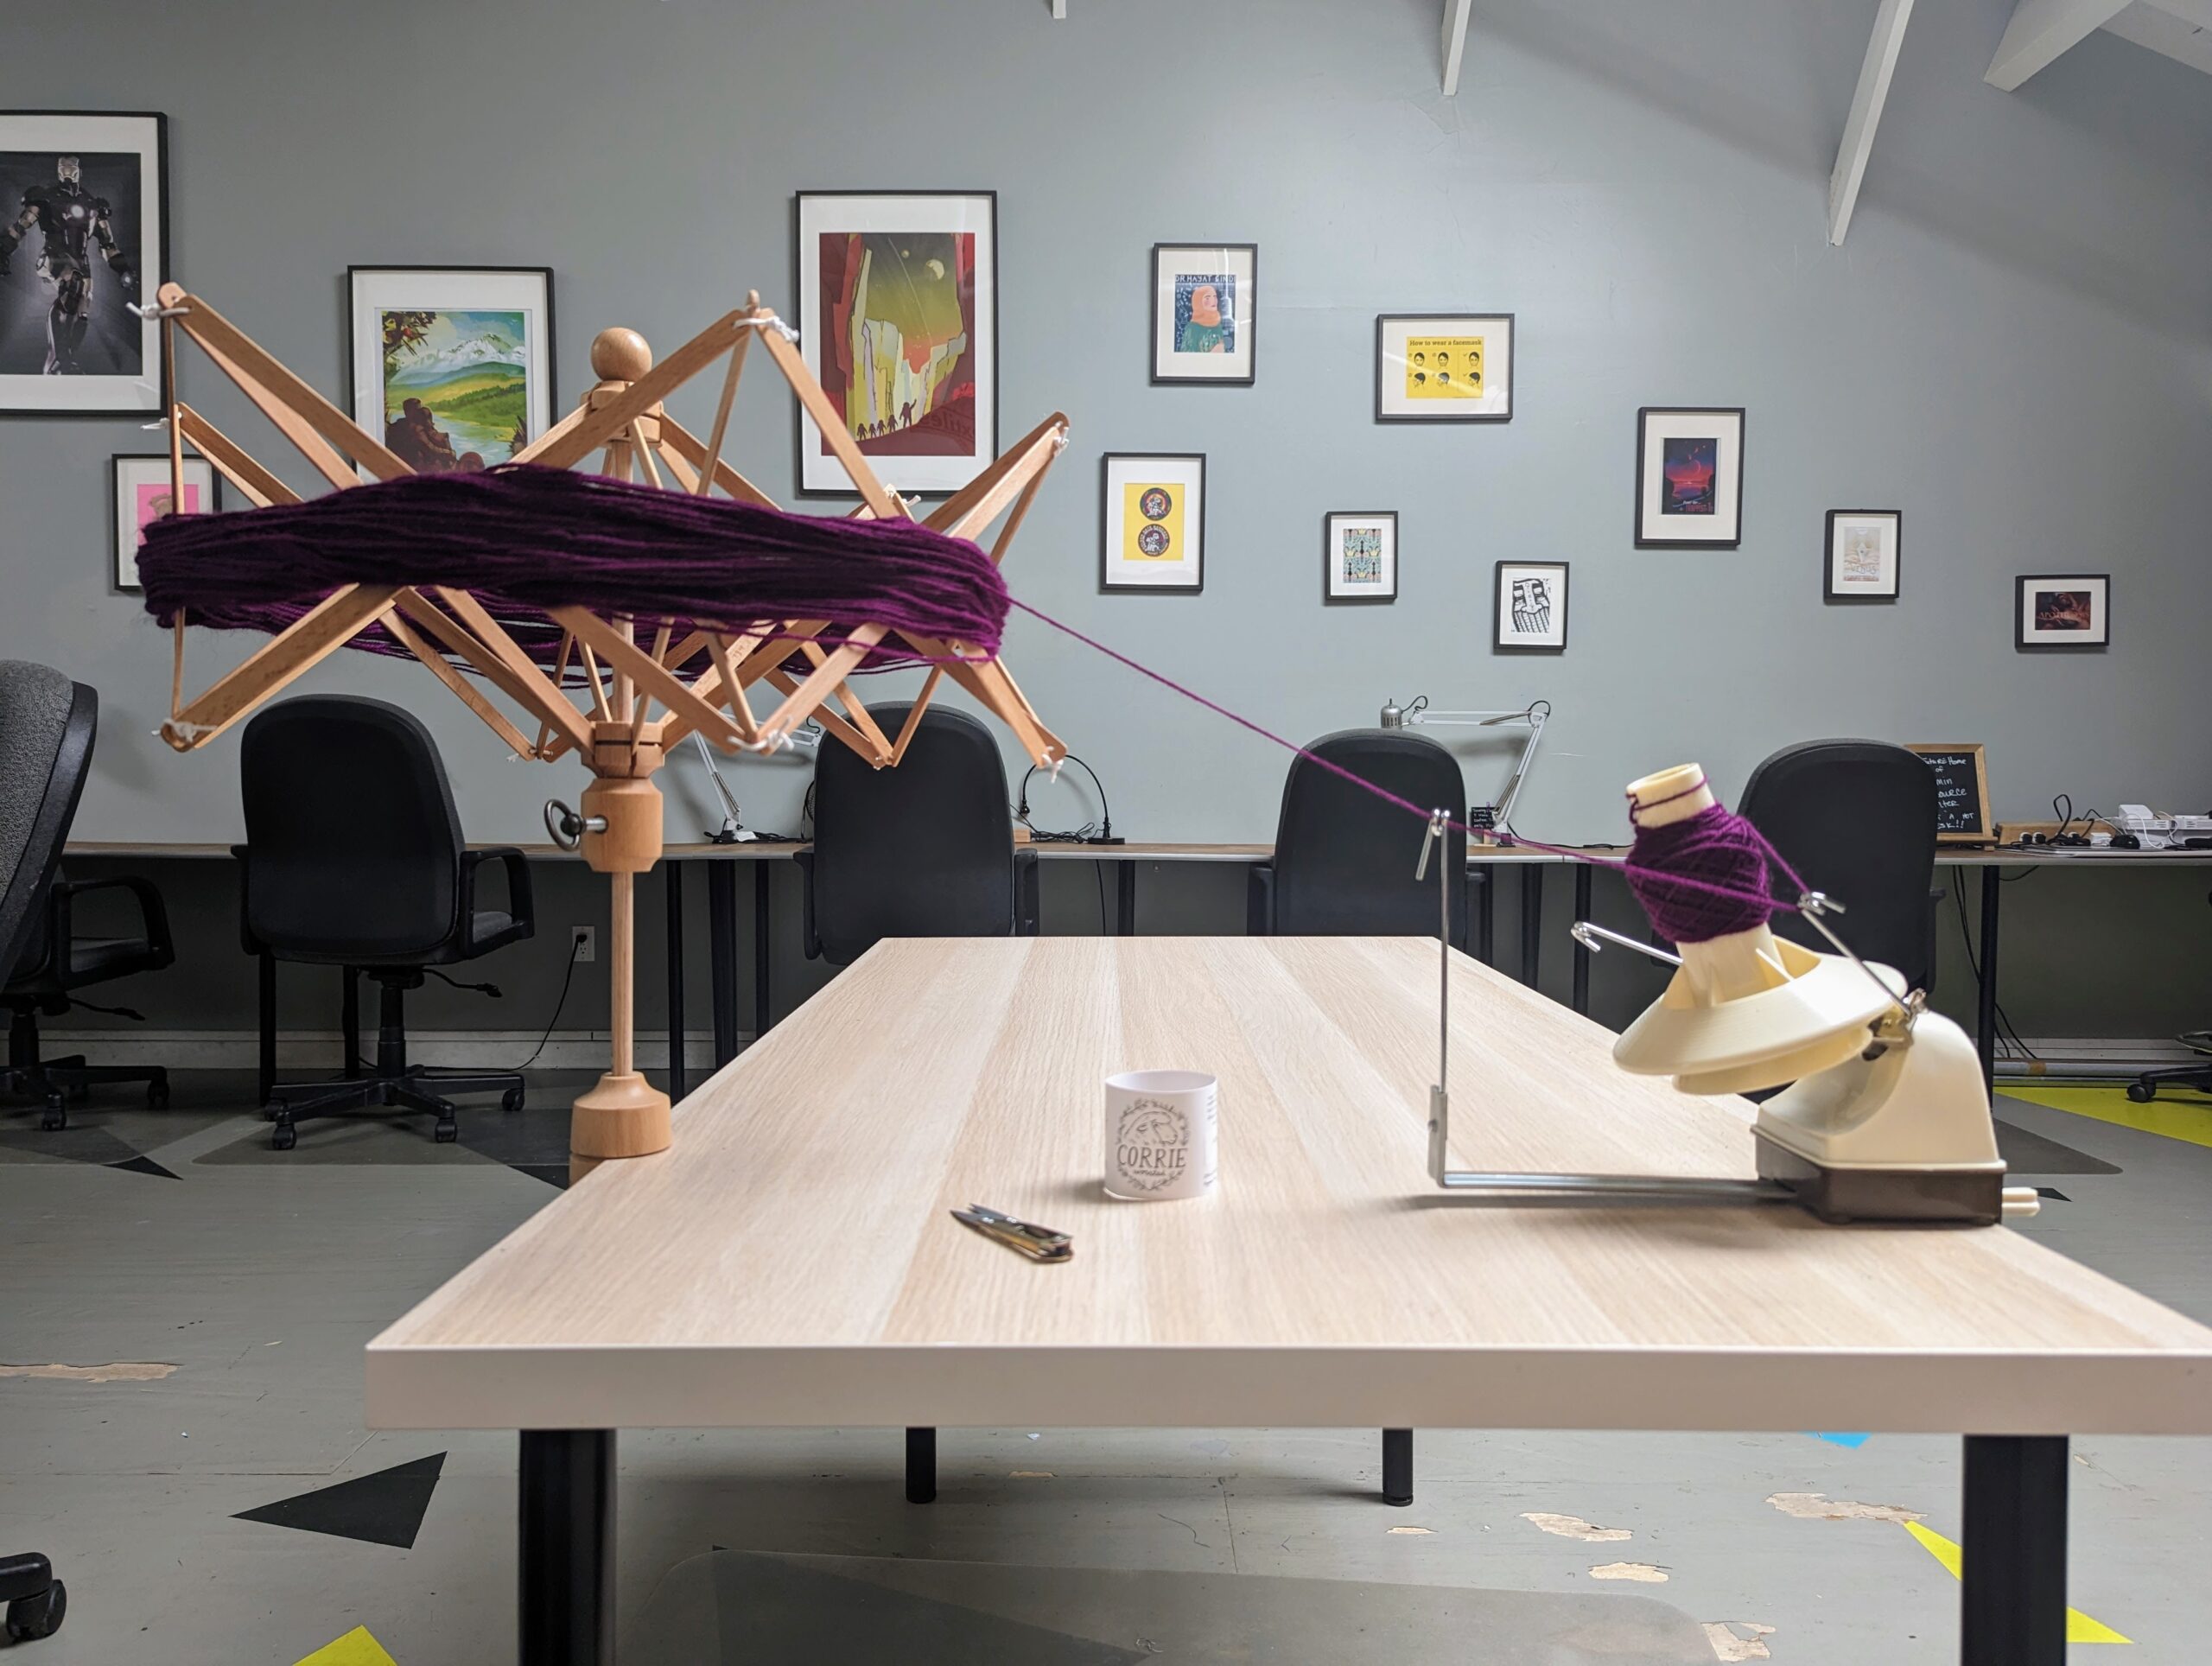
Side view of the swift and winder set-up. - Feed the yarn through the yarn guide such that the yarn pulls straight off of the swift to the winder. Avoid bringing the yarn to the swift at an angle.
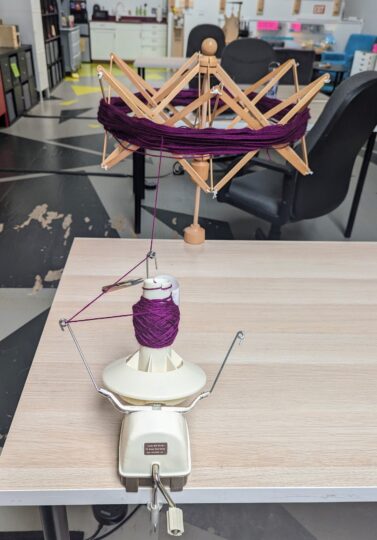
Front view of the swift and winder set-up. - Feed the yarn through one of the two swings (the other will serve as a weight counterbalance) and secure the end through the slot at the top of the cone.

To learn more about our winder, check out this video…
Wind your yarn!
- Turn the handle in either direction to wind the ball. Once you start winding in one direction, only continue in that direction.
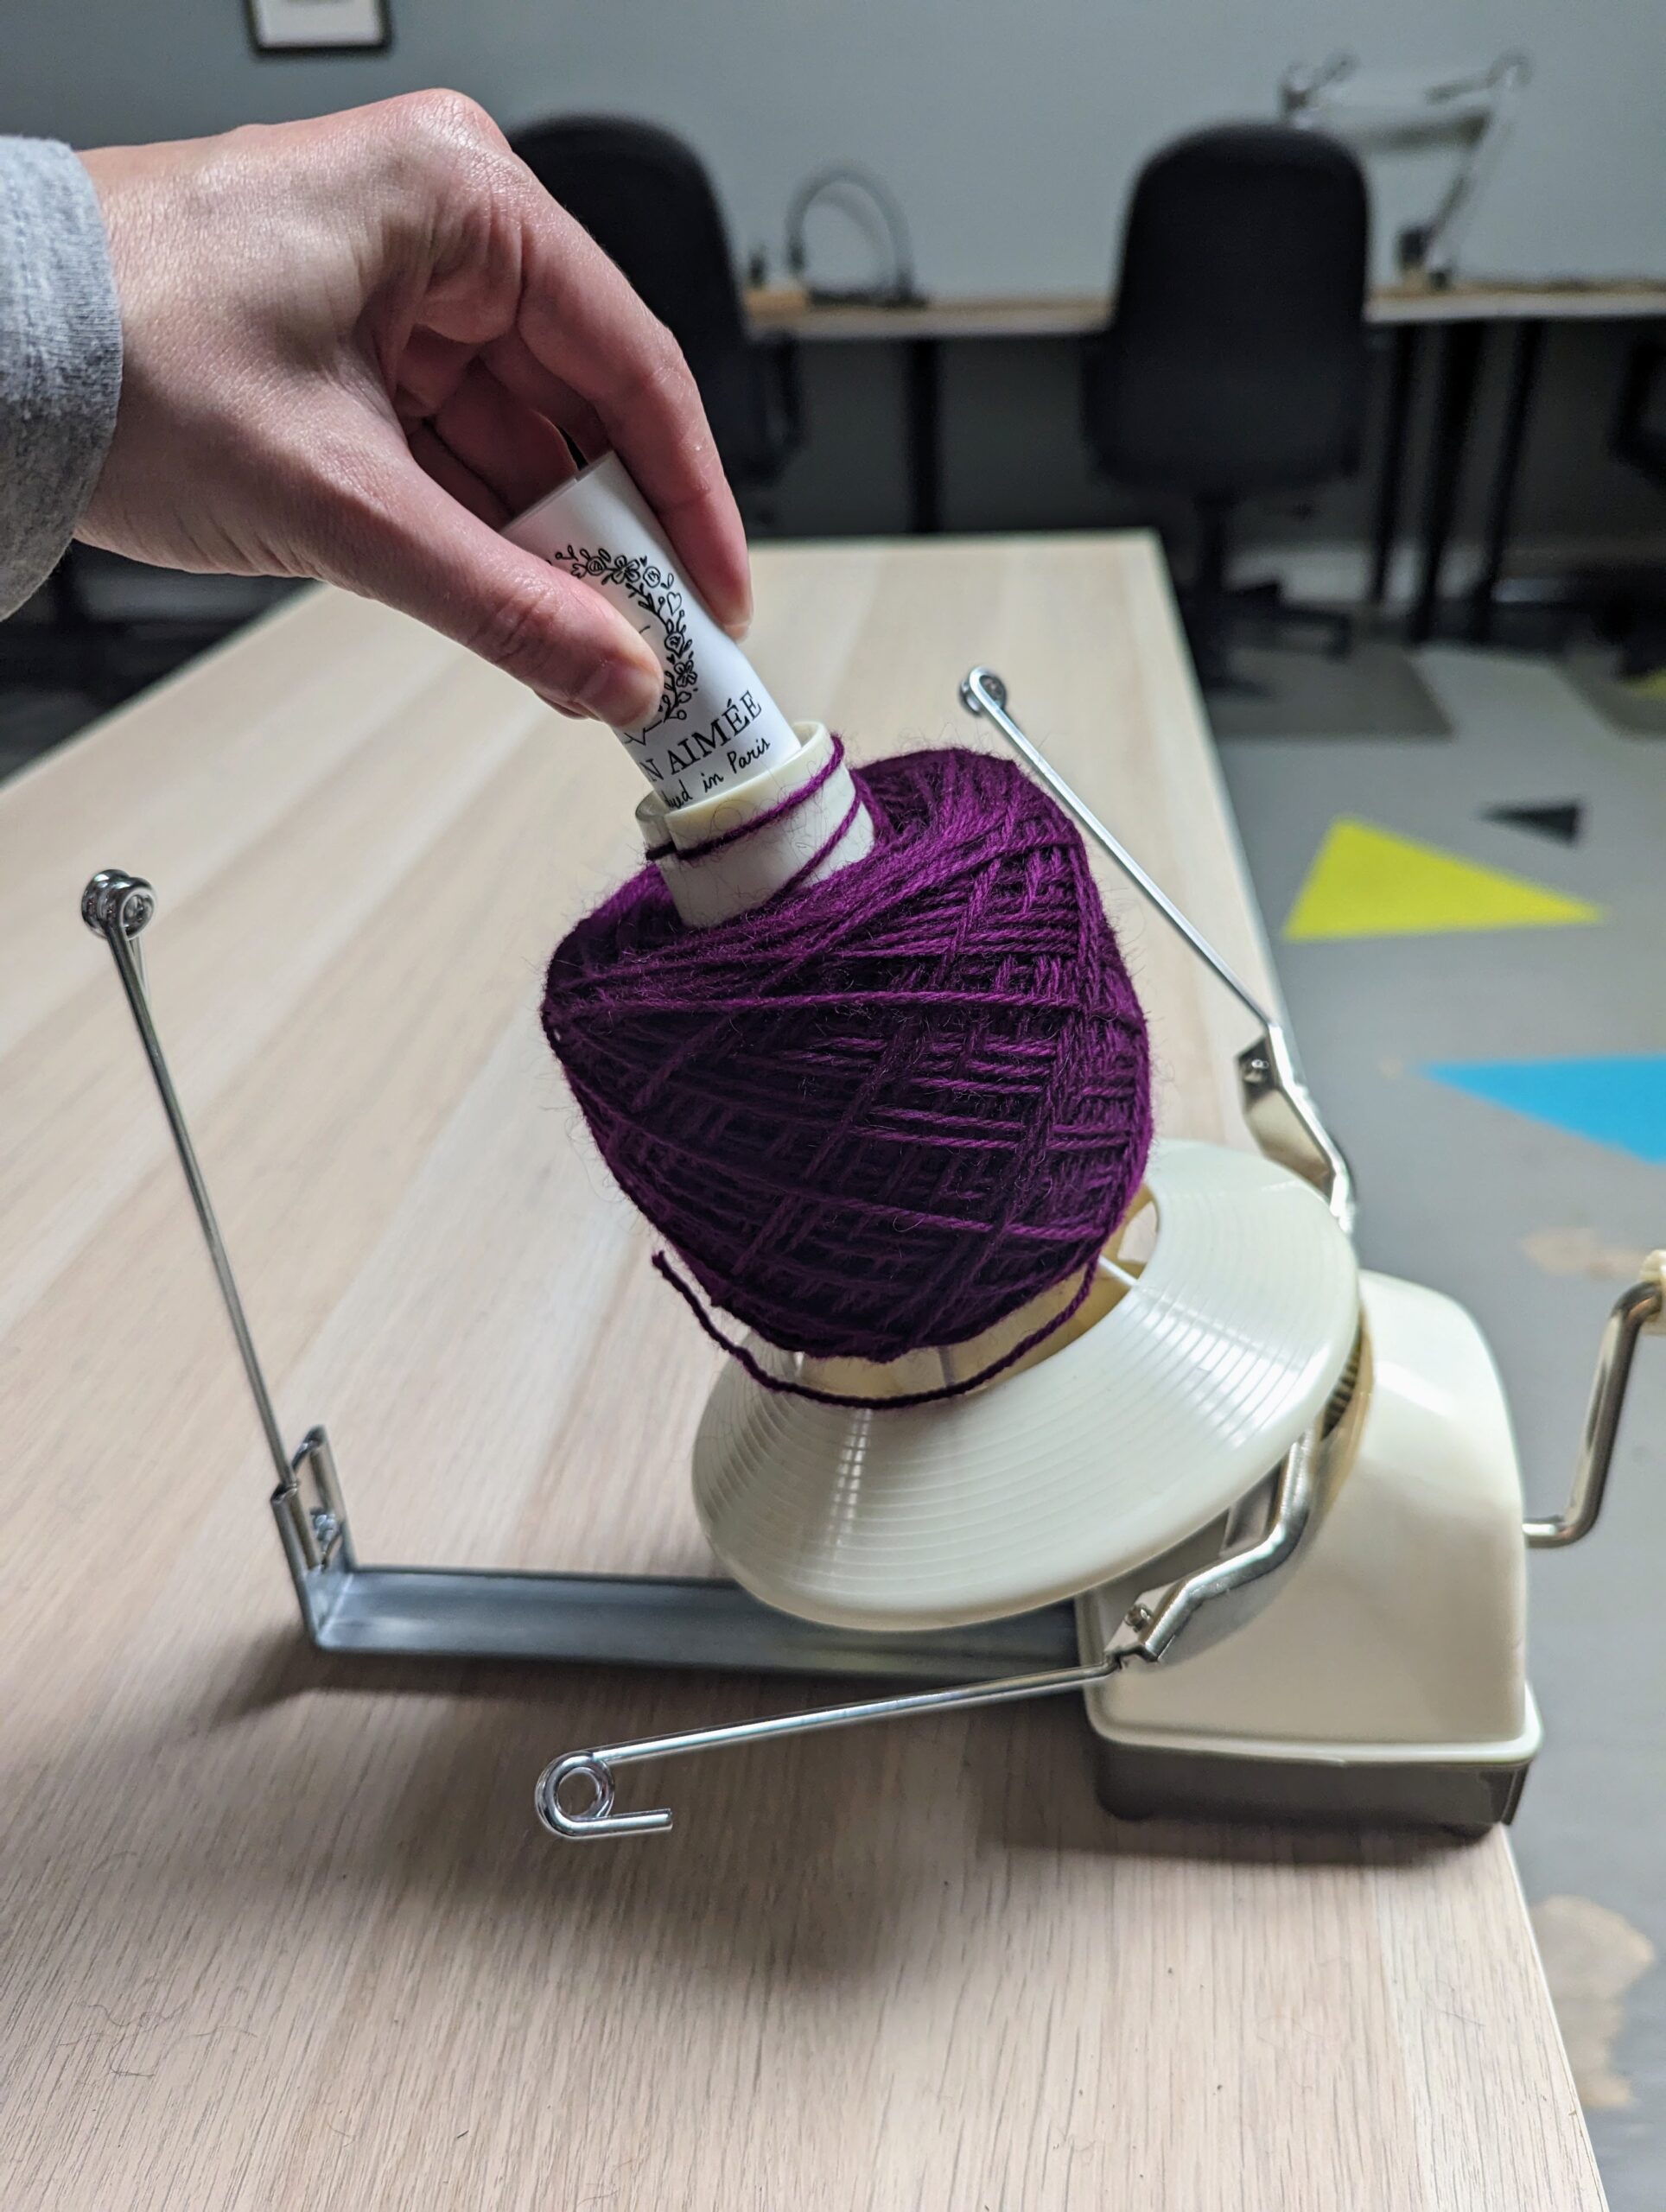
- Optional: When all yarn has been wound onto the cone, fold up the yarn label such that it fits nicely into the divot at the top of the cone.
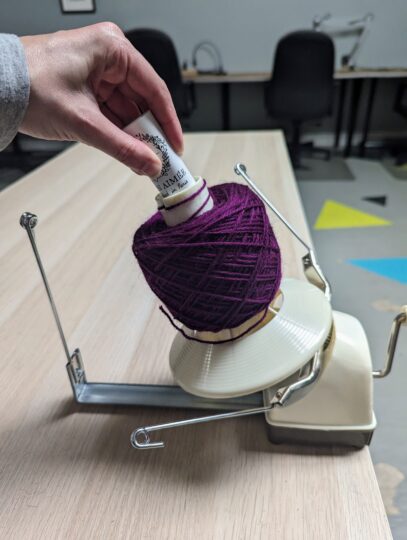
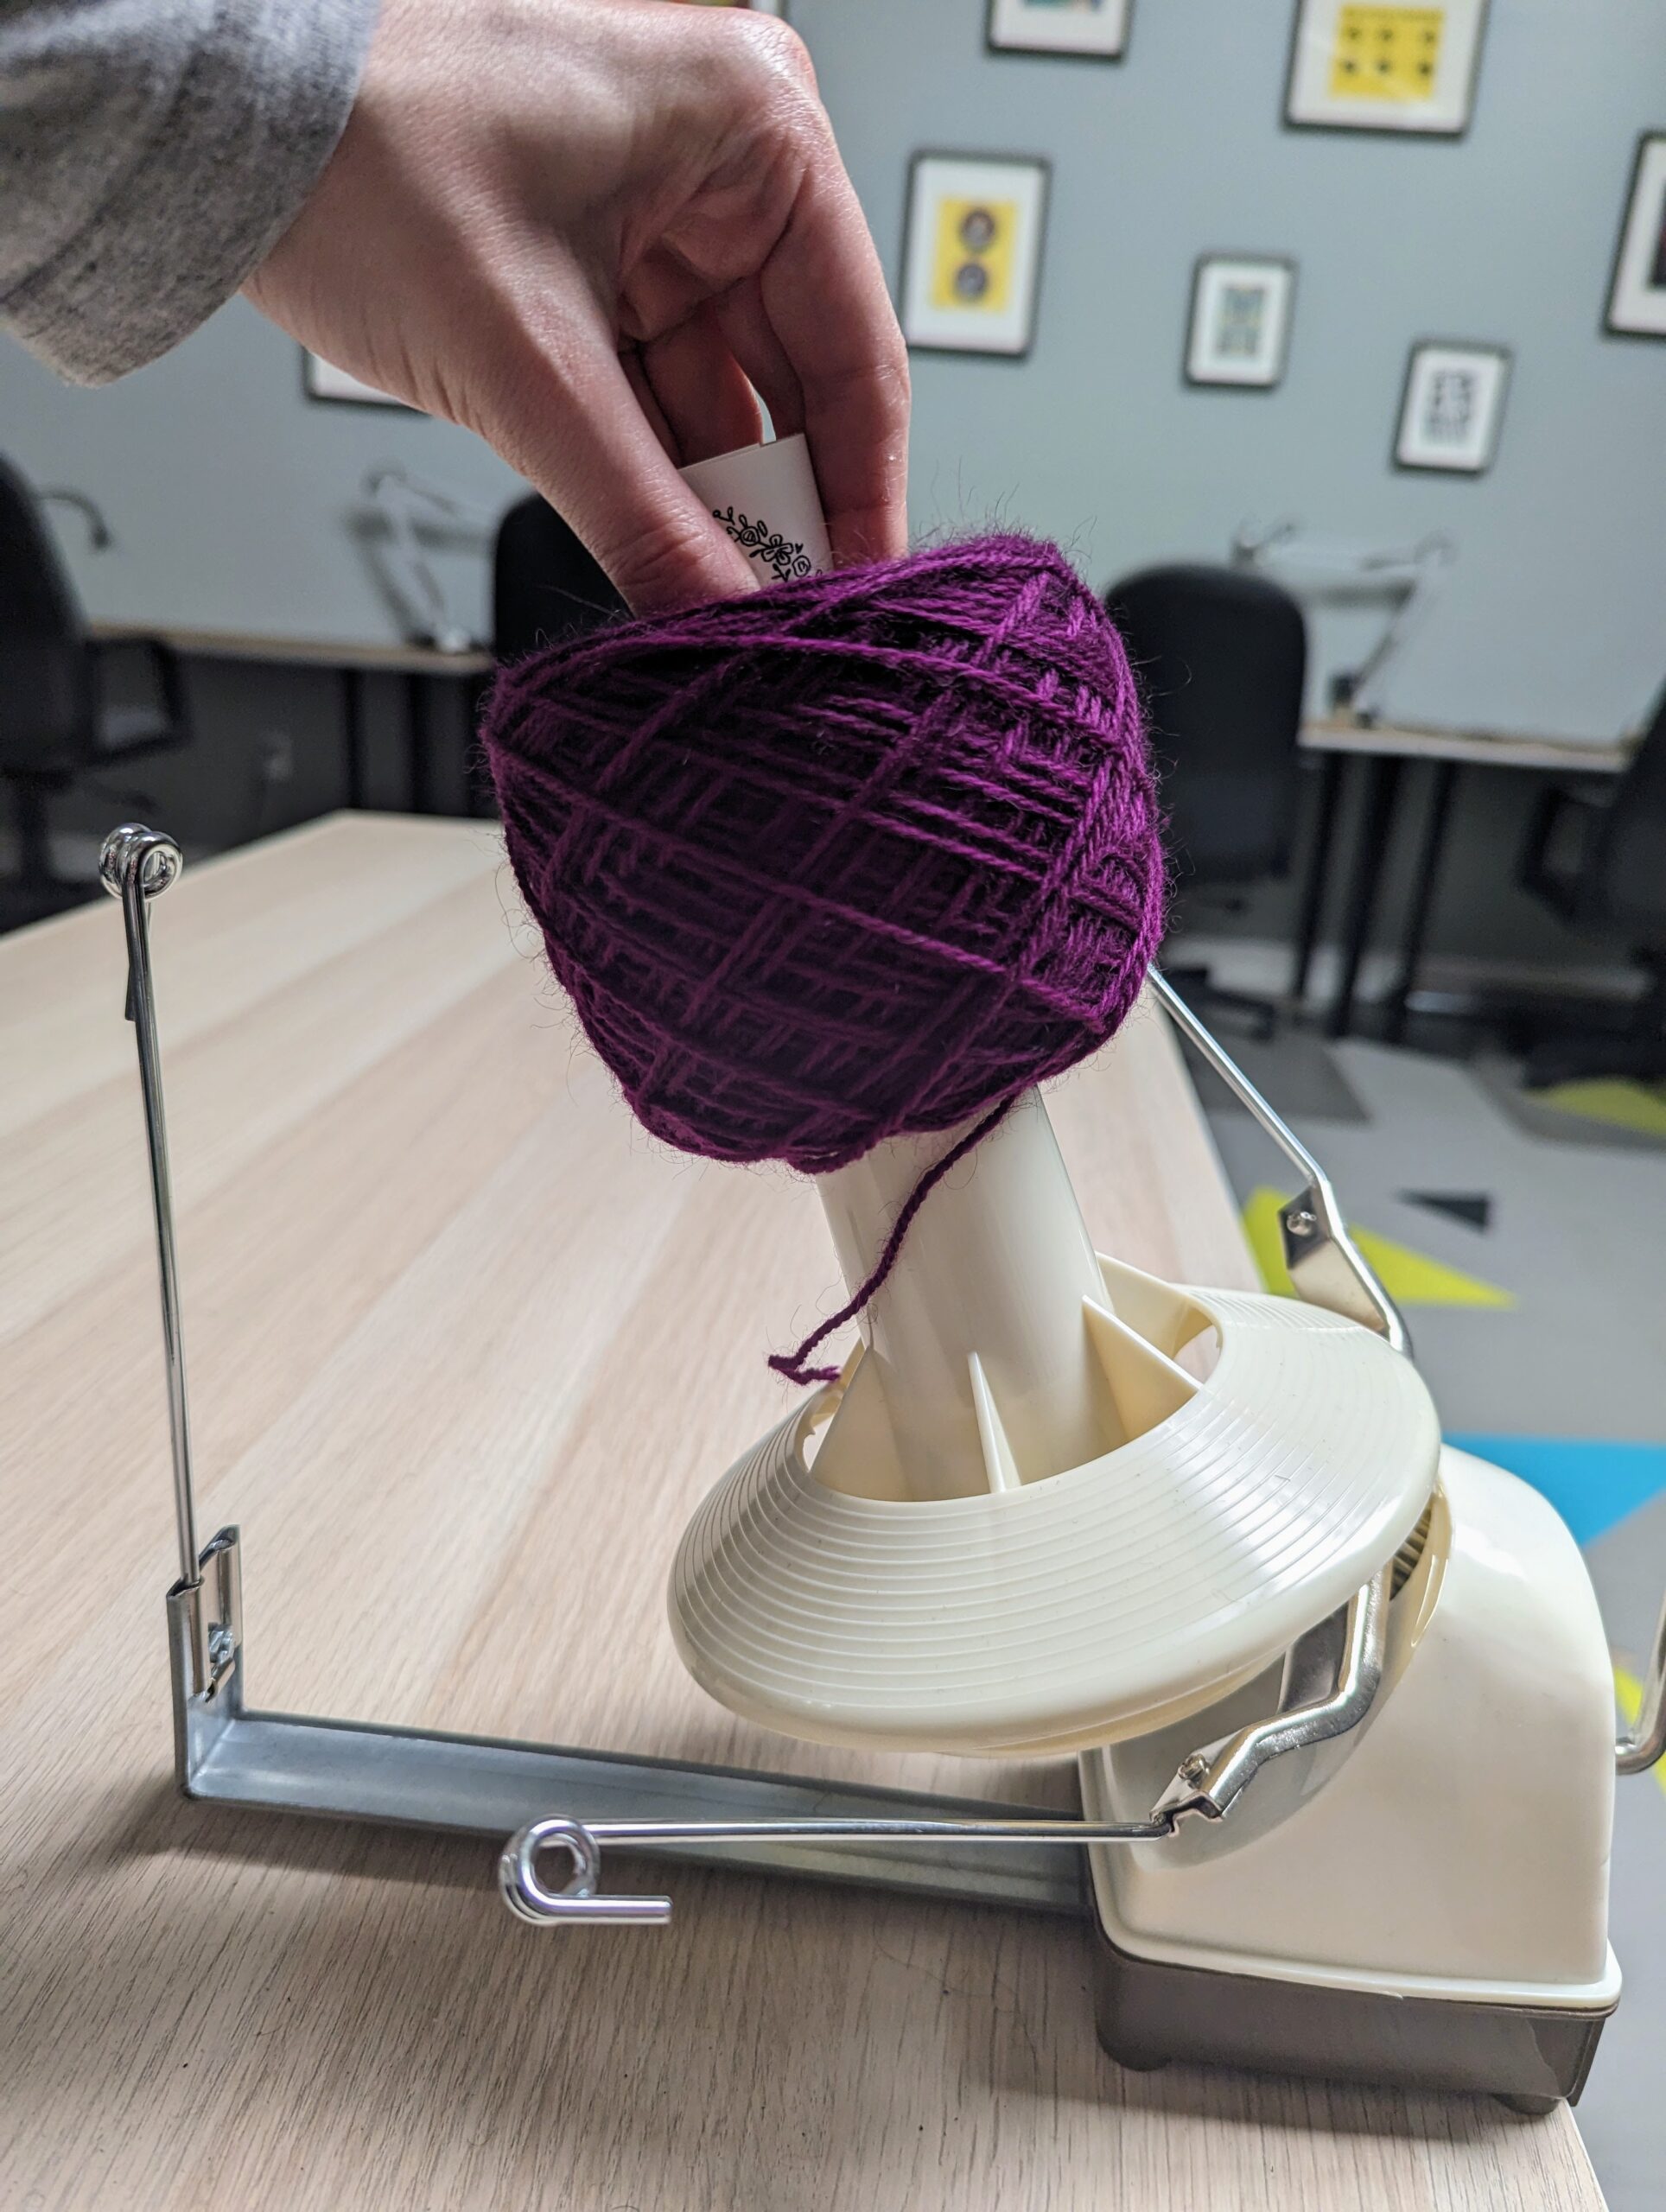
Yarn label placed into the divot at the top of the cone. - Remove cake of yarn by sliding it off of the cone

Transfer of yarn cake off of the cone and onto the yarn label. - You are now ready to use your cake of yarn! You can either unwind yarn from the outside cake or pull from the middle. Both are correct, and most of the time it comes down to personal preference.
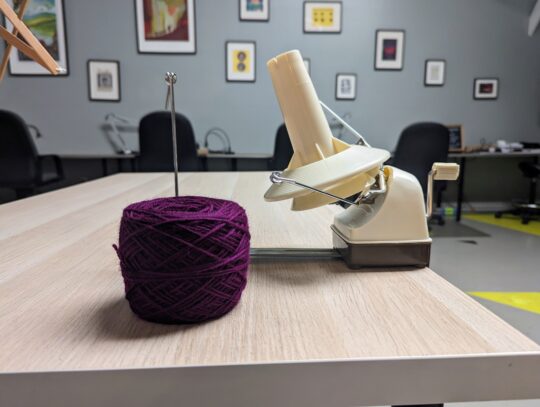
The finished product.

Troubleshooting and pro-tips
- Intimidated by the swift and winder? Stop by the monthly knit, crochet, and fiber arts social for coaching!
- Wonky yarn balls are primarily caused by too much tension in the yarn. Tensions can be mitigated by…
- Ensuring there are no angles in the yarn path between the swift and ball winder.
- Place your swift about 15 to 20 inches from the winder.
- Make sure the ball winder cone is properly assembled. Although we leave the cone assembled, it does twist in and out of the winder.
- Make sure you are threading your yarn through only one of the two wings. The second wing is present to give the winder good balance while turning fast, which allows it to turn more smoothly.
- >95% of the time you should position the swift vertically before opening outward. However, extremely slippery yarns (100% silk, 100% tencel, etc.) may fall off the swift in this orientation. To compensate for the slipperiness of your yarn, you can position the swift horizontally before opening outward.