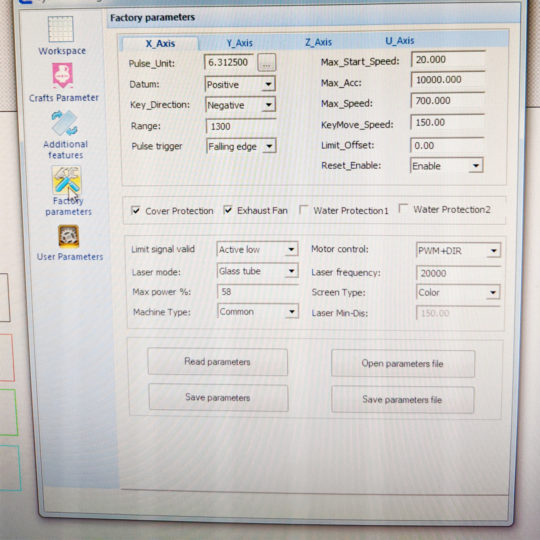
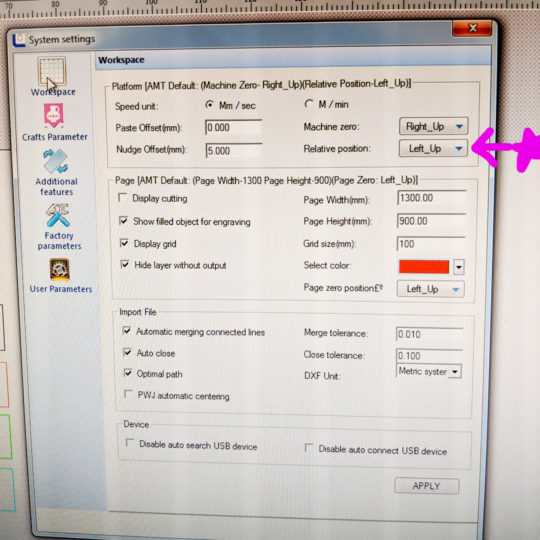
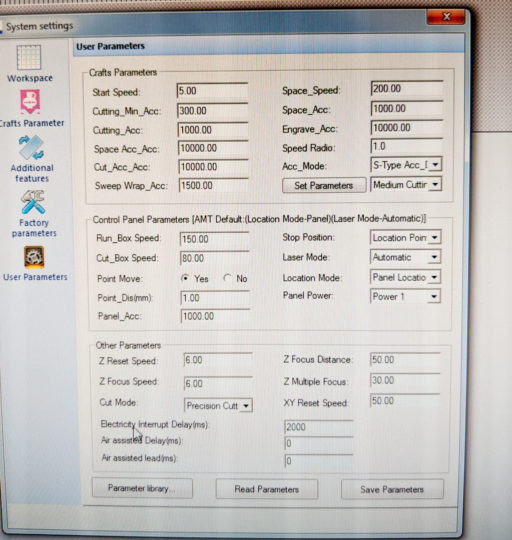
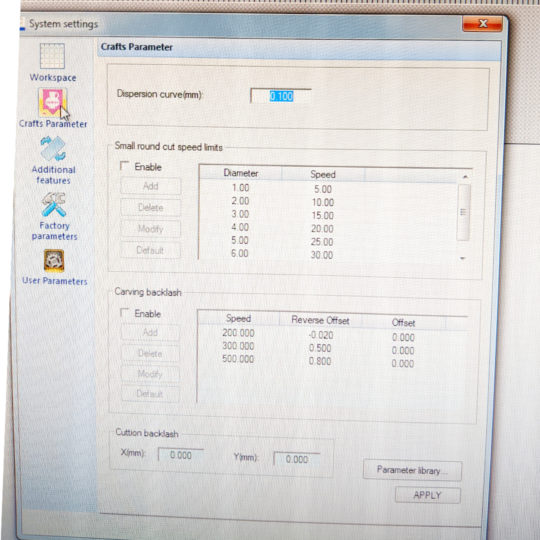
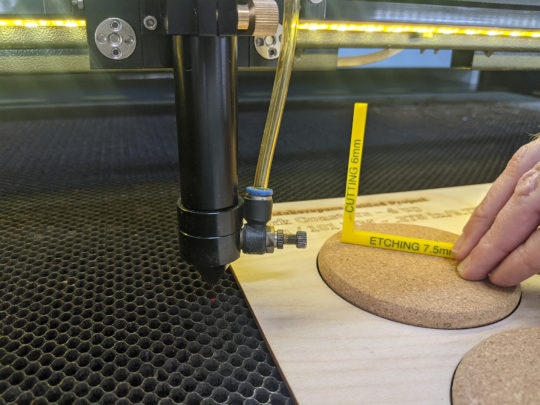
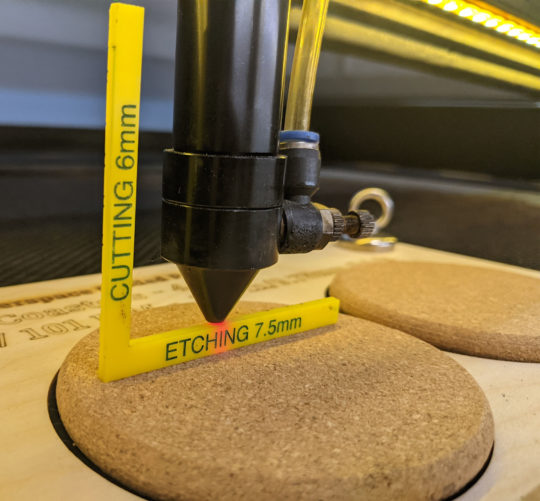
These instructions were inherited from instructions for cork, and are not updated for slate. Slate should never be cut in the laser!
This is a guided project designed for users of the Ace Laser Cutter to gain confidence and comfort with the process of using the machine. Folks are welcome to keep the Coasters they produce or donate them back to Ace to be used as outreach swag and fundraising.
Ace Laser Certification is required.
The Kit
Pay the $5 Material Fee here.
- 4, 4” slate coasters
- Placement Jig
- DXF Files
- Illustrator Design Files
- SVG Files (note that layers will not be honored on import into LaserSoft)
[Photo of all the parts + Labeled bag]
Instructions
Step 1: Get the DXF file
You can download the files including the DXF from the link above OR pull from the server at Member Files>Guilde Projects>Slate Coasters. There are 3 layers in the DXF Files:
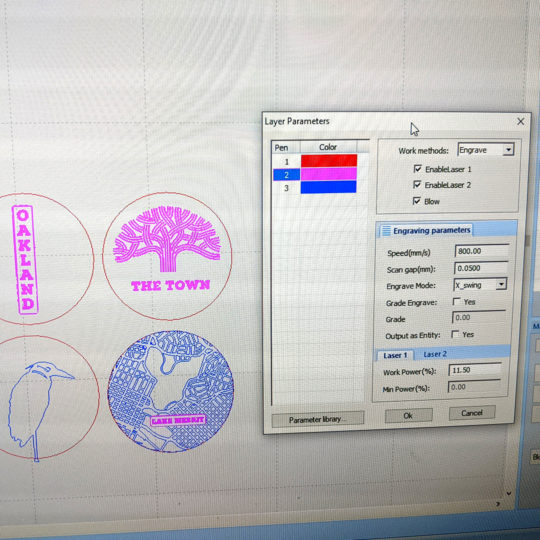
- Etched art (engrave): (Pink) IMPORTANT: Never use the cut work method with any power on slate. It will explode.
- Positioning: (Red)
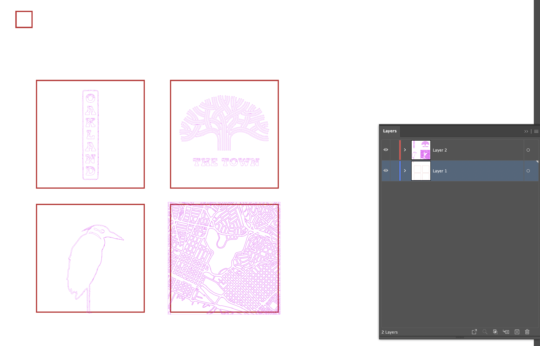
Step 2: Start-Up the laser – Follow all the startup instructions
- Check the Filter type is right for your material type (Slate). Change if needed. This project needs a Green Organics filter. (instructions)
- Turn on the Main Switch (on the back wall)
- Do a draw test. Change the filter if needed. (See wiki for instructions)
- Turn on the green and red switches on the right side of laser (they light up)
- Fob in at with your RFID fob on the laser box
- Check that the air compressor (behind the laser) and water chiller (left side) and blower are on.
- Report what works or issues on Slack
Step 3: Set up LaserSoft and Import the File
- Open LaserSoft
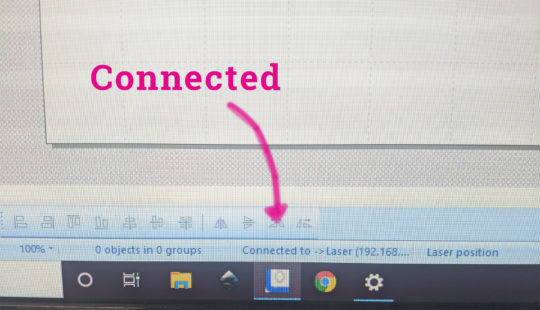
- Check that the computer can see the laser. In the middle of the LaserSoft screen at the bottom it should say “Connected”. (See this post about troubleshooting the connection)
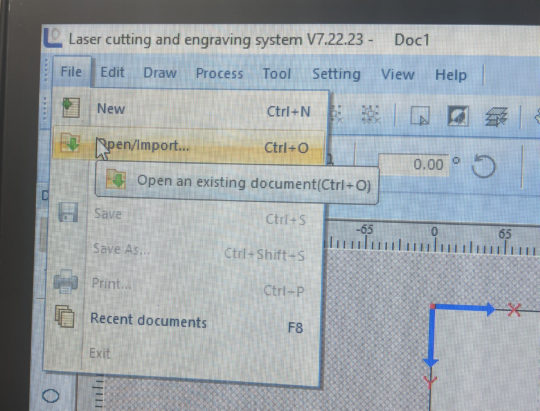
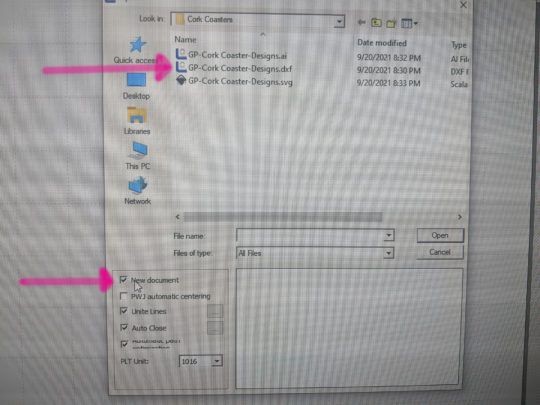
- Import the GP-cork-coaster-designs.dxf bfile into LaserSoft
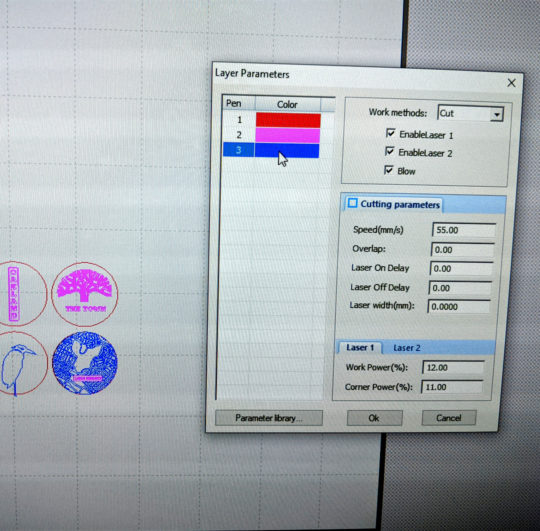
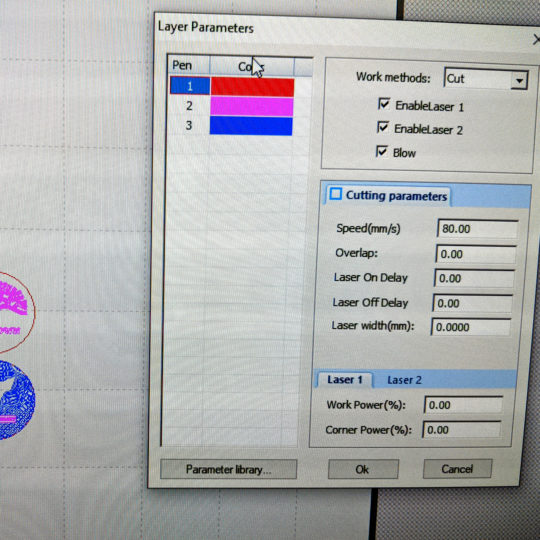
Add the layer settings for cutting and etchingDouble click on one of the rows in the Layer Parameter pallet to bring the layers dialog box upInput these settings for the layers
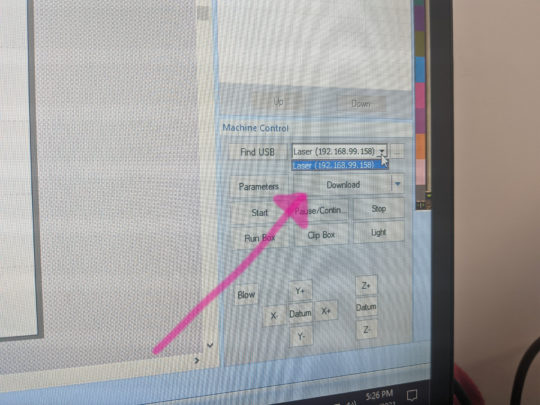
- Download the art to the laser cutter
- Choose Download under the layer menu
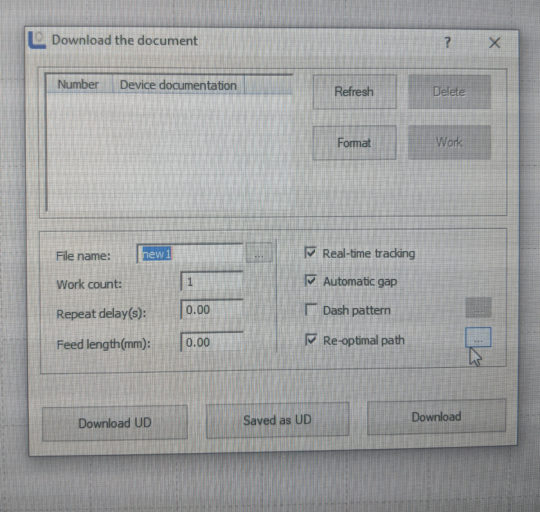
- Check the settings. Make sure all the check marks match the screenshot below.
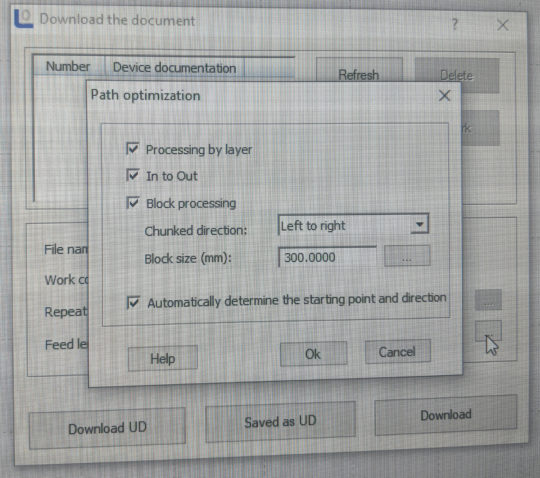
- Check the Re-Optimal Path settings. Click the 3 little dots to open the dialog box. It should look like the screen shot below.
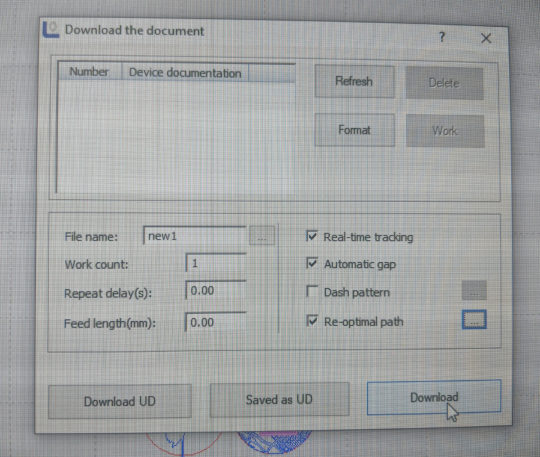
- Click download once everything has been checked.
- Choose Download under the layer menu
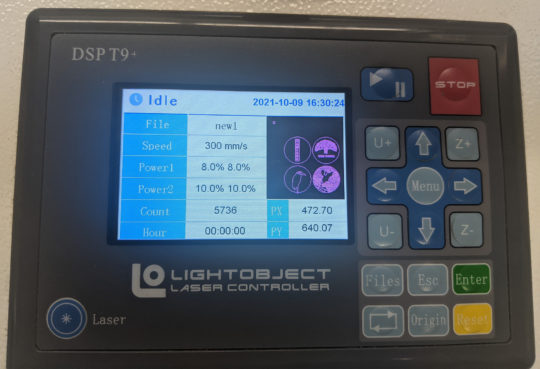
- You will hear a beep on the laser when it is done downloading
Step 4: Set up the material and focus
Video below!
-
-
- Zero the bed – Also know as adjusting the z axis – How to guide
- Position the jig on the bed and place the head with the red light over the top left and corner
- Run the head over to the top right corner, and while carefully holding the top left corner so it doesn’t move straighten the jig so the top right corner meetings the red light
- Place the magnets to hold it in place like the photo below! Test that it is straight by running the head back over to the top left corner. Once it is straight, with the head in the top left corner of the jig press the Origin button.

Magnet position and head at the correct Origin. - Gently position your coasters in the 4 spaces
- Using the focus tool on the etch setting, move the head to near but not over one of the coasters, close enough that you can use the focus tool
- Press Z- in small bumps until the head is focused on the coasters in the Etch setting
- Verify positioning by “running the box”
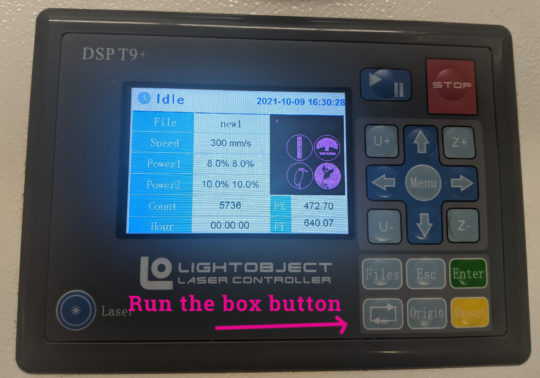
Run the box button
-
Step 5: Run the Job
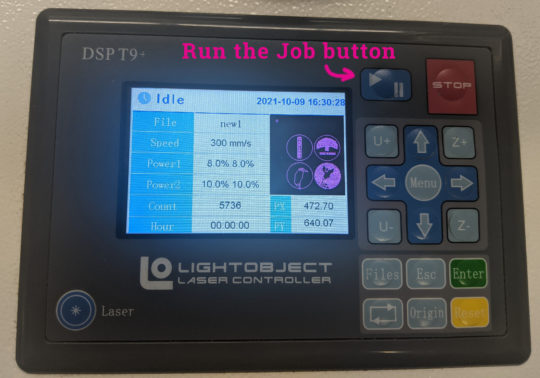
-
- Troubleshoot as need (see the binder)
Step 6: Shut down – See Shutdown checklist
-
- Break down and bag all your material
- Move the laser head to the very back of the laser
- Fob out of the fob box
- Turn off the laser (both red and green switches)
- Turn off the main switch
- Clean down the laser inside and out
Step 7: Finish up
- Return the Jig to the Coaster Project Display
- If donating the coasters return to the bag they came in and mark “donation” and your name.

