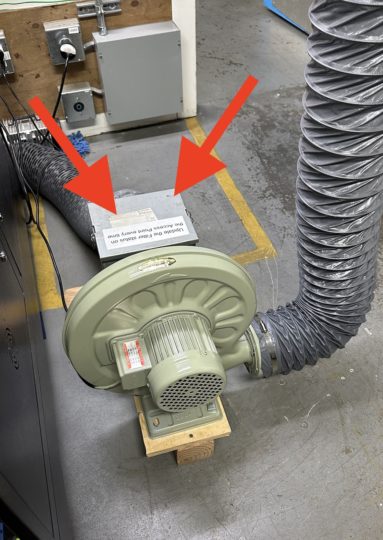
Right now we are using a blower to vent to the outside via the roof. the system looks like this:
Laser > filter box > green blower > shop exhaust fan > exhaust to the roof (which runs through clean fab)
This how-to article details how to change a variety of filter types. Use the right filter for your use. Supplies can be purchased at Home Depot
When to change the filter
- When the filter currently in place is not right for your materials. White is for masked stuff and acrylic, green is for wood, and things that are not “sticky”.
- Filters that still have life on them should be put in a ziplock back and marked with their filter number and stored on the Laser Tools Shelf
- When you have exceeded the cut time on the current filter. (The screen on the access system should track the time on each filter):
- 140 min. for Green Filters
- 60 min. for white filters
- THIS IS A GENERAL LIMIT! Filters may clog faster than the average if you are cutting very dusty material! Or using the wrong filter.
- When there isn’t enough suction to pass a draw test
How to check if you need to change the filter
Before starting and about every 1 to 1.5 hours during long cutting runs!!
- Check the time for the current filter on the access box
- Do a draw test
- Check the exhaust line
- Visually check the filter
- Look at the screen on the access box
Signs the filter might be full
- Smoke not clearing fully
- Build up or film on the head, lid or belts
- Draw test fails
Check the filter
- Open the filter box
- Do a visual inspection – does it look super dirty?
Remember each white filter only has about 60 min. cutting in it. So if you start off with a partially dirty filter you will have to check it during longer runs.
Always do the Draw test!
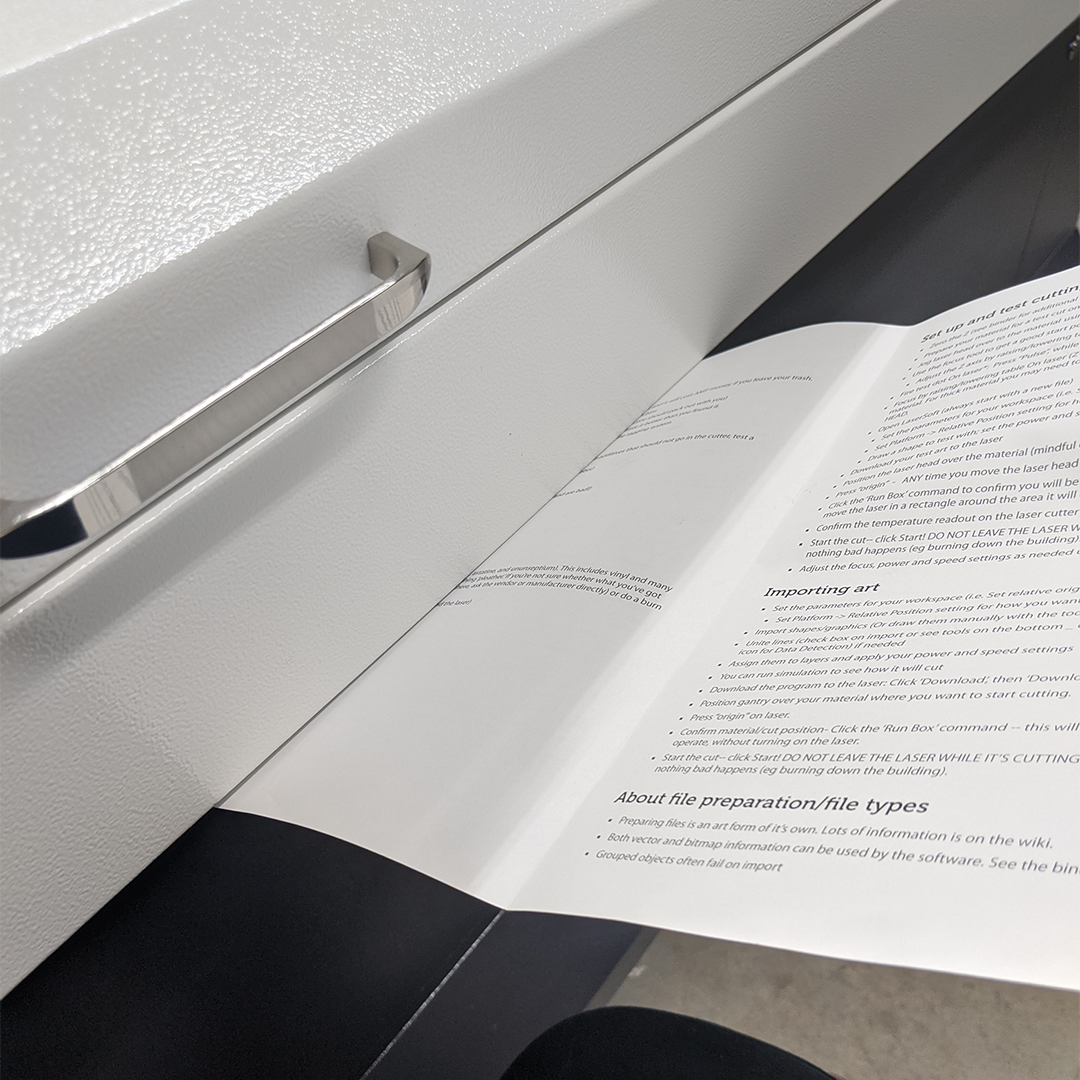
- Take one of the handouts from the drawer.
- Open it up.
- And with the system all the way on hold it in front to one of the laser intake vents in the front. Keep it at least 1 inch away from the vent. The suction, when things are working properly will suck the single sheet of paper up flush with the surface of the vent.
- If it isn’t sucking you need to likely change the filter
Video: https://photos.app.goo.gl/i9NqrCUZuMJxXeUr5
Tools and supplies
You will need:
- scissors
- furnace filters (see below for type)
- blue tape
- Sharpie
About Filter Tracking
The access system is the touchscreen and RFID reader on the laser where you fob in. The access system tracks filters and how much firing time a filter has been used for by first assigning a new filter an ID number. Then counting the time that that filter is in by firing time. This allows us to use partially used filters by saving them with their specific ID number.
How to register a filter change on the Access System
BEFORE ANY CHANGE TO THE FILTER log out and log in Again. Chaos ensues if you don’t.
If you are retiring a dead filter
- On the touchscreen choose Change Filter
- Next, choose Used Filter
- The Filter number of the current filter will be the highest number that matches the filter type (O for Organics (green) filters, S for Synthetics (white) filters)
- Choose the Retire button next to the filter you need to retire, you will then be returned to the home screen.
If you are putting in a totally new filter
- On the touchscreen choose Change Filter
- Next, choose New Filter
- Choose the correct button for Green filter for organics or White filter for synthetics
- The system will create the new filter and return you to the home screen
- Make sure to write the new filter number on a piece of blue tape on the frame of the filter cartridge

If you are saving a partially used filter
- On the touchscreen choose Change Filter
- Next, choose Used Filter
- The Filter number of the current filter will be the highest number that matches the filter type (O for green filters, S for White filters)
How to physically make a new filter
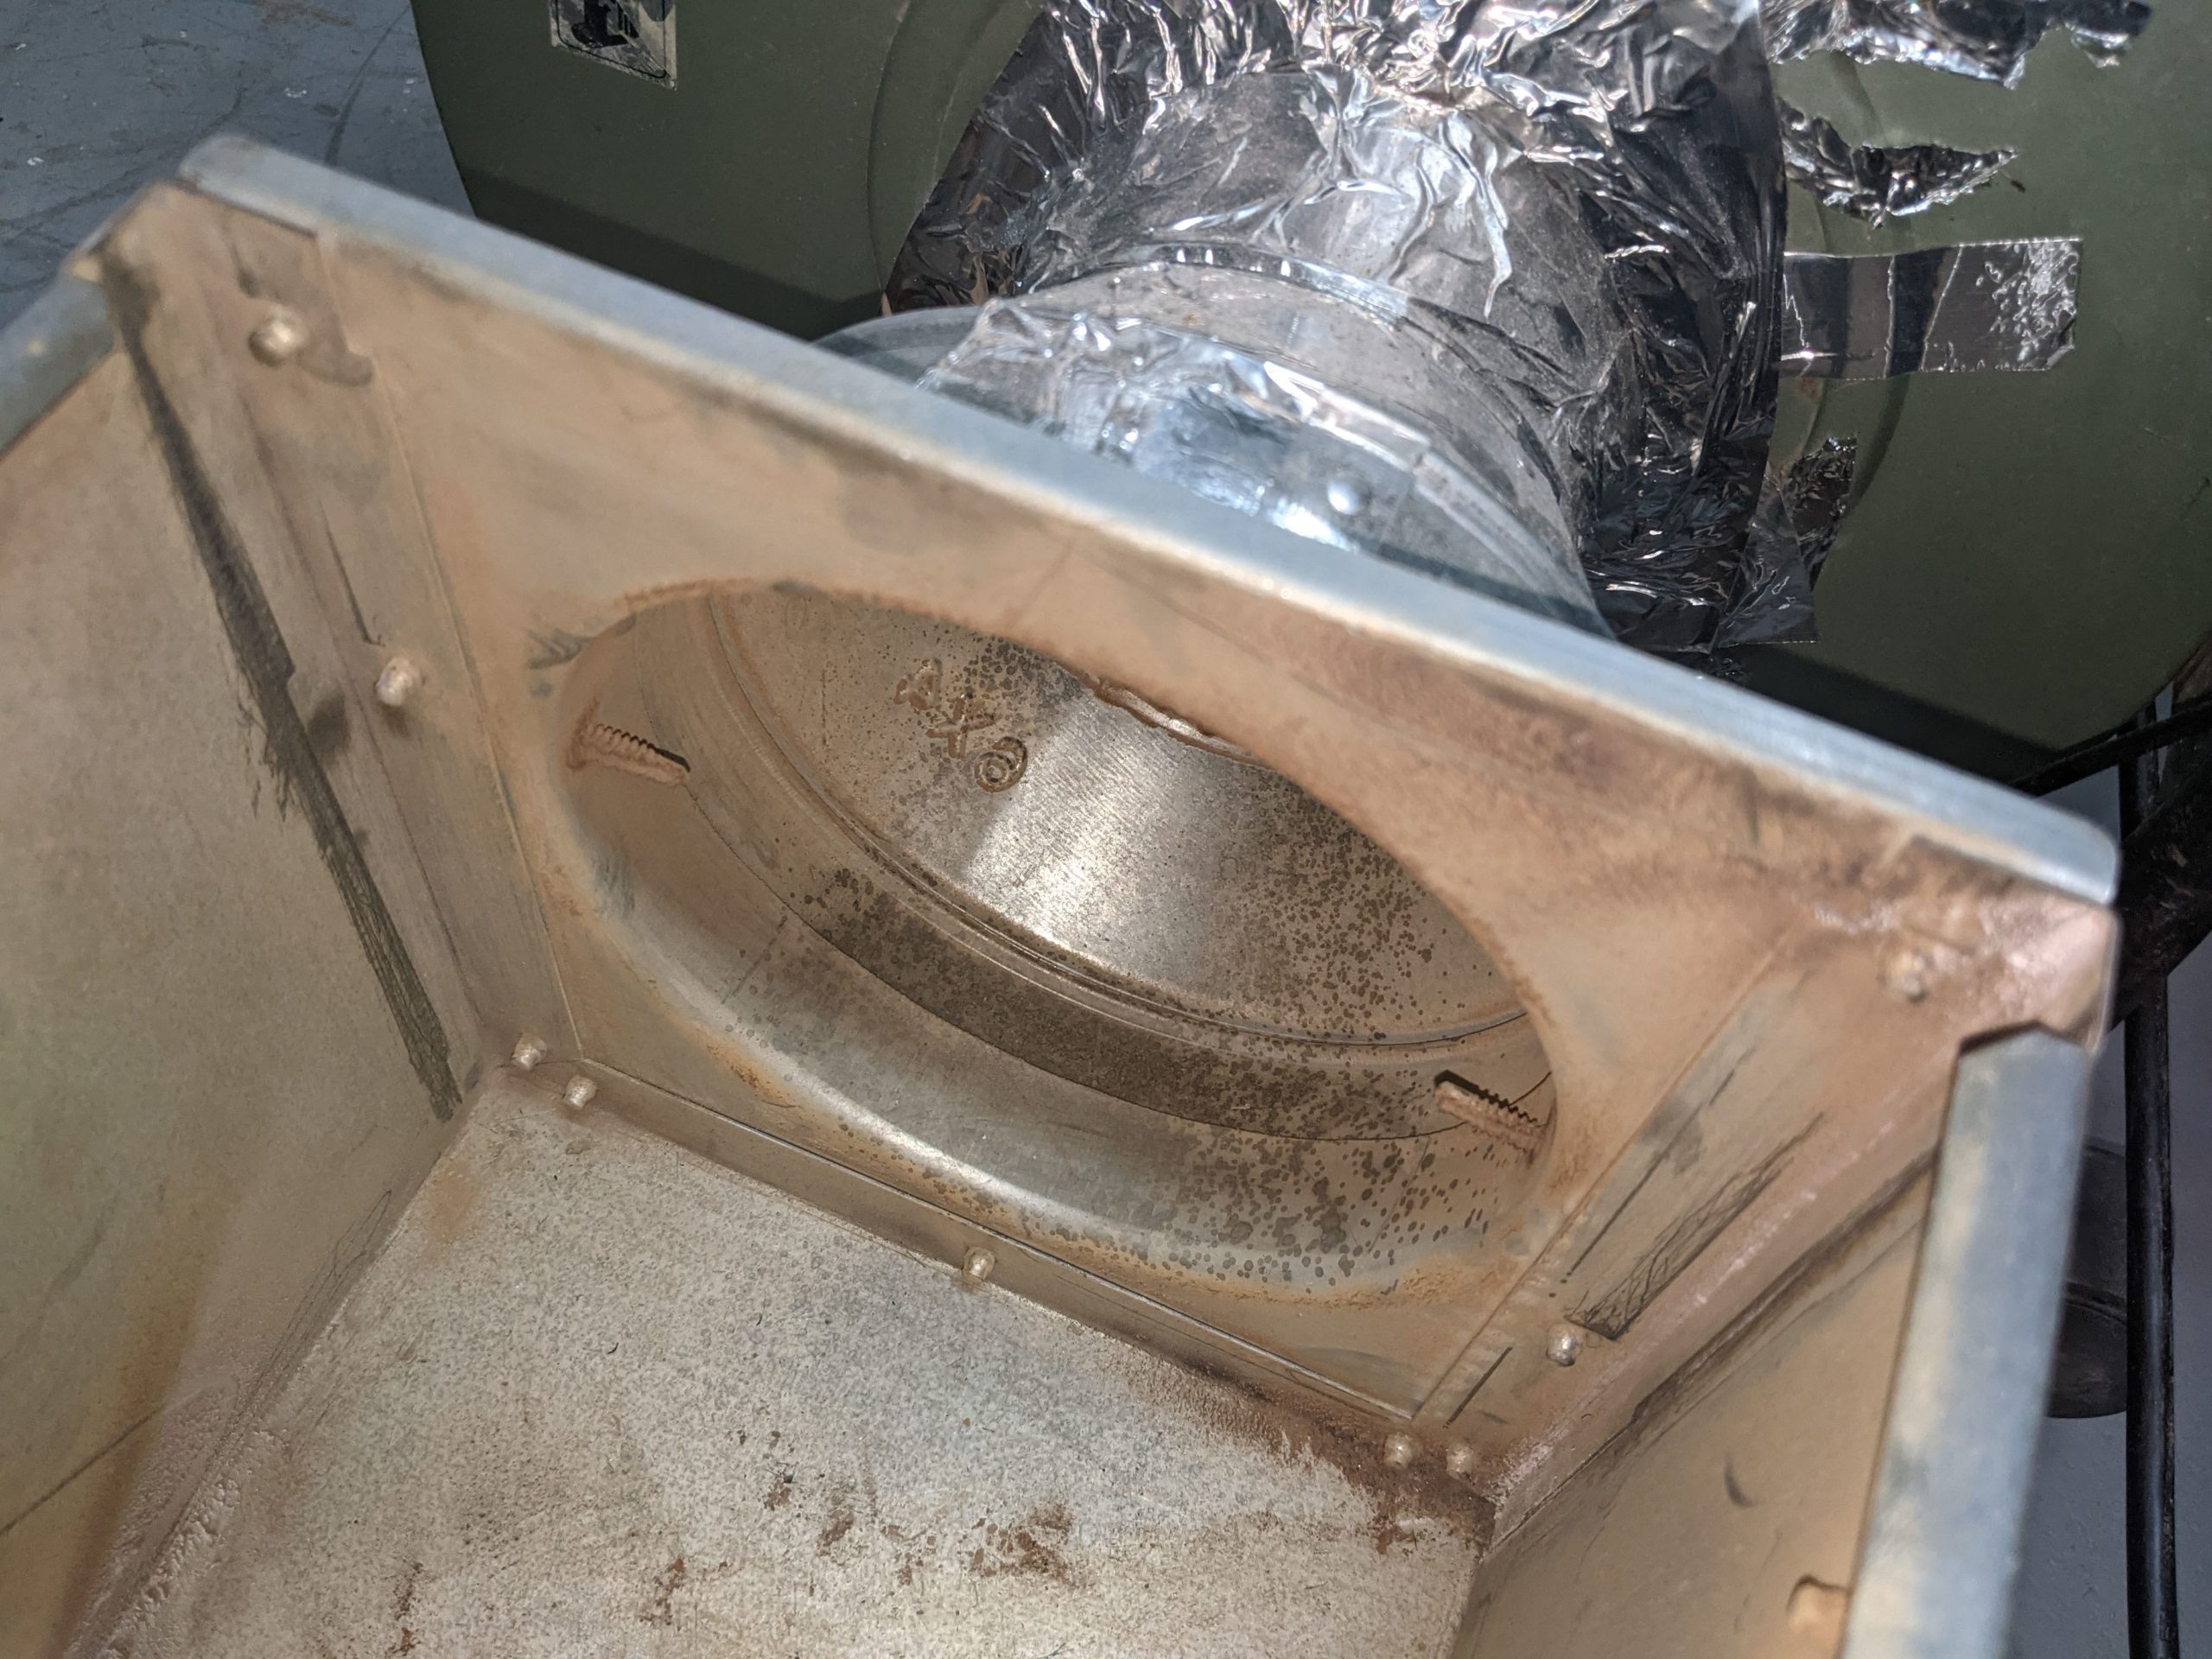
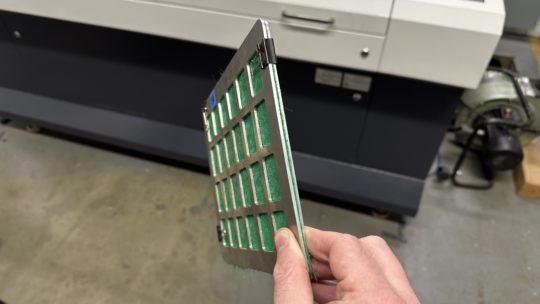
This is the filter box before the blower:
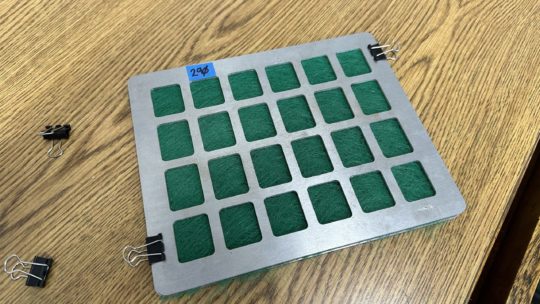
Remove the filter assembly from the filter box. The filter folder consists of two (2) aluminum plates, four (4) clips to hold the sides with the filter material sandwiched between them in the resulting filter assembly. There is no need to tape the edges of the filter. Please note the orientation of the filter in the box. This is important.
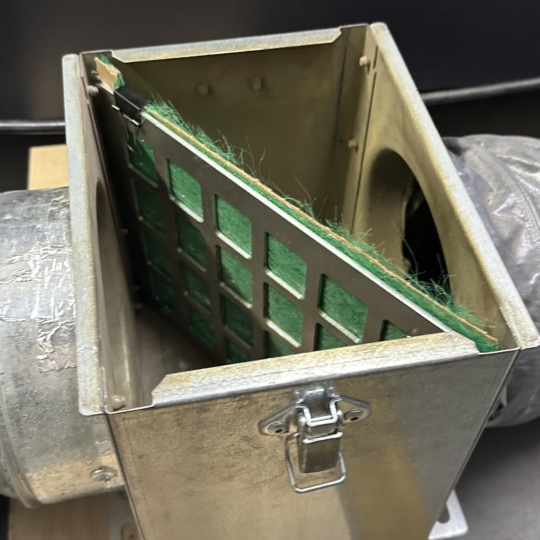
When inserting or removing the filter sandwich please be careful of the pop-rivets. The pop-rivets are the 4 small metal bumps holding the box together. Each side of the filter slot has 4 pop rivets on one side. On the fan side, they are in front of the plates and on the laser side, they are on the back. Be careful guiding the filter assembly in.
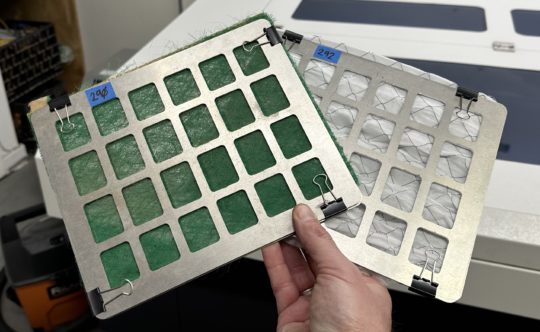
Finished Filter Assemblies ready to go back in the filter box.
White/steel furnace filters
Product type: https://www.homedepot.com/p/Honeywell-10-in-x-10-in-x-1-in-Elite-Allergen-Pleated-FPR-10-Air-Filter-91001-011010/203648748
Uses: Masked cutting and etching, acrylic
Cut down the furnace filter to fit inside the wire mesh folder 8″ x 9.25″. Remove any cardboard and the metal grid before inserting the filter into mesh folder. Slide the trimmed filter media into the folder. Carefully place the folder back into the filter slot in the filter box.
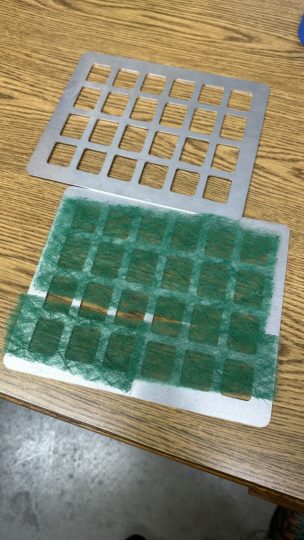
Green fiberglass filters
Uses: Plain wood and MDF* cutting
IMPORTANT: Do not stretch the green filter material out. It needs to be two layers thick unstretched covering the entire area of the metal mesh. Please see the photos below for examples of correct and incorrect filter creation.
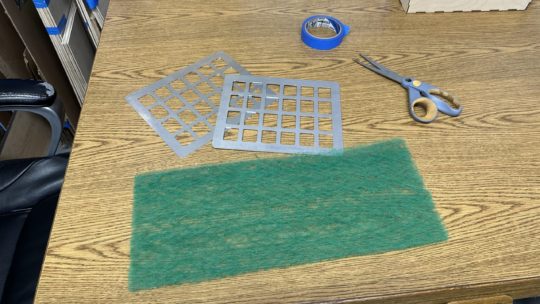
Cut the filter down to fit the width of the two plates when in one long strip. You will fold this in half to fit the assembly.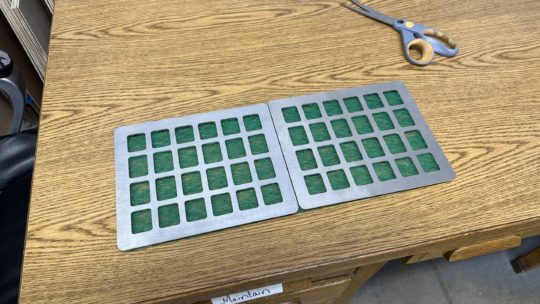
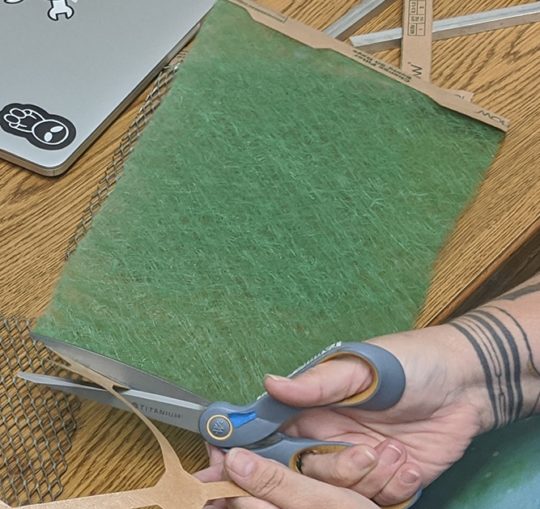
Remove any extra paper on the sides and in the X shape. You do NOT need it and it prevents efficient filtering.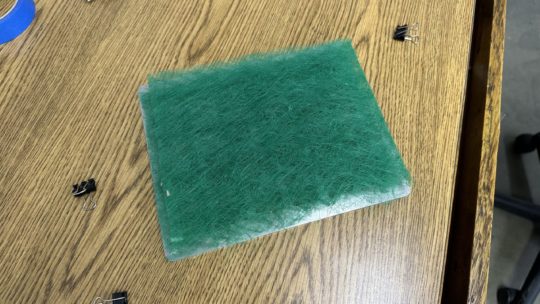
Fold the material in half and sandwich between the aluminum plates
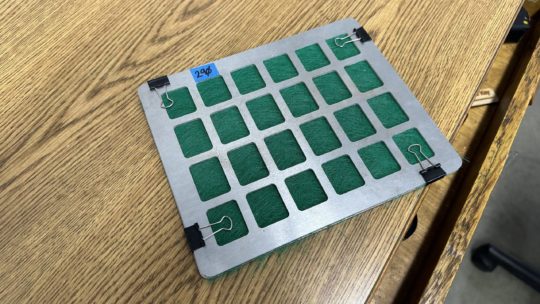
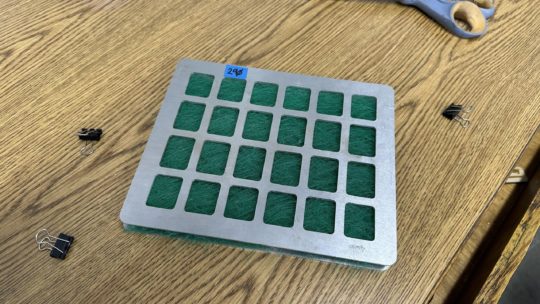
Then use the 4 binder clips to complete the sandwich of plate/filter/plate
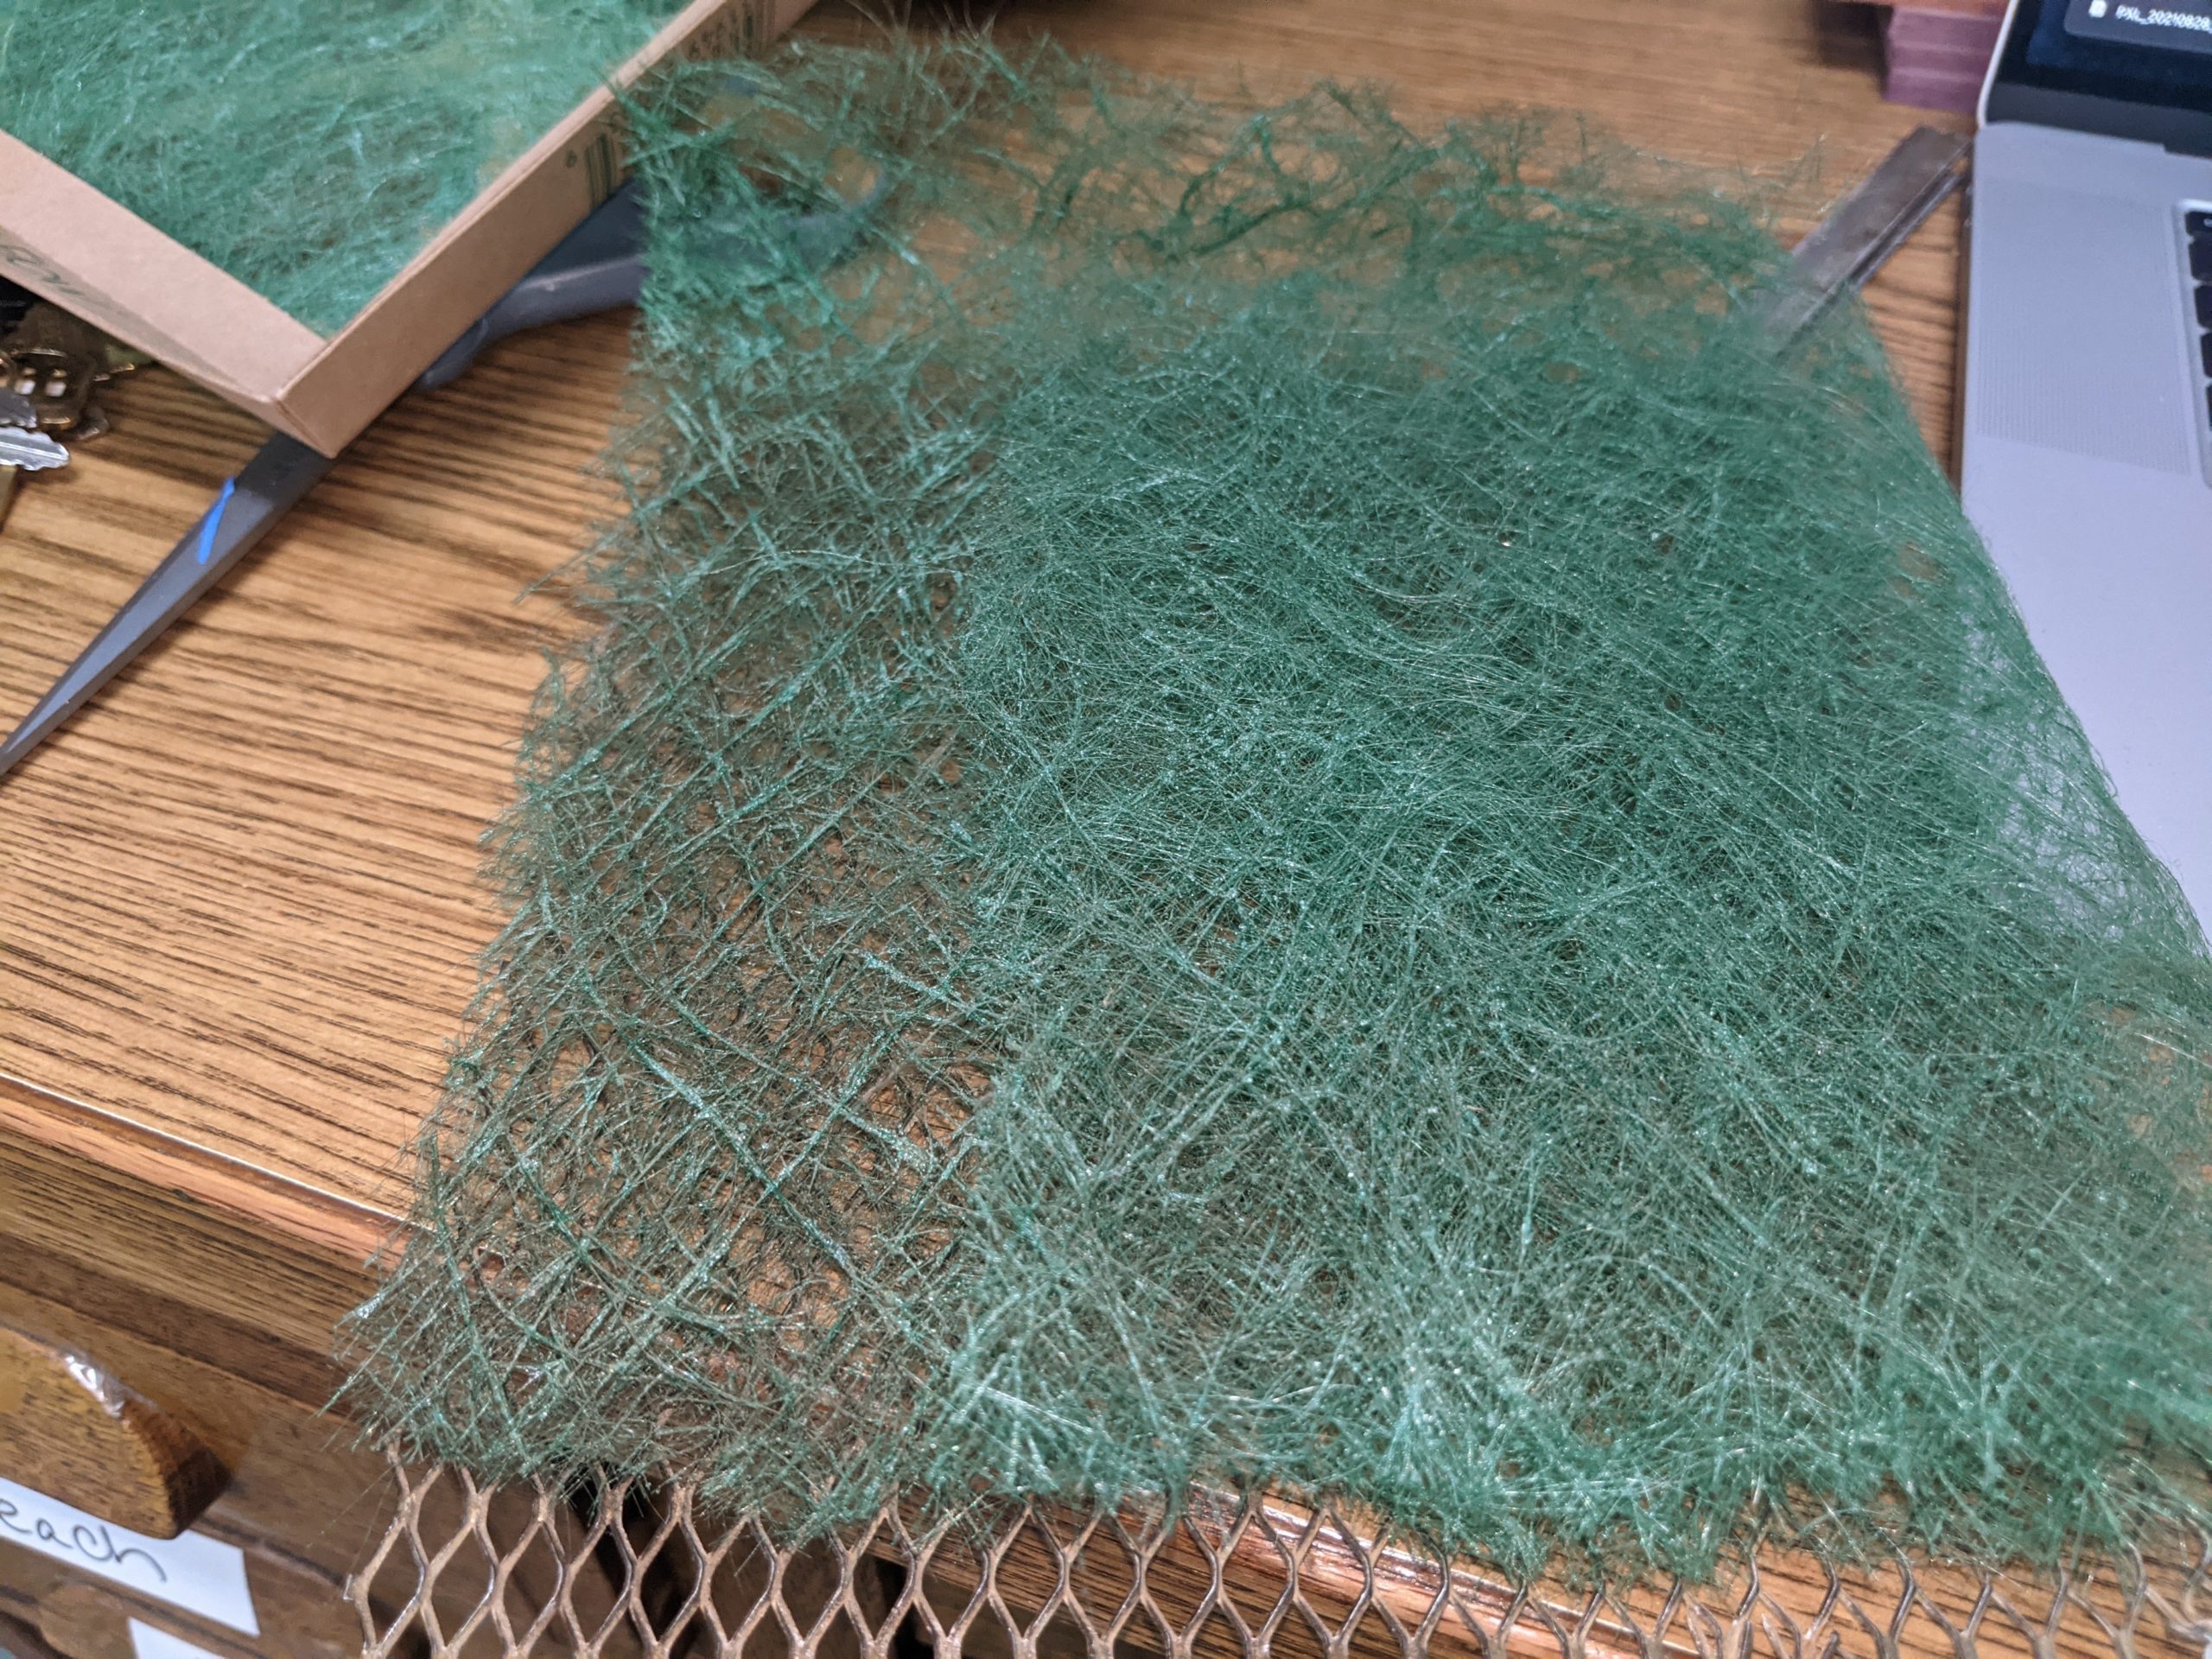

An example of a good filter. This is a un-stretched, complete double layer.
This is a complete double layer through the great. the material should be this dense.
Examples of bad filters
This is a single layer filter made up of 3 pieces of material. It is not acceptable for several reasons: It is not a double layer of material. The individual pieces of material could fall out of the sandwich. Please don’t do this!
General information
- Supplies are on the grey laser tools shelves
- Tin snips for the white filters are in the red toolbox
- Cut time is the firing time. So if you have racked up $15 you have cut for 30 min.
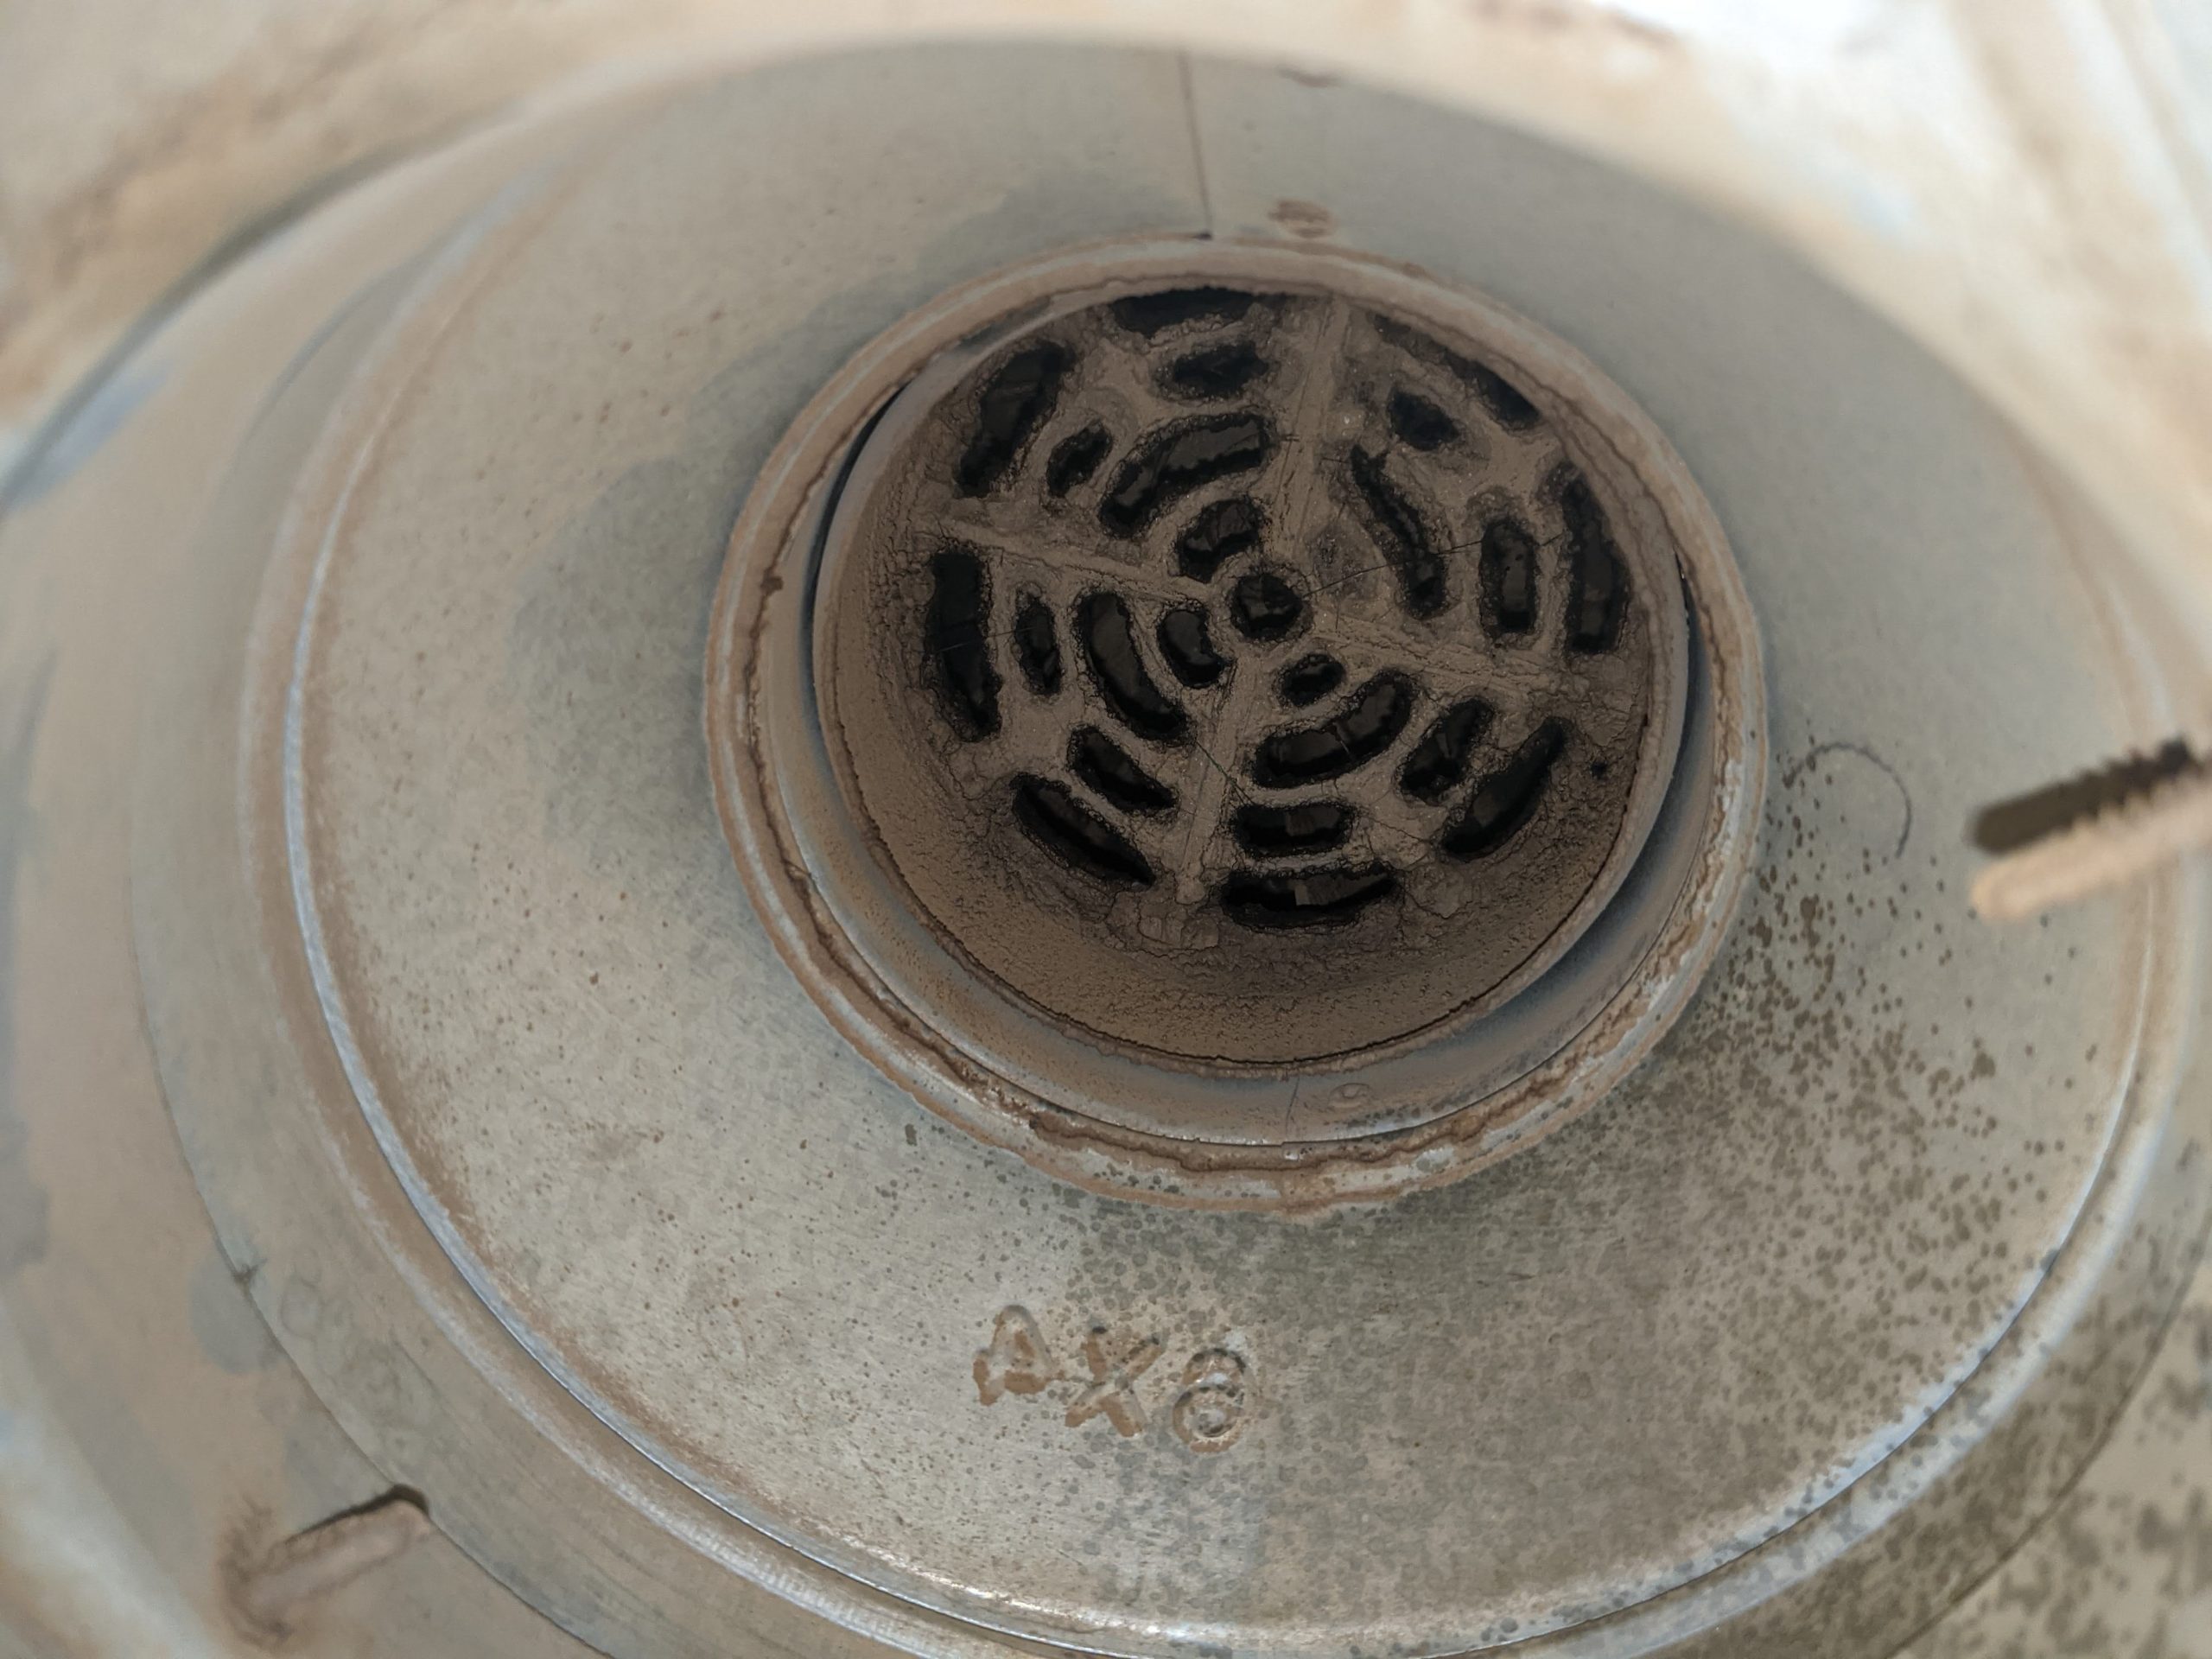
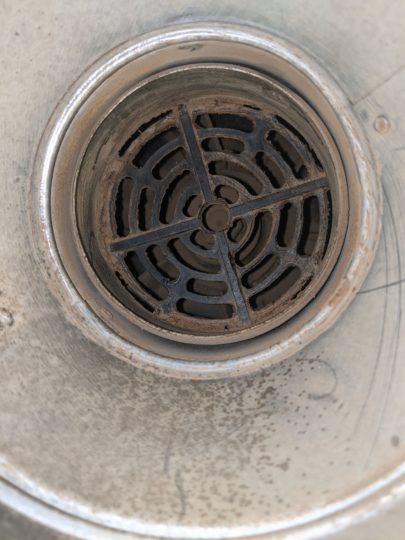
Maintaining the filter box and Fan
This is something anybody can do. From time to time the fan inlet from the filter box and the filter box itself will need to be cleaned with a small scrub brush and vacuumed out.