 Loading asset information.
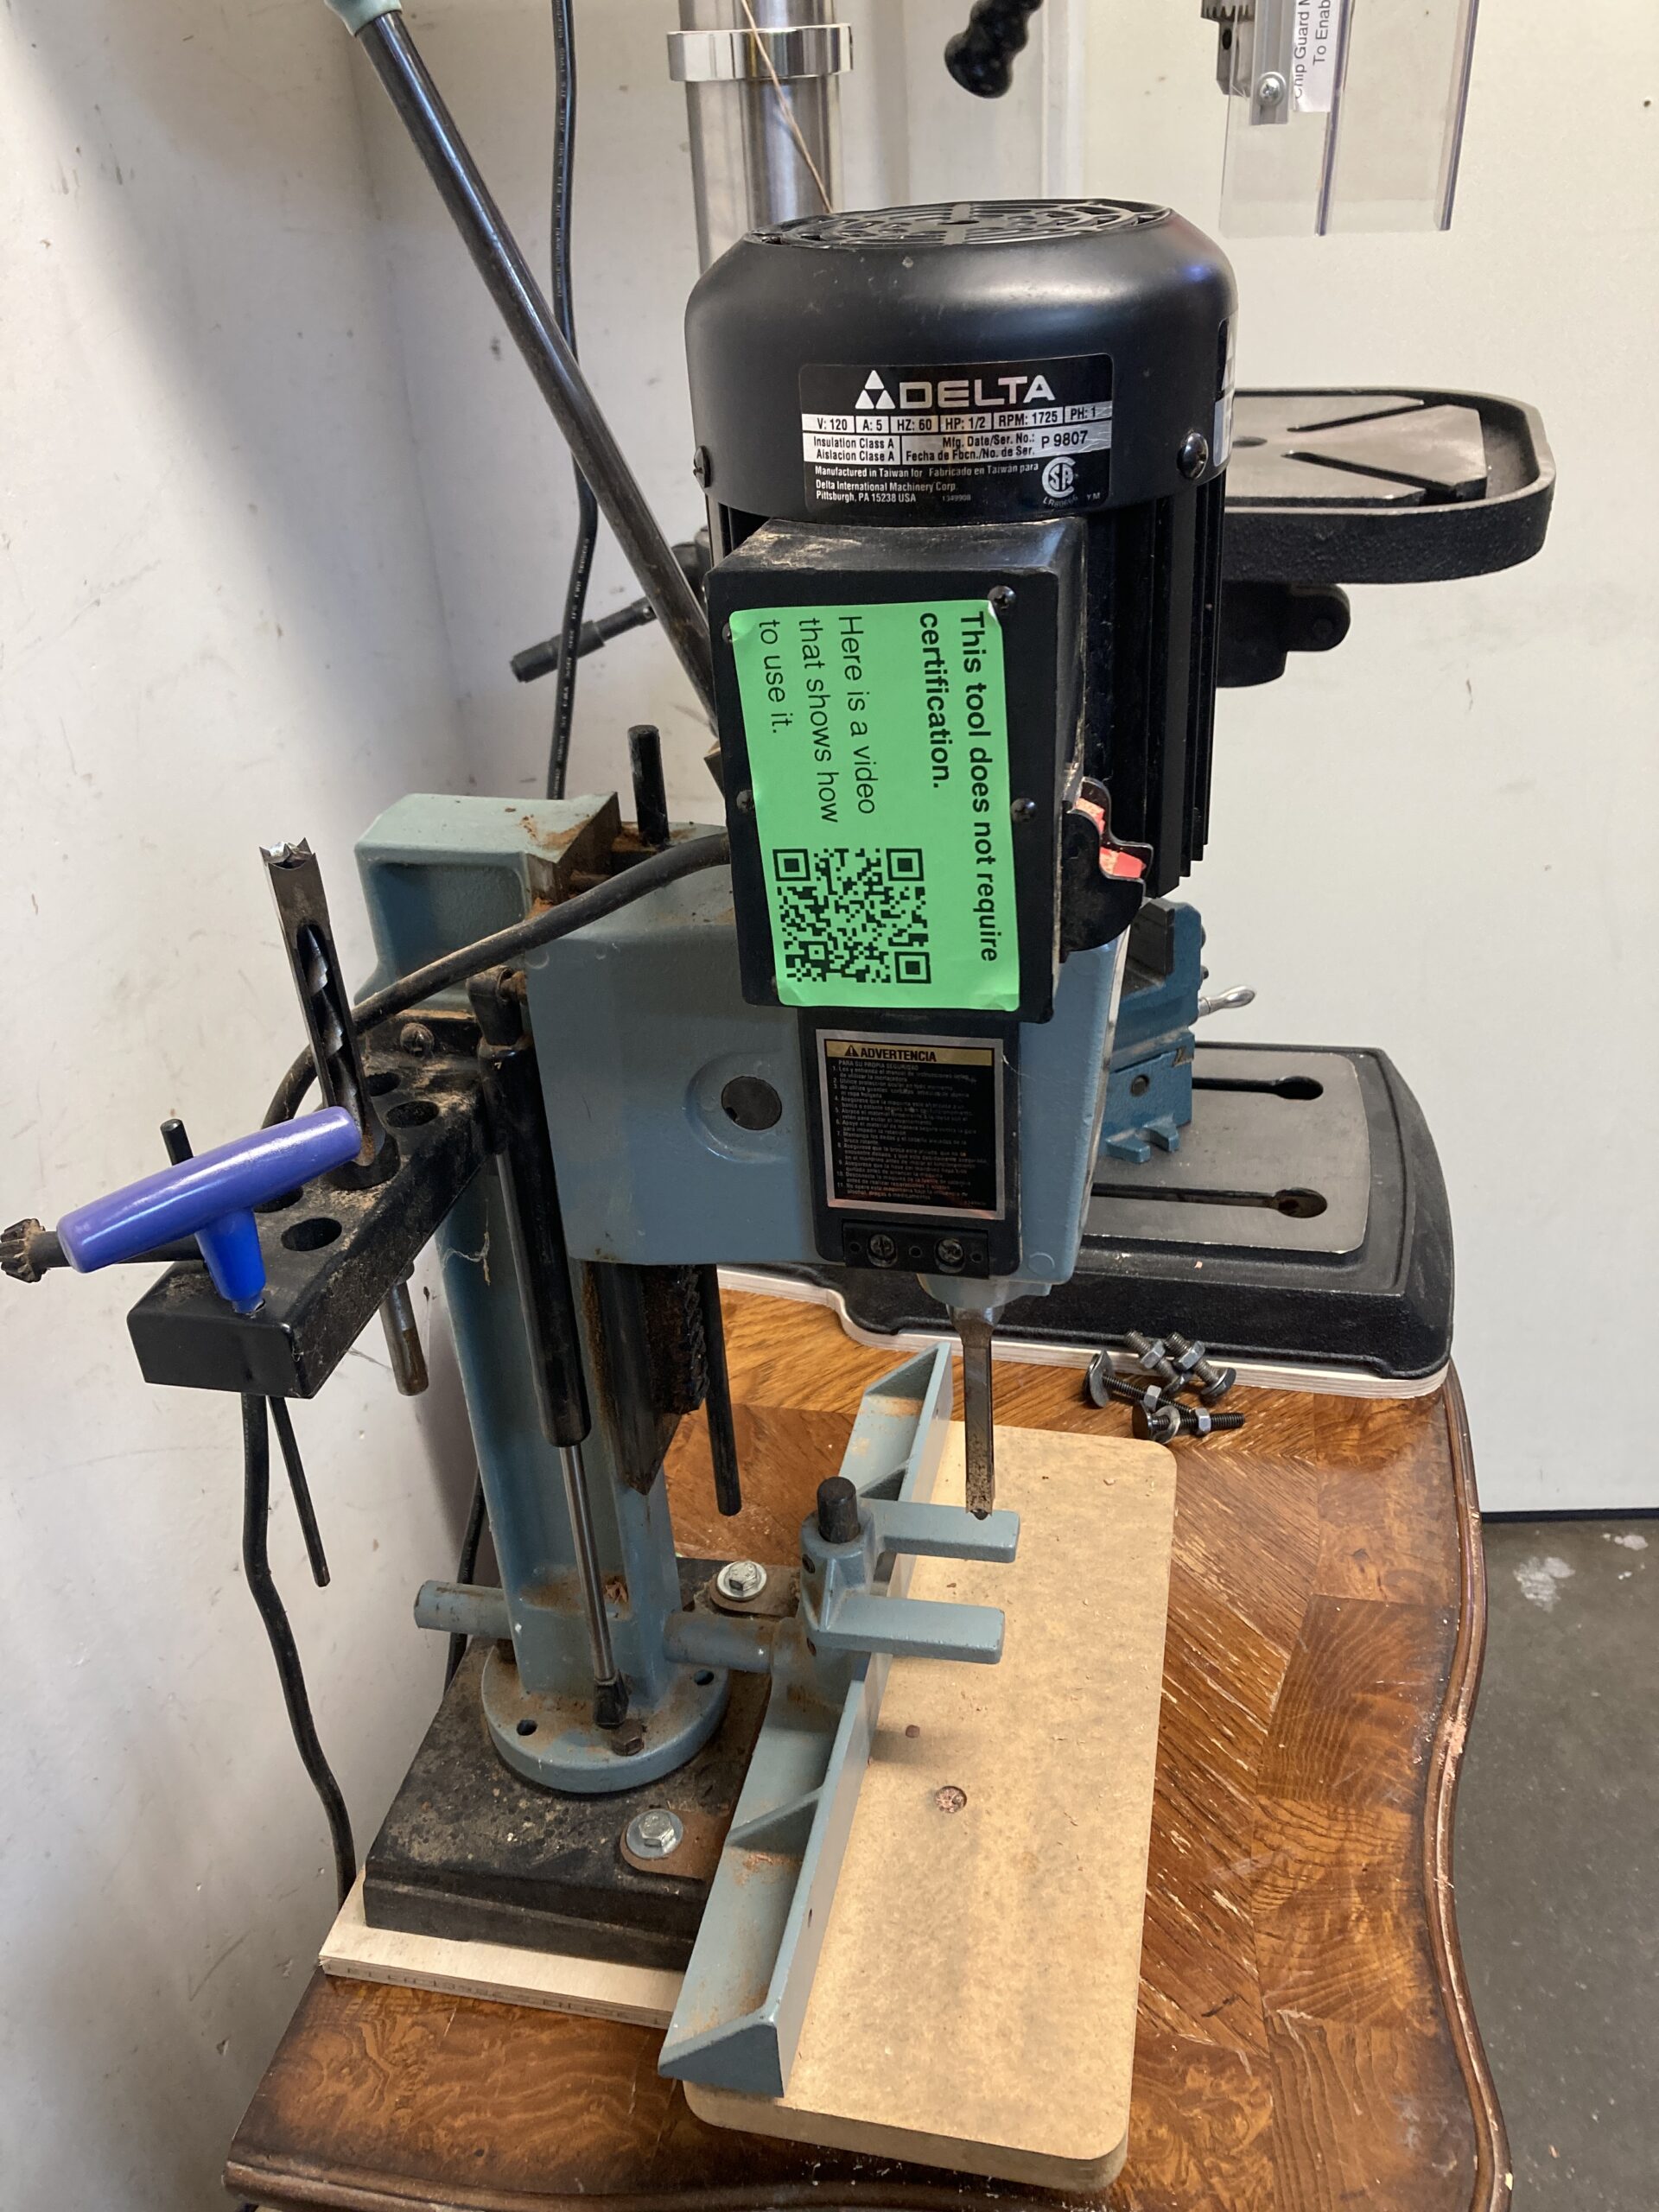
Serial Number: P9807

Overview
A hollow chisel mortiser operates like a drill press, but cuts square holes. It uses special bits that have a rotary interior and a square chisel exterior. It has an integrated fence and a hold-down that make it easy to cut a line of square holes, to form a mortise.
- There are a few different sized bits for different width mortises
- You adjust the fence to adjust the position of the mortise
- You adjust the stop to set the depth of the mortise
- You adjust the hold-down clamp so the wood can move side-to-side but not up-and-down
Adjustments
Adjustments are made with either an allen wrench (with the blue handle in the rack on the left side of the motor), or with a 1/2″ wrench (which you’ll find in the line of wrenches behind the jointer, closest to closest).
Fence Position
Position the fence to control where the mortise is cut into your stock. Use a 1/2″ wrench or socket. Do not over-tighten the fence bolt.
There is a limit to how close the fence can be to the vertical beam to which it is secured. If the fence is too close you will not be able to set the depth of the mortise below.

Hold Down Position
Use the allen wrench to loosen the set screw that holds the hold-down in position. Let the hold down so it is sitting right on your stock. Then tighten the set screw using the allen wrench. The wood should be able to slide side-to-side but not move up-and-down.

Depth of Mortise
Loosen the set screw to allow you to move the vertical steel bar. The bar has a flat side that the set screw locks against. Be sure the flat side is facing the set screw.
The bottom of the mortise will not be smooth, so you might need to make it slightly deeper.
If you are making a through mortise, you’ll need a piece of scrap wood under your stock so you can bore all the way through your stock.
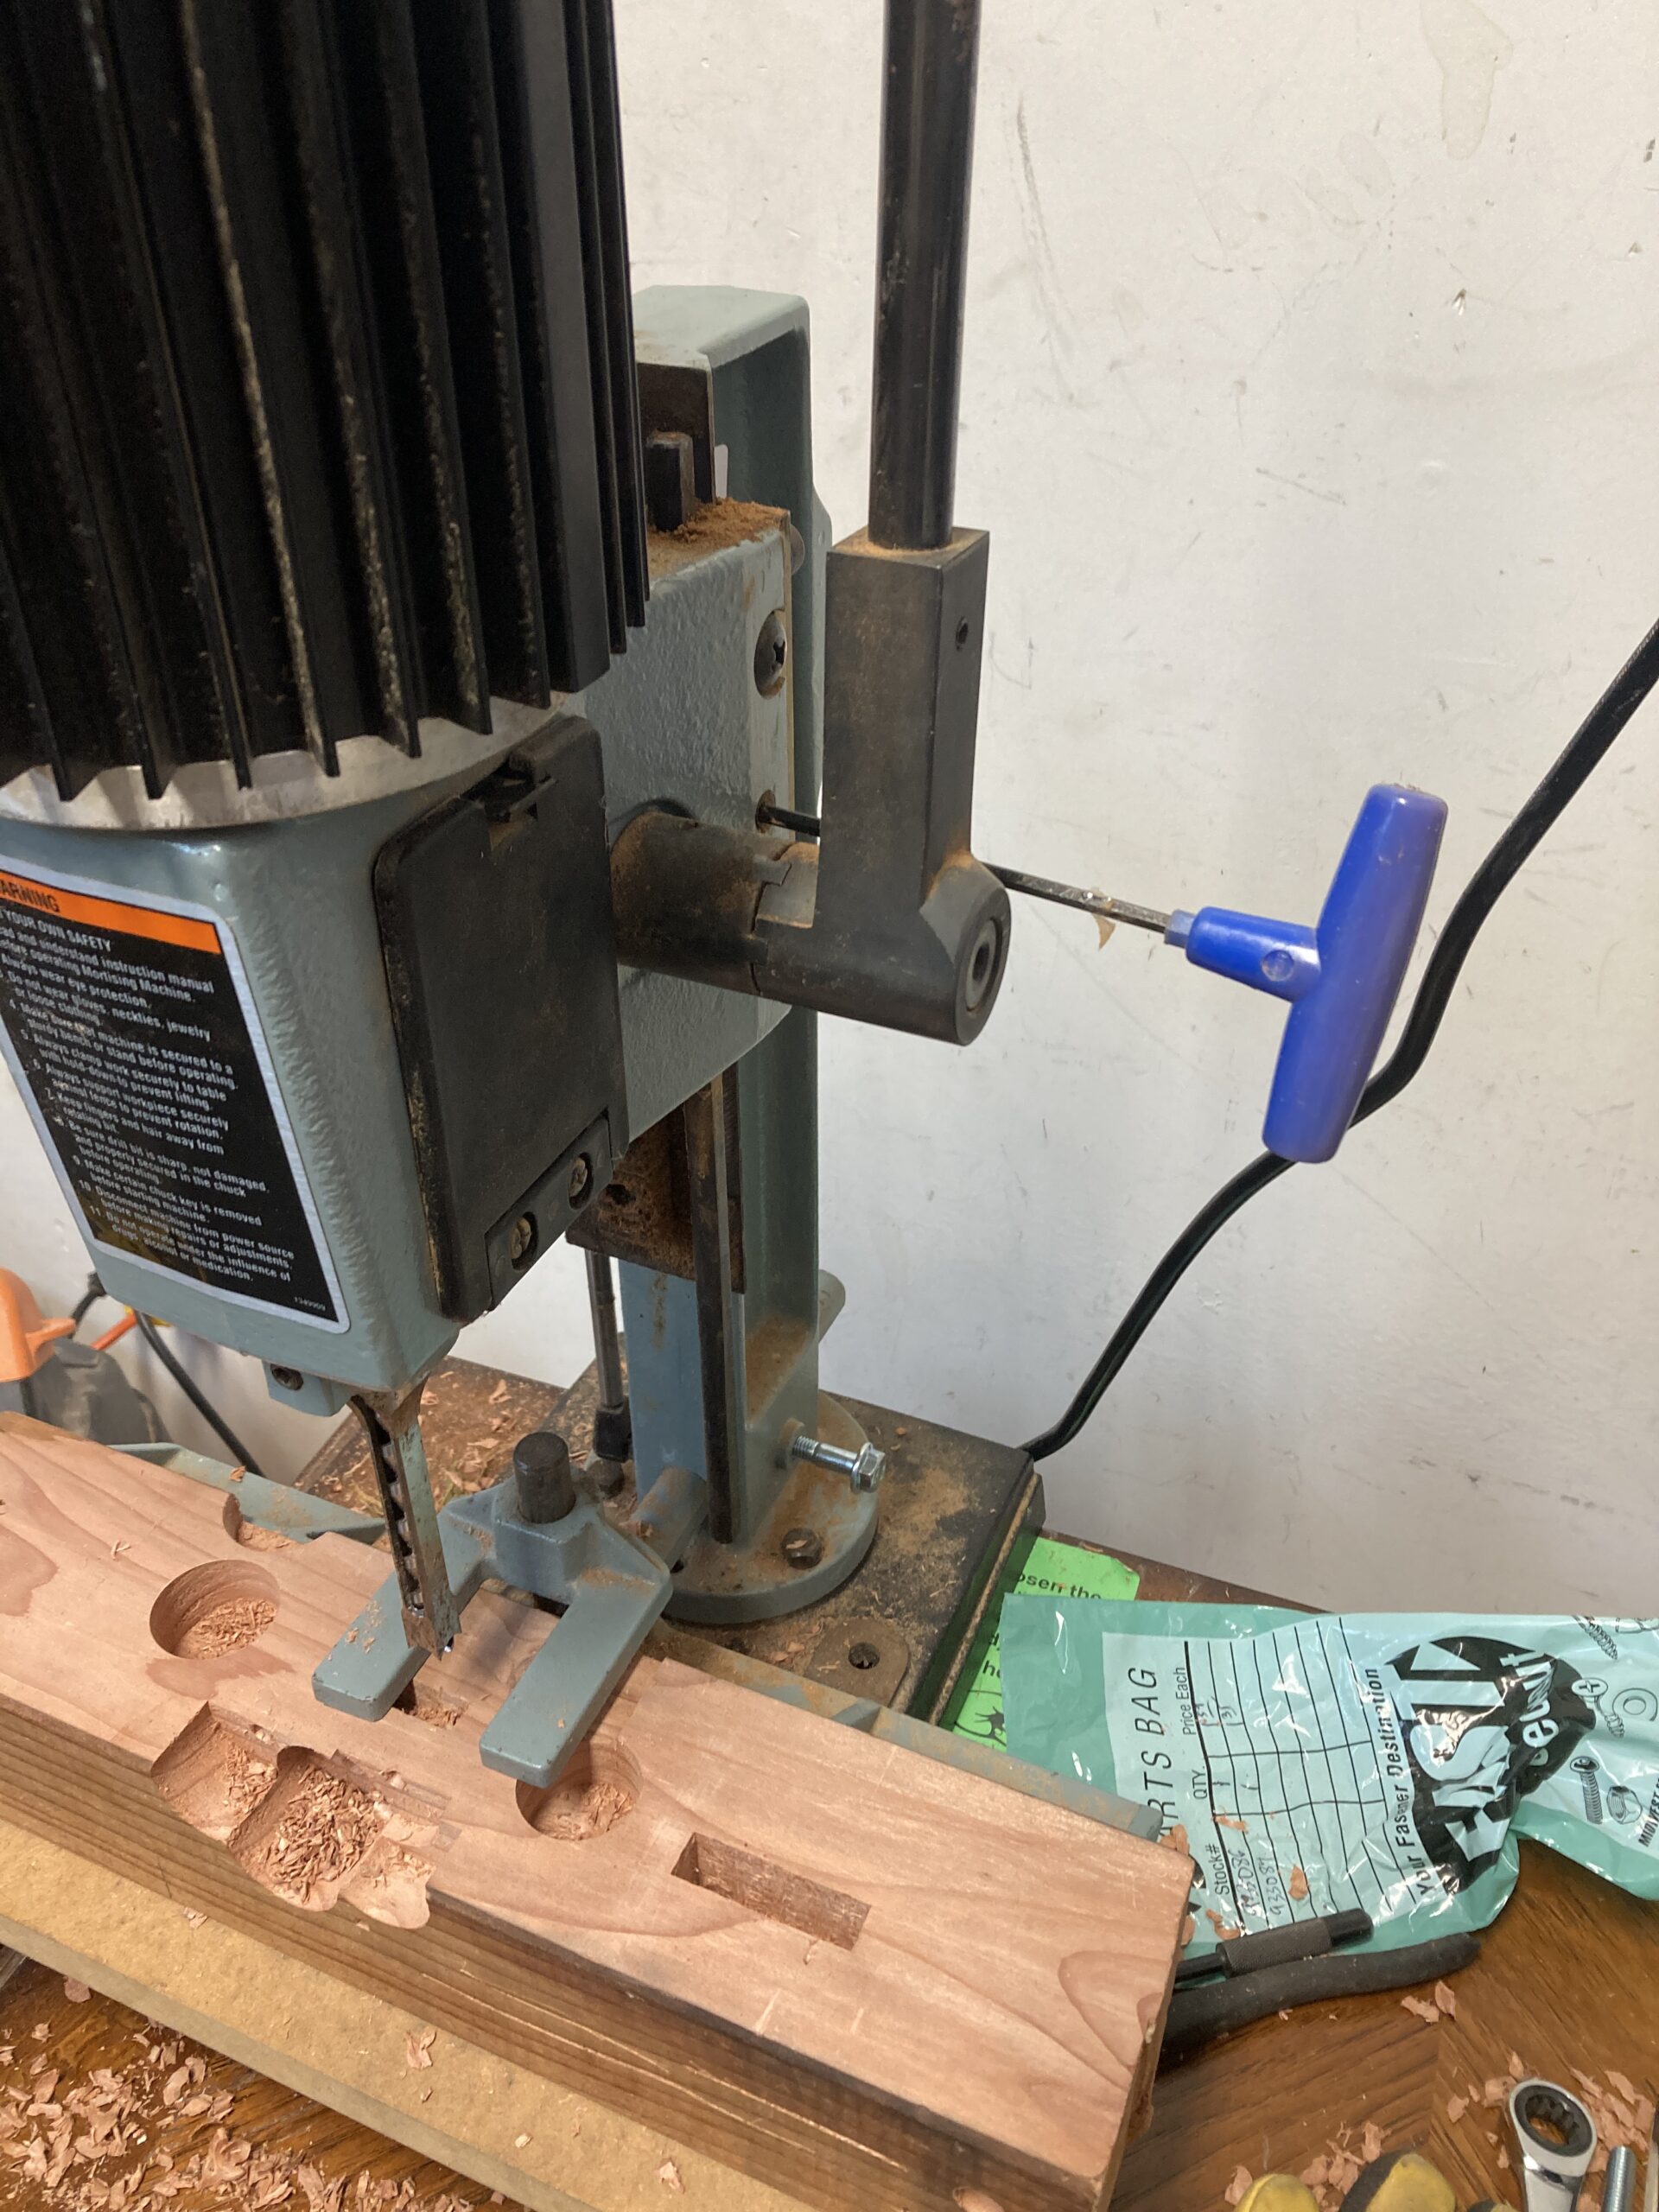
Handle Position
You can pull the handle to the right and rotate it about its axel without moving the mortising chisel. This allows you to put the handle in a position that works best for you.
Changing Bits
This video covers how to change bits.
Using the Hollow Chisel Mortiser
Suggestions for best results:
- Using a pencil, draw directly on your stock exactly where you want the mortise to be cut.
- Draw the depth of cut on the end-grain, even if the mortise doesn’t go that far. You use that as a guide to set the depth of the mortise.
- You either need to hold the stock against the fence with a lot of force, or clamp it
- Be careful that shavings don’t get between the fence and your stock, otherwise adjacent mortises might not line up
- You might need to cut your mortises a little deeper because the bottoms of them are not smooth.
- Adjust the handle for easiest use after you have configured everything else
Here is a video about how it is used:
Maintenance
This video has details about how to change bits and how to maintain the hollow chisel mortiser.