Methods of Securing Wood on the Table Saw
Freehand use of the table saw is not allowed. You must use at least the fence or a miter gauge or a jig when using the table saw.
You must never use the fence and a miter gauge at the same time.
There are several methods of securing work for different kinds of cuts.
Securing Wood for Crosscuts
The miter gauge is simplest method of securing wood for a crosscut. It can slide in the slot on either side.
A crosscut sled is also a simple way of securing wood and it can accommodate smaller pieces of wood. You might need to clamp small pieces of wood to the crosscut sled (along the inside, back edge) to keep your fingers out of danger.
You can also attach a piece a wood to another, bigger piece of wood, for example with hot-melt glue. This works for wood that has no straight or flat edges and is an alternative to the jointer. DO NOT ATTACH WOOD WITH METAL FASTENERS AND THEN USE IT ON THE TABLE SAW!
Securing Wood for Dado Cuts
Dado cuts should be made incrementally, for example with each pass taking off an additional 1/8″. You can overpower the saw and blow a circuit breaker if you try to take off too much wood with a dado cut.
You may use your hands to hold the wood onto the table, but avoid passing your hands over the blade because kickback can quickly expose the blade.
When cutting dados in plywood panels, do not stand behind the panel. Stand on the side of the saw and push it sideways past the blade, possibly using a push stick if that is more convenient than the back edge of the wood.
Do not cut full or half sheets of plywood on the table saw – use the Panel Saw to cut the sheet into more manageable pieces. Use a router to make a dado in any sheet too large to safely work on the table saw.
Securing Wood for Rips
At a minimum, the fence must be used for all rips. The fence is only allowed on the right side of the blade when the saw is viewed from the front.
You must maintain pressure on the wood so that it remains in contact with the fence.
You must leave the safety guard in place when ripping wood unless it prevents the fence from getting close enough to the blade for your cut. If possible, cut wood from a wider piece to avoid the need to remove the safety guard. In no case allow the blade to be closer than 1/8″ to the fence. Always put the widest piece next to the fence and cut the thinner piece off the other side.
You may add a finger board for a rip (see below) to help hold the wood against the fence. If you use a finger board you must still hold the wood down onto the table top.
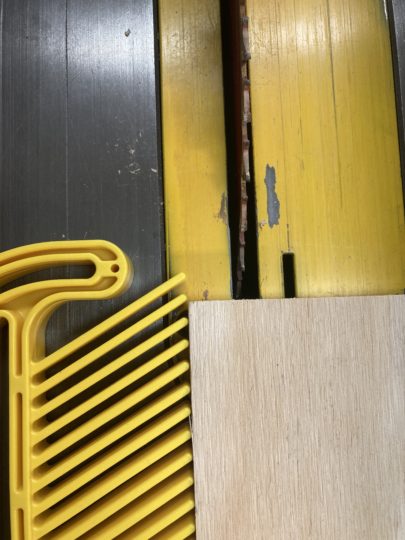
Using a Finger Board
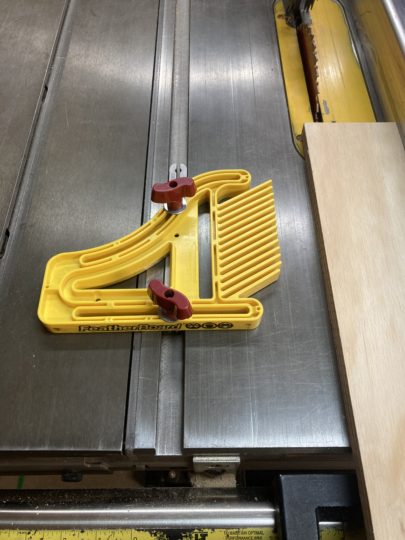
A finger board holds the wood against the fence as shown in this photo:
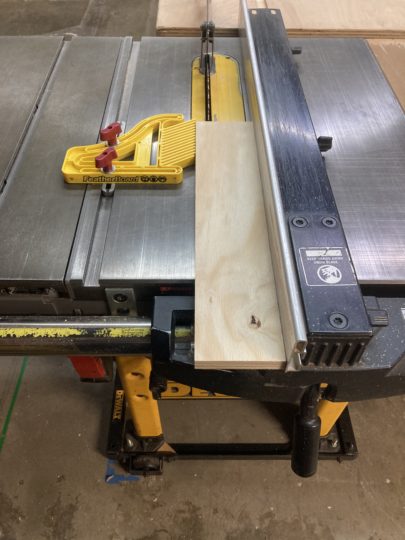
It should be placed close to the front of the blade, but should not overlap the blade.
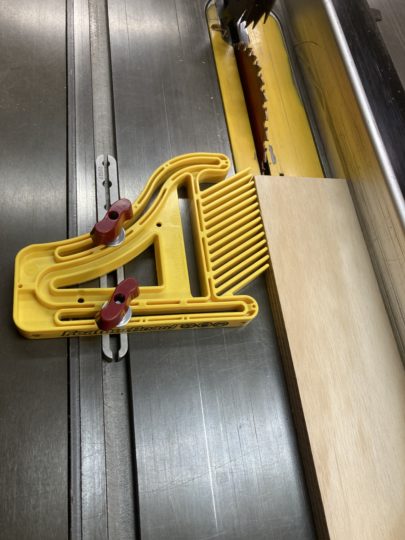
If the finger board is too close to the blade then when the rip is finished it will push the off-cut into the blade, which can cause kickback of the off cut, or at a minimum will damage it so it no longer has a smooth end.
To use the finger board loosen the red knobs. Slide the steel base into the slot to the left of the blade. You can move the finger board closer to the blade or farther away by sliding the bolts through the slots on either side. Be sure that the fingers are all in contact with the wood before tightening the red knobs. The finger board should exert some pressure on the wood – the fingers flex and act as springs.
You’ll have to position it in a different place for every different width of wood you rip.
Do not use the finger board in the sliding table unless it has been secured so it won’t slide (e.g. the front knob on the sliding table is in the locked position).
You must still push down on the wood to hold it against the table. You will also probably still need a push stick to finish the rip, to push the wood past the blade.
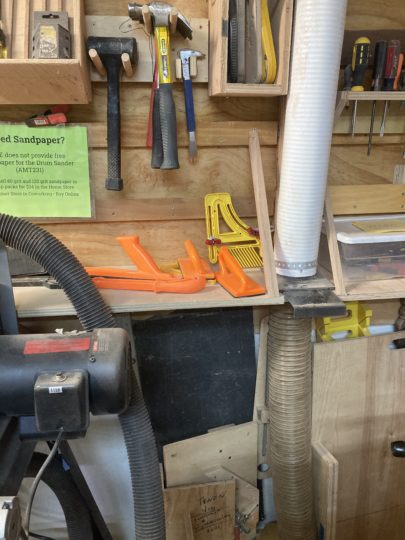
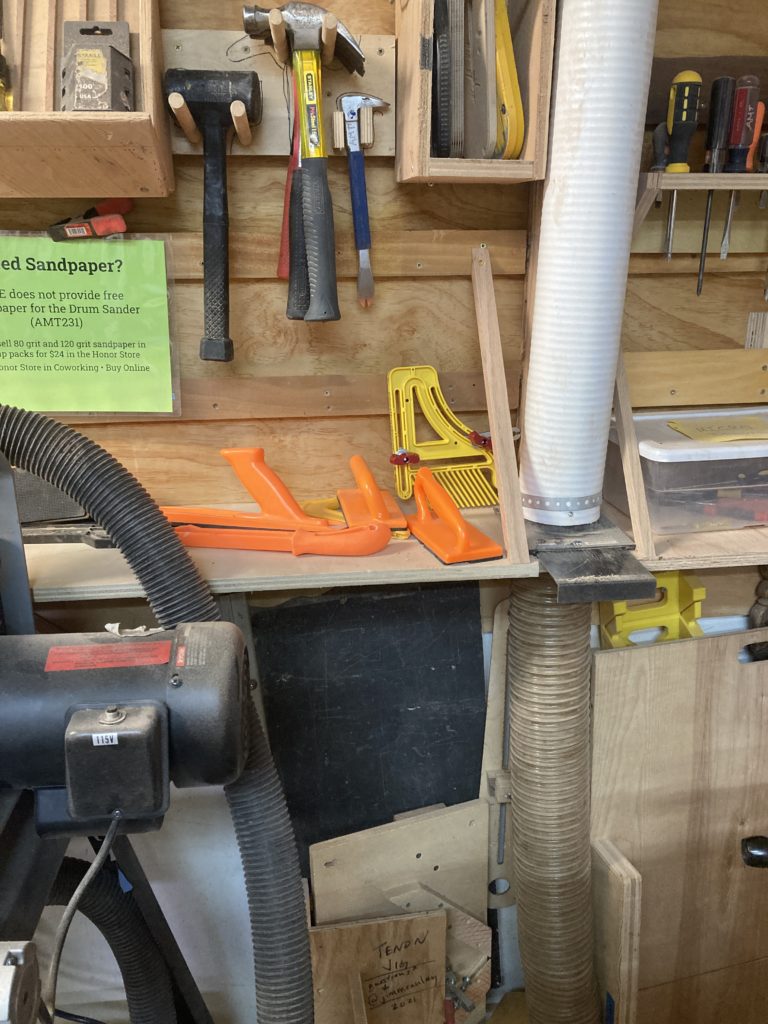
The finger board lives with the push sticks and handles and other jointer and table saw safety gear, which is behind the jointer: