 Loading asset information.
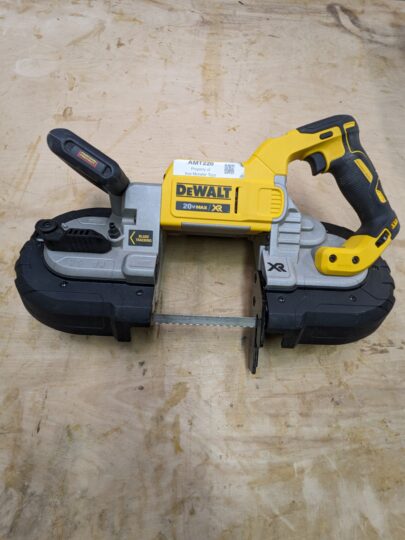
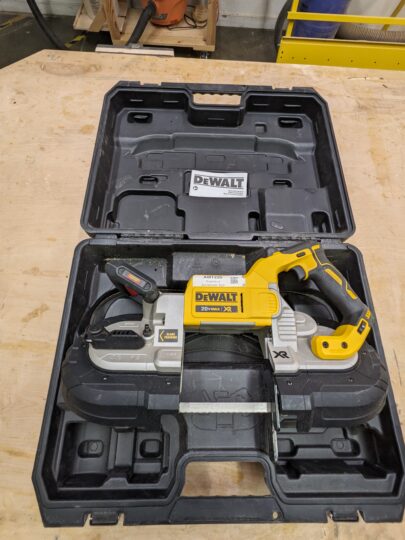
Make/Model: Dewalt DCS376
Documentation: Manual PDF
Used in the workshop to cut wood or metal. However, when compared to metal, this tool is rather inefficient at cutting wood. So it is not suggested. We do not allow it to be used on plastics. Melting of resin material caused by high heat generated during cutting may cause the band saw blade to become bound to the material, possibly resulting in overload and burn-out of the motor.
Blades
WARNING: The use of any other blade or accessory might be hazardous. DO NOT use any other type of accessory with your band saw. Blades used on stationary band saws are of different thickness. Do not attempt to use them on your portable unit. This portable band saw is designed to use .020″ (0.5 mm) thick, 1/2″ (12.5 mm) wide and 44–7/8″ (1140 mm) long blades. DO NOT use .025 (.64 mm) thick blades.
Blade Selection
In general, first consider the size and shape of the work, and the type of material to be cut. Remember, for the most efficient cutting, the coarsest tooth blade possible should be used in a given application, because the coarser the tooth, the faster the cut. In selecting the appropriate number of teeth per inch of the band saw blade, at least two teeth should contact the work surface when the blade is rested against the workpiece. As a rule of thumb, soft materials usually require coarse tooth blades, while hard materials require fine tooth blades. Where a smoother finish is important, select one of the finer tooth blades. Select the appropriate band saw blade according to the material type, dimensions, and number of teeth. See Blade Description chart from manual.
Basic blades: AMAZON purchasing link
Inspect Before Use
Before using, ensure that the battery is removed and inspect the underside of the tool:
- Is the blade path clear? Remove any debris that may be jammed in
- Check for build up or excessive wear on the rubber wheels on the pulleys
- Ensure that blade tracking is properly adjusted
- The back of the blade should be lightly touching one or both guide rollers
- If it is not, make minor adjustments with the adjustment screw on the top of the machine
- You will need to power up the machine and run the blade between making adjustments, make sure you remove the battery after each test run to inspect blade tracking and make additional adjustments if necessary
- Install battery and test operation before cutting
- Test run the machine
- Ensure that the lock out switch is disengaged (pushed out to the side that has the speed dial)
- Pull the black safety trigger
- Squeeze the red power lever
- If not done in this order, the tool will not start up
Tool Safety
- Always keep the blade pointed away from you or anyone else who may be nearby.
- Ensure that the blade has the proper number of teeth before cutting.
- To check, press the blade against your work piece. If only one tooth makes contact, you will need a blade with more teeth
- Generally, this will only be an issue if you’re planning to cut something smaller than ⅛”
- You will need a blade with 18 or 24 teeth per inch in this case
- Always use the specified blades (see above)
- Do not use a blade that does not match these specs!
- Ensure that your work piece is properly clamped down, and cut close to the clamp
- If you encounter vibrations, stop
- Vibrations can be caused by poor clamping or a dull blade
- Check you clamping first
- If clamping is good, then we need a new blade. Post to slack and update the tool’s status to reflect this.
- If your piece is properly held, the only kickback you have to worry about is the tool…not your workpiece
- Kickback will pull the tool away from your body, be sure to maintain control of the tool
- The blade guard is there to also help hold the tool against the workpiece
- Always use two hands on the tool, one on each handle
- When preparing to cut, let the blade come fully up to speed before making contact with your work piece.
- Do NOT power up the machine with the blade resting against your workpiece
- Use the guide images in the manual (available on the wiki) to approach the cut in the safest manner
- Watch out for falling off-cuts, particularly if it is heavy metal. Keep your feet clear of the drop zone
- Allow the tool to come to a full stop before setting down
- Exercise caution when handling the metal after a cut, it will be hot
Making a Cut
- Ensure that your workpiece is properly clamped
- Adjust the blade speed as necessary
- Speed goes from 1-5, 1 being slowest, 5 highest
- The variable speed switch (black pistol style trigger) will also ramp the speed from lower speeds to the speed dial’s setting as a max speed, giving you more control.
- You can use high speed for softer materials (copper, iron, mild steel, etc)
- You will need to use slower speeds for harder materials (harder tool type steels, tungsten, etc.)
- Rest the blade guard against your workpiece, but keep the blade off
- Bring the tool up to full speed then slowly lower the tool down so that the blade comes into contact with your workpiece
- There is no need to press or apply pressure. Simply let the weight of the tool carry itself through the cut
Maintenance
- Check the blade path and rollers before and after use
- Looking for anything getting lodged in the blade path and condition of the rubber wheels on the pulleys
- Check blade tracking and proximity to rollers, and adjust if necessary
- Check condition of the blades teeth before and after use
General Information
See the below video for installing and removing the band saw blades
Logs
 Loading asset logs.


