Over time, the exterior surface of keypad on the Barracuda laser starts to crack and break apart. Here’s a quick howto regarding replacement of the keypad.
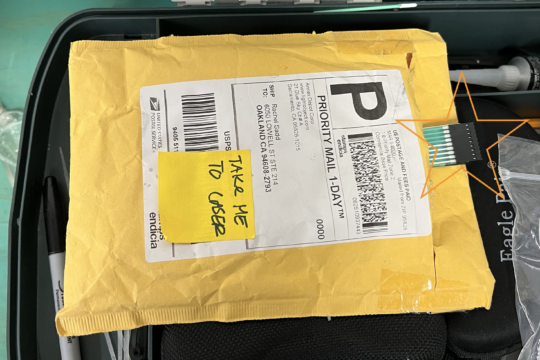
Open the laser tool kit, in the top you’ll find a padded envelope with a ribbon cable sticking out of it:
Make 100% sure the laser is powered off!
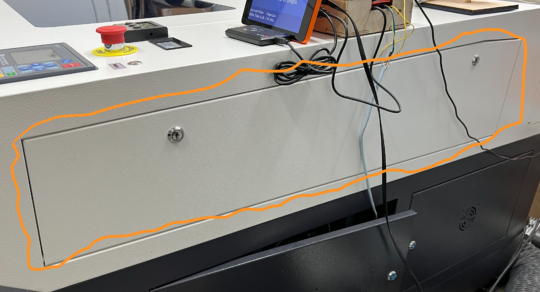
Open up the side door so that you can access the grey box underneath the keypad. (I actually removed the door completely. it was easier to work with)
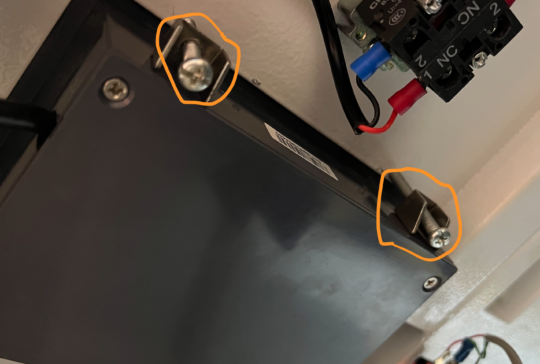
Undo the two Philips screws connected to the little clamps that hold the grey plastic box in in place, and put them somewhere safe once the box becomes loose.
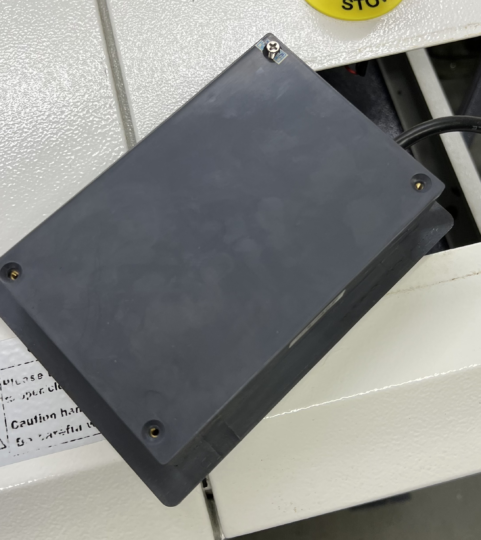
Lift out the grey box through the top of the laser case, flip over and remove the 4 Philips screws on the bottom.
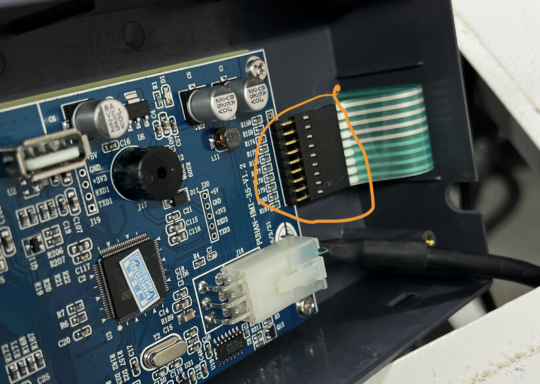
Undo the ribbon cable from the circuit board…
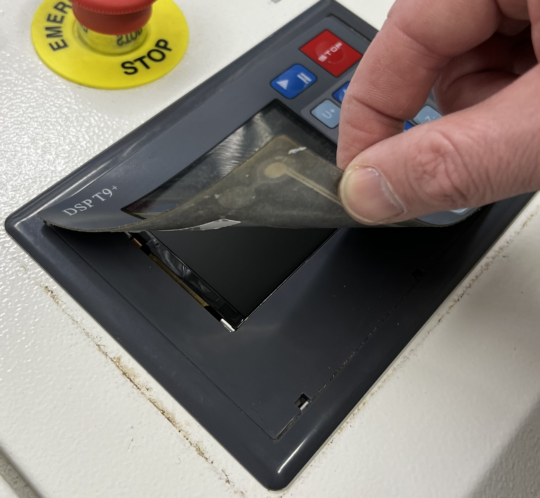
Flip the grey box back over and carefully peel the keypad up from one corner (I just used my thumbnail and picked at it for a while. A guitar pick would probably work really well, too) until the whole keypad comes off. Pull the ribbon cable out through the hole.
Be sure to remove any leftover adhesive from the old keypad.
Take the replacement keypad and thread the cable through the hole in the top of the grey box, then plug it into the circuit board in the same orientation as the original. You can replace the cover on the box at this point if you want to.
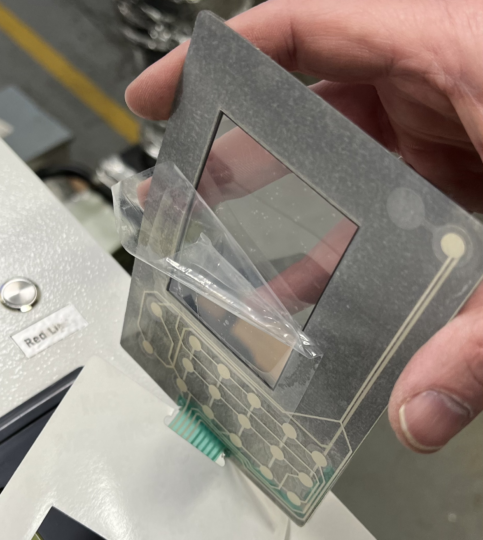
Remove the adhesive backing from the keypad (and the clear backing from the window), then carefully line it up, taking care to stick back down without air bubbles!
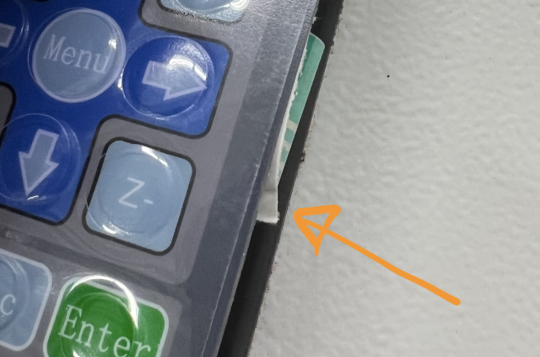
Seat the right hand side of the panel down on top of the cable that feeds down into the grey box. Ensure you remove the teeny tiny piece of backing that is stuck under the ribbon cable.
Press down carefully on top of the panel, making sure it’s all seated and happy (the replacement panels ship with a piece of protective plastic on top, that can be used to push on things with getting greasy fingerprints everywhere).
If you’re feeling lucky, go ahead and put the grey box back in position and secure with the two mounting clips. Put the side door back on, and button everything up.
Turn on the laser and test all the buttons on the keypad.
When you’re satisfied that everything is working, jump into Slack and update the laser status
/asset amt266 UP Keypad replaced
Thank you for leaving Ace better than you found it!