 Loading asset information.
Serial Number 018498
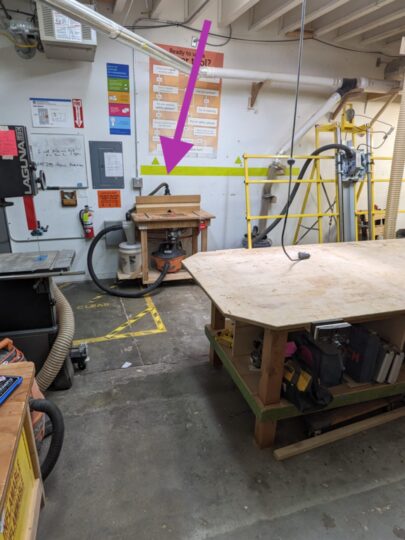
This router is installed in the router table attached to the rolling sanding station.
Documentation:
RouterTable-PorterCable75182-manual (7518-2-instruction-manual)
RouterLift-BenchDogProLift-manual
Kreg Precision Router Lift (PRS5000_NA)
About the Router Table

 Raise router to surface to install and remove bits and collets.
 Install this pin to provide a simple support for otherwise freehand use.
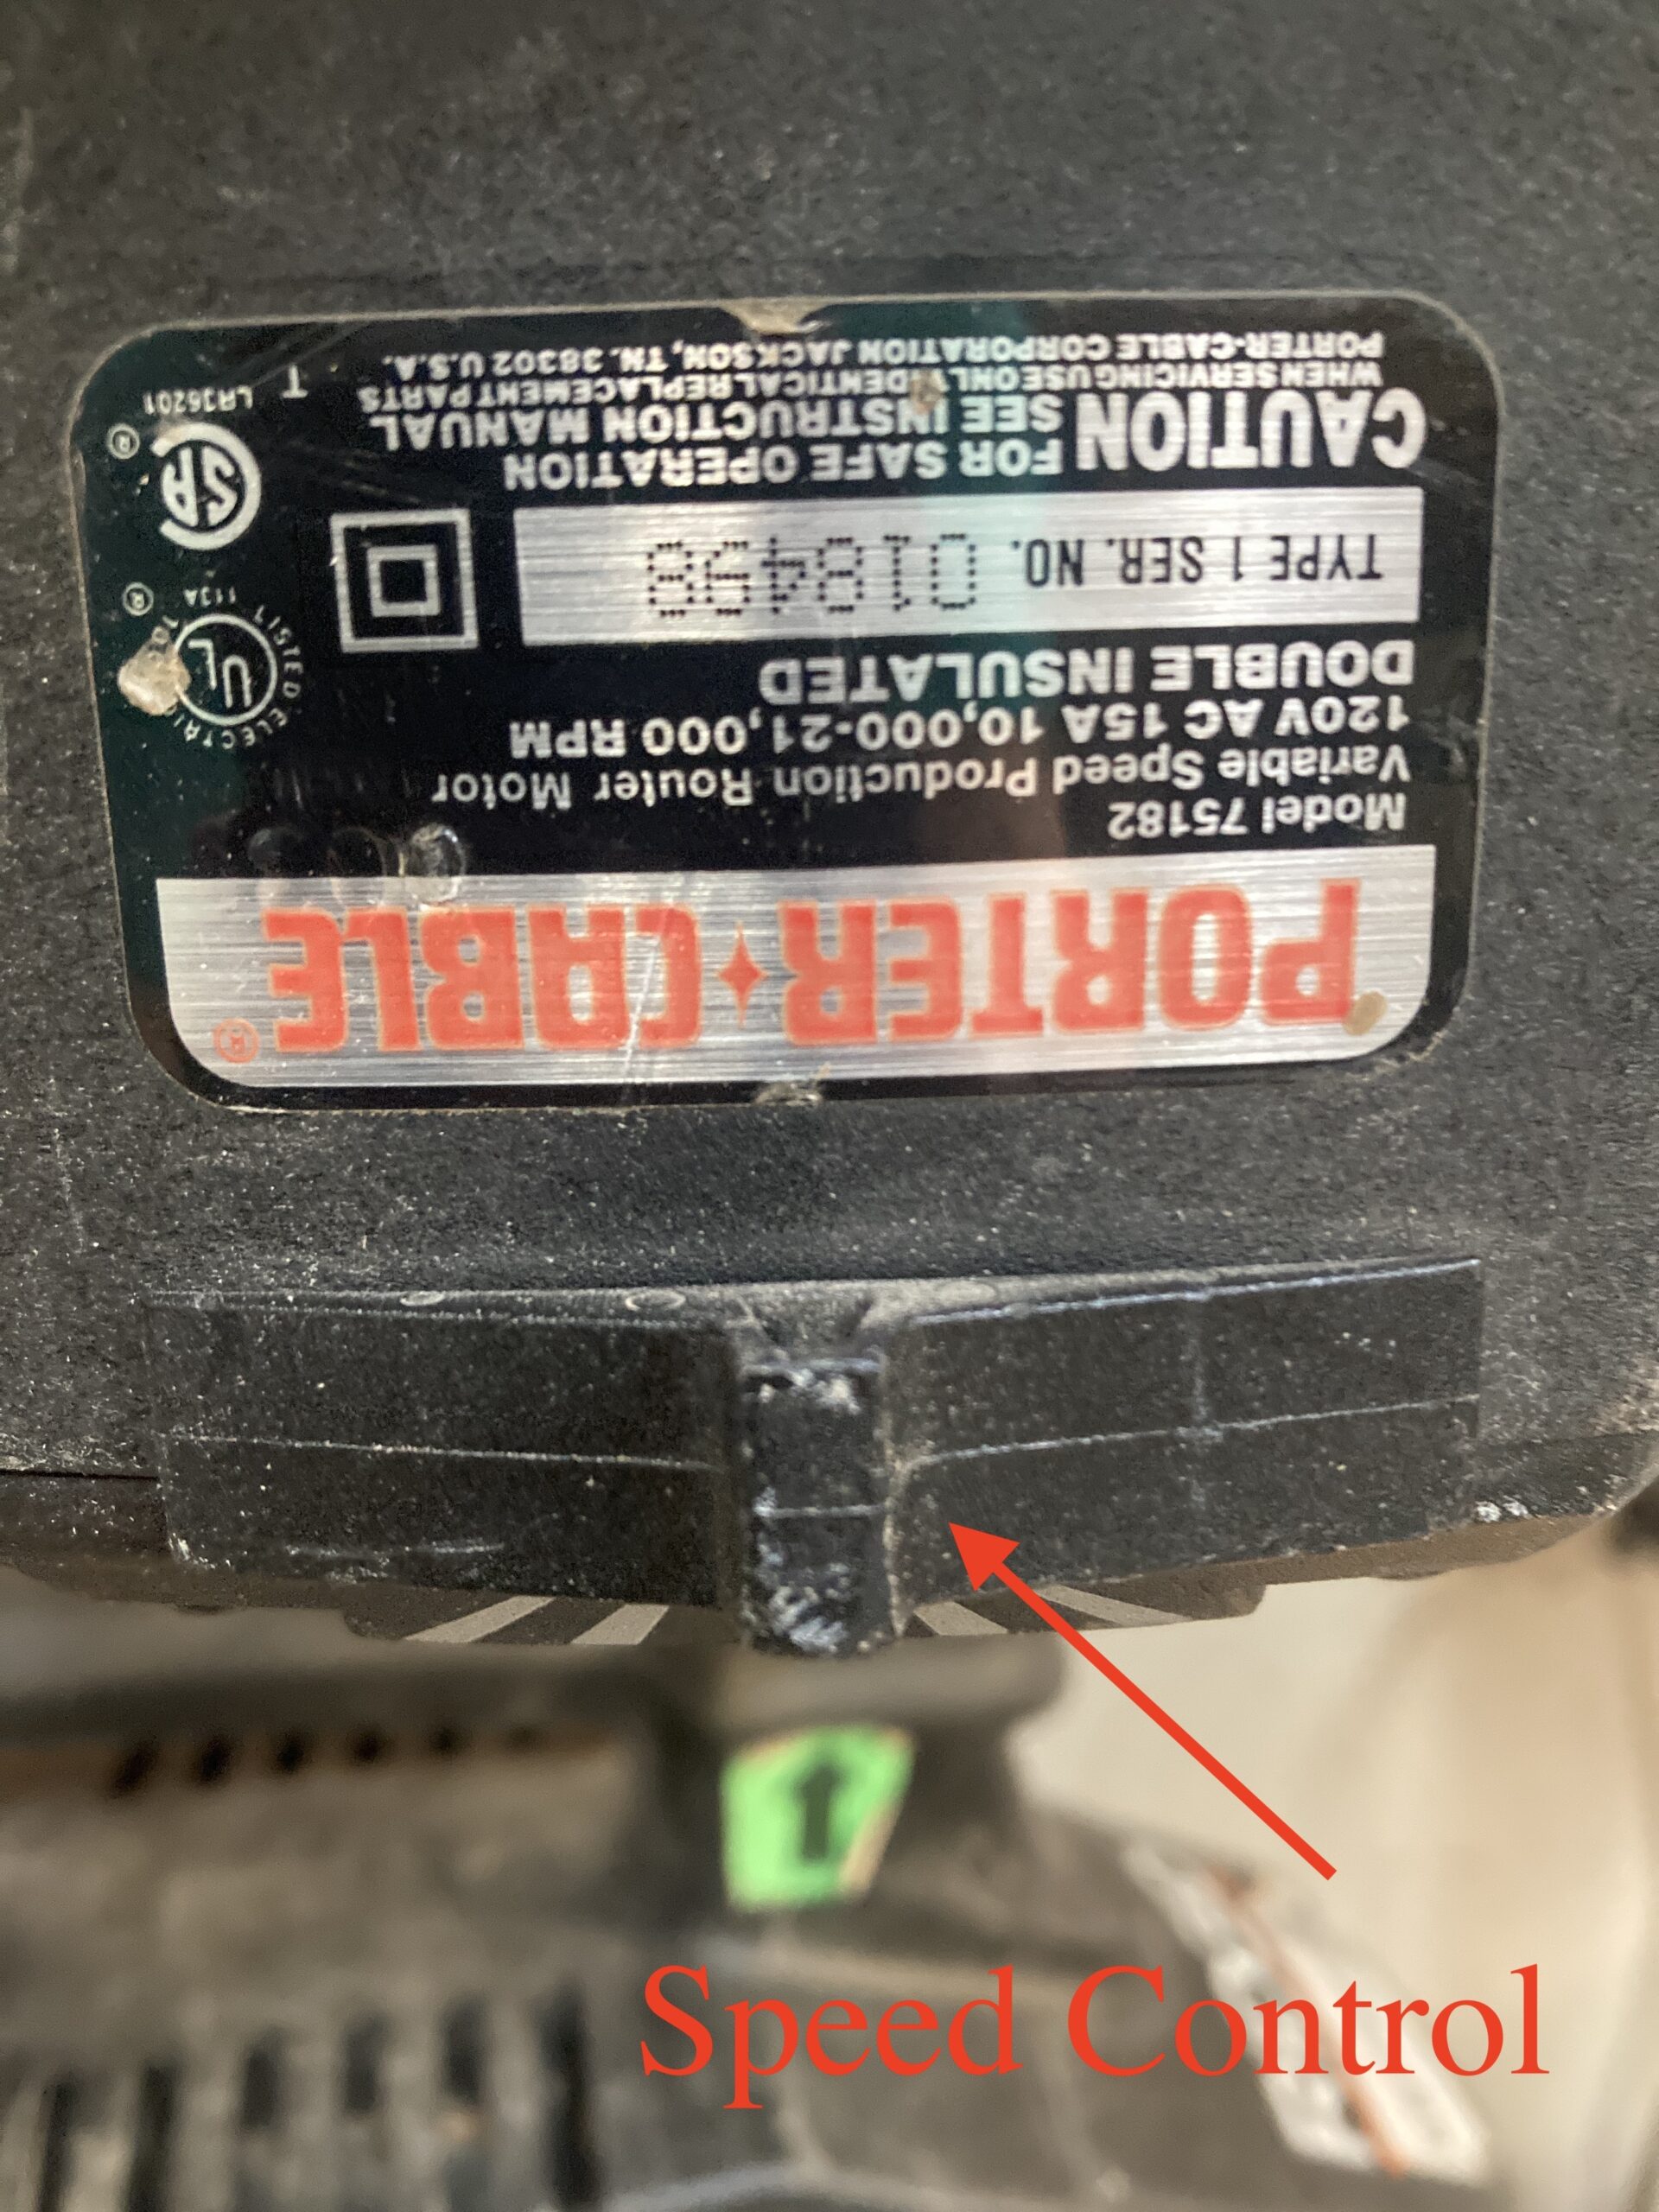 The speed control is on the front of the router, under the table.
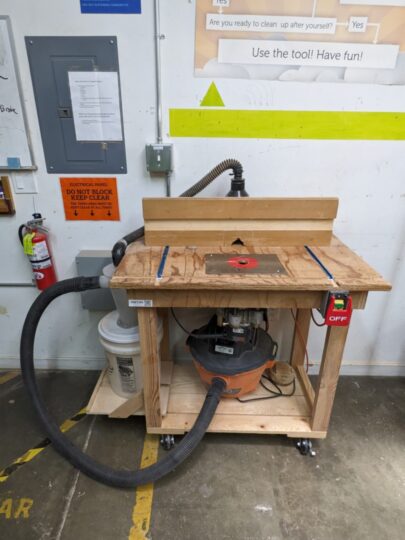
The Router table consists of a 5-speed Porter Cable 7518 3.25 hp router mounted in a Bench Dog Prolift router lift, which in turn is mounted mobile workbench.
We do not have the stock fence. There is a blue anodized fence with plywood, wood or MDF faces (depends on what’s been done last). It has lock knobs and t-bolts on each end and a semicircular space in the center.
The router itself is a very strong production-level router, the same model as the right-hand spindle on the Large CNC Router. This model has been in production for a quarter of a century so parts are readily available.
When replacing the bearings in the CNC spindle we found we needed to use Loctite 680 High Strength/High Viscocity Retaining Fluid. There was plenty left, it is worth looking for here because normal Loctite found in most stores ”will not work. ”It requires a few days to cure – let it. Steve and Hugh did the work, it was not exactly trivial.
Safety
The following excerpt is from Fine Woodworking, to be changed to non-borrowed text:
Although most router bits are small, routers and bits deserve your attention and respect. As with all power tools, you can enjoy them safely by following these safety guidelines, excerpted from ”Taunton’s Complete Illustrated Guide to Routers”.
1. Use push blocks to position your hands a safe distance from the bit.
2. Large-diameter bits are for use only in a router table. Using bits over 1 in. dia. in a handheld router can easily cause you to lose control of the tool.
3. Always wear eye and hearing protection.
4. Take light cuts. Heavy cuts invite kickback. If necessary, move the fence closer to the bit or switch to a larger guide bearing.
5. Use a featherboard to support the workpiece against the router table or fence.
[http://www.finewoodworking.com/uploadedImages/Fine_Woodworking_Network/Image_Resources/Web_Only/99926963_03_md.jpg6 http://www.finewoodworking.com/uploadedImages/Fine_Woodworking_Network/Image_Resources/Web_Only/99926963_03_md.jpg6]. Never climb-cut. Always feed the stock from right to left. (see illustration at right)
7. Avoid shaping small stock. Instead, shape a larger piece and reduce it in size afterwards. If you must shape a small piece, build an appropriate jig or secure the work within the jaws of a wooden handscrew clamp.
8. Always use a guard. If the fence didn’t come with a guard, purchase an aftermarket guard or devise one of your own.
9. Never start the router with the bit in contact with the stock.
10. Don’t force the bit or overload the router.
11. Secure the motor in the base before starting the router.
12. Don’t bottom out the bit in the collet or partially insert the bit. Instead, completely insert the bit, and then back off approximately 1/16 in.
*This is not a definitive list. Use your common sense and search engine, read the manuals.
Maintenance
- Clean and wax height adjustment threads and guide rods
- Flush up insert plate
- Lubricate height adjustment tool
- Check dust collection and clean out if needed
- Check power cord is in good shape
- Blow dirt and dust out of router air vents with clean, dry air